Photo-real Salon Lipstick Nails
Lipstick inspired nail art with clean, photo-real finish and professional salon quality
Created: October 5, 2025 at 01:11 PM
More Lipstick Designs
More Designs
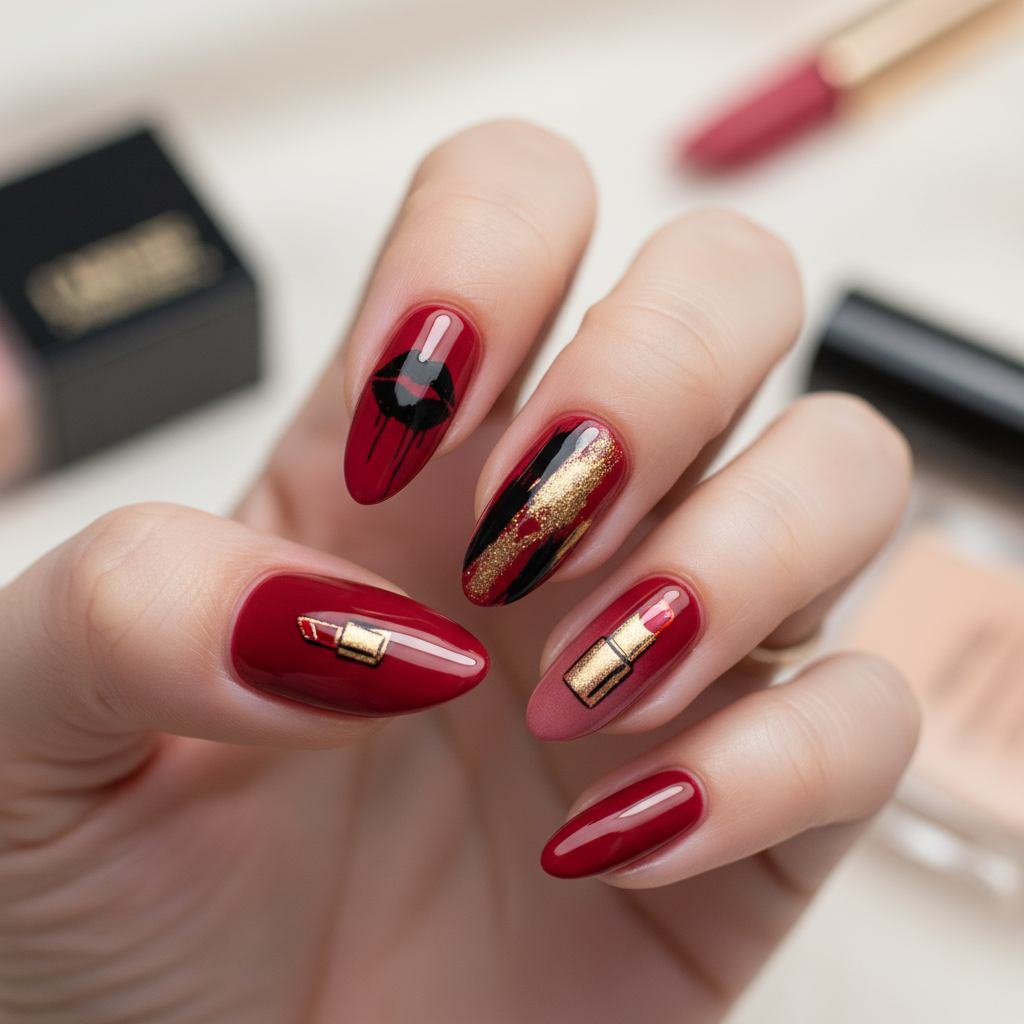
Photo-Real Lipstick Nails: Salon-Quality Design
Achieve stunning, salon-worthy nails with this lipstick-inspired design. This photo-real effect perfectly mimics the texture and color of your favorite lipstick, creating a bold and glamorous statement on your fingertips.
Supplies You'll Need
- Base coat
- High-quality red nail polish (various shades)
- Black and white acrylic paint
- Fine detail brush
- Top coat
- Makeup sponge
How To Recreate It
- Apply a base coat and allow it to dry completely.
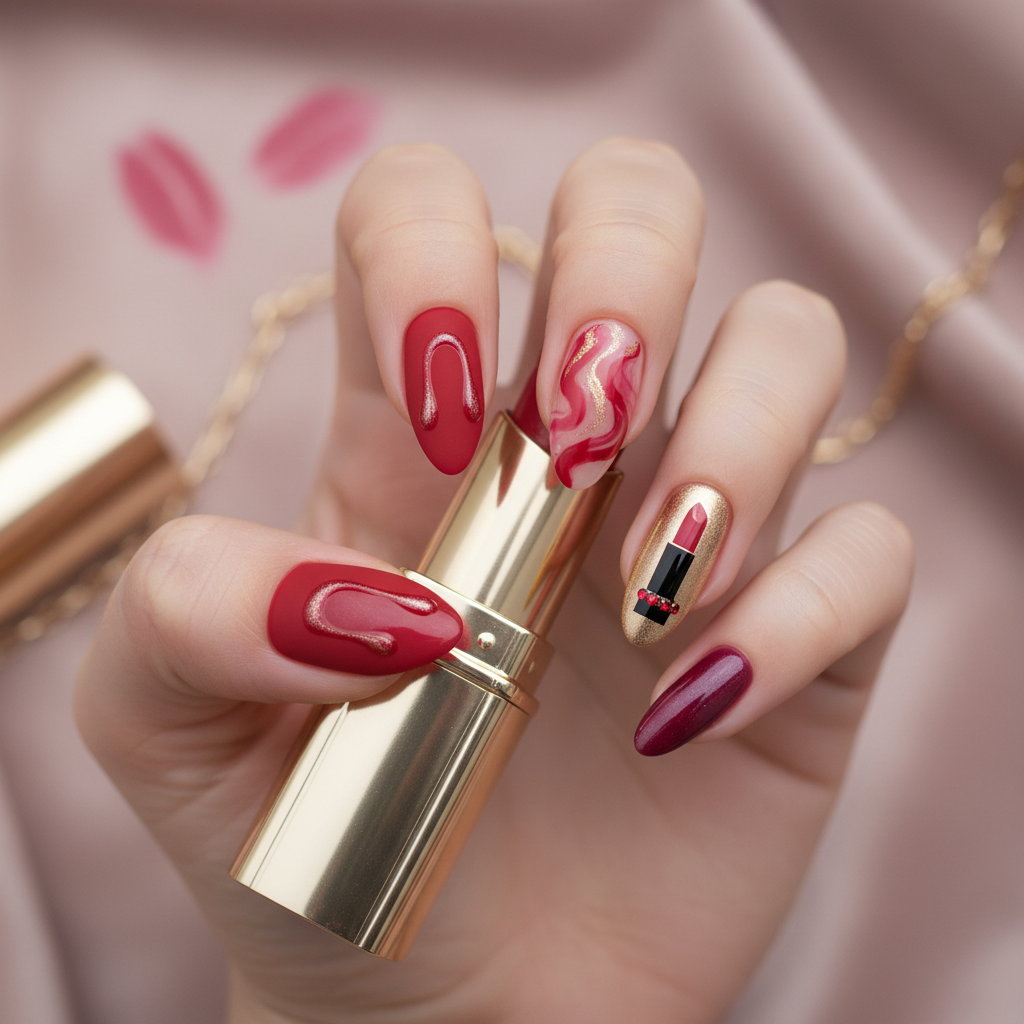
- Create an ombre effect using different shades of red nail polish, blending seamlessly with a makeup sponge.
- Using a fine detail brush and black acrylic paint, create the lipstick tube outline, paying attention to detail.
- Add highlights with white acrylic paint to create a realistic shine.
- Apply a generous layer of glossy top coat to seal the design and enhance the photo-real effect.
- Clean up any smudges with a nail polish remover pen.
Expert Tip
Use a very fine detail brush and high-quality acrylic paints for precise lines and shading. Take your time and build up the colors gradually for a smooth, photo-realistic finish.
Try These Variations
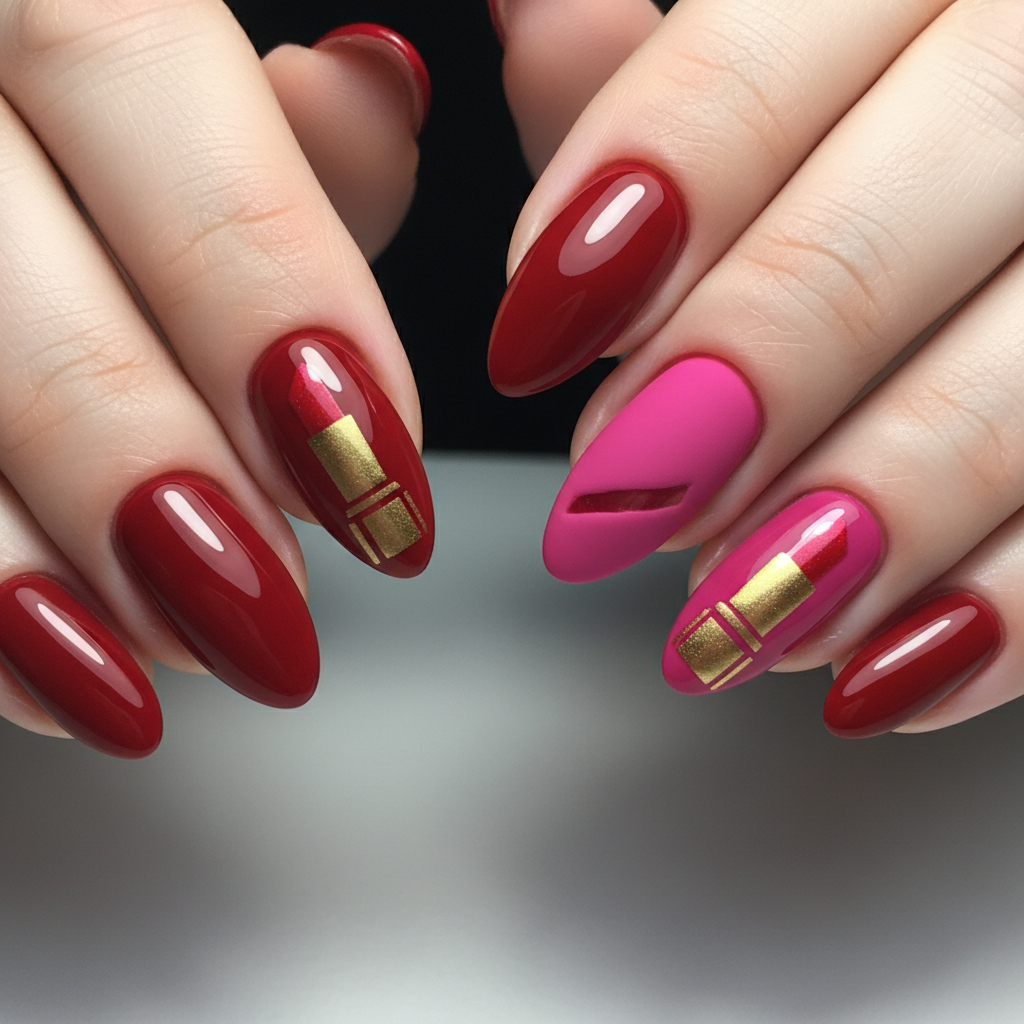
- →Different Lipstick Shades: Experiment with various red, pink, or nude lipstick shades.
- →Matte Finish: Use a matte top coat for a velvet lipstick look.
- →Lipstick Swatch Design: Create a swatch pattern instead of a full lipstick tube.
Aftercare Tips
- ✓Keep your hands and nails hydrated with a rich hand cream.
- ✓Avoid picking or biting your nails.
- ✓Consider using a nail strengthener to prevent breakage.
Safe Removal
- 1.Soak cotton pads in acetone nail polish remover.
- 2.Place the cotton pads on your nails and wrap them with foil.
- 3.Wait 10-15 minutes, then gently remove the polish.
Quick Facts
Why It's Trending
Lipstick-inspired nail art is trending because it's a unique and eye-catching way to express your personality and love for makeup.
Seasonal Styling
Perfect for fall and winter events, or any time you want to add a touch of glamour to your look.
Color Variations
Perfect For
Why People Love It
Nail artists and beauty bloggers are raving about this design for its creativity and realistic look. It's a show-stopping manicure that's sure to turn heads.
Daily Maintenance
- 💅Apply cuticle oil daily to keep nails moisturized.
- 💅Avoid harsh chemicals that can damage the design.
- 💅Wear gloves when doing household chores.
- 💅Reapply top coat every 2-3 days to maintain shine.
Common Issues & Fixes
- ⚠Smudging: Allow each layer to dry completely before applying the next.
- ⚠Uneven lines: Use a steady hand and a fine detail brush.
- ⚠Bubbles in top coat: Apply a thin, even layer of top coat and avoid shaking the bottle too vigorously.
- ⚠Lack of detail: Practice your freehand painting skills on paper before attempting the design on your nails.
Design Inspiration
The inspiration for this design comes from the iconic look and feel of classic lipstick tubes, translating the textures and colors onto the canvas of your nails.
Explore Similar Designs
Colors in this Design
Techniques Used
Perfect For
Nail Shapes
More Categories to Explore
Popular Colors
Popular Techniques
Perfect Occasions
FAQs
How long will this design last?
With proper care, this design can last up to 2 weeks.
Can I use gel polish instead of regular polish?
Yes, you can use gel polish, but you'll need a UV/LED lamp to cure each layer.
Is this design difficult to create?
Yes, it requires advanced freehand painting skills and attention to detail.
What if I don't have a fine detail brush?
You can use a toothpick or a dotting tool, but a fine detail brush will give you the best results.
How do I prevent the design from chipping?
Apply a generous layer of top coat and reapply it every 2-3 days.
Can I use a different shape for the nails?
Yes, almond or coffin shapes are recommended, but you can adapt the design to other nail shapes.