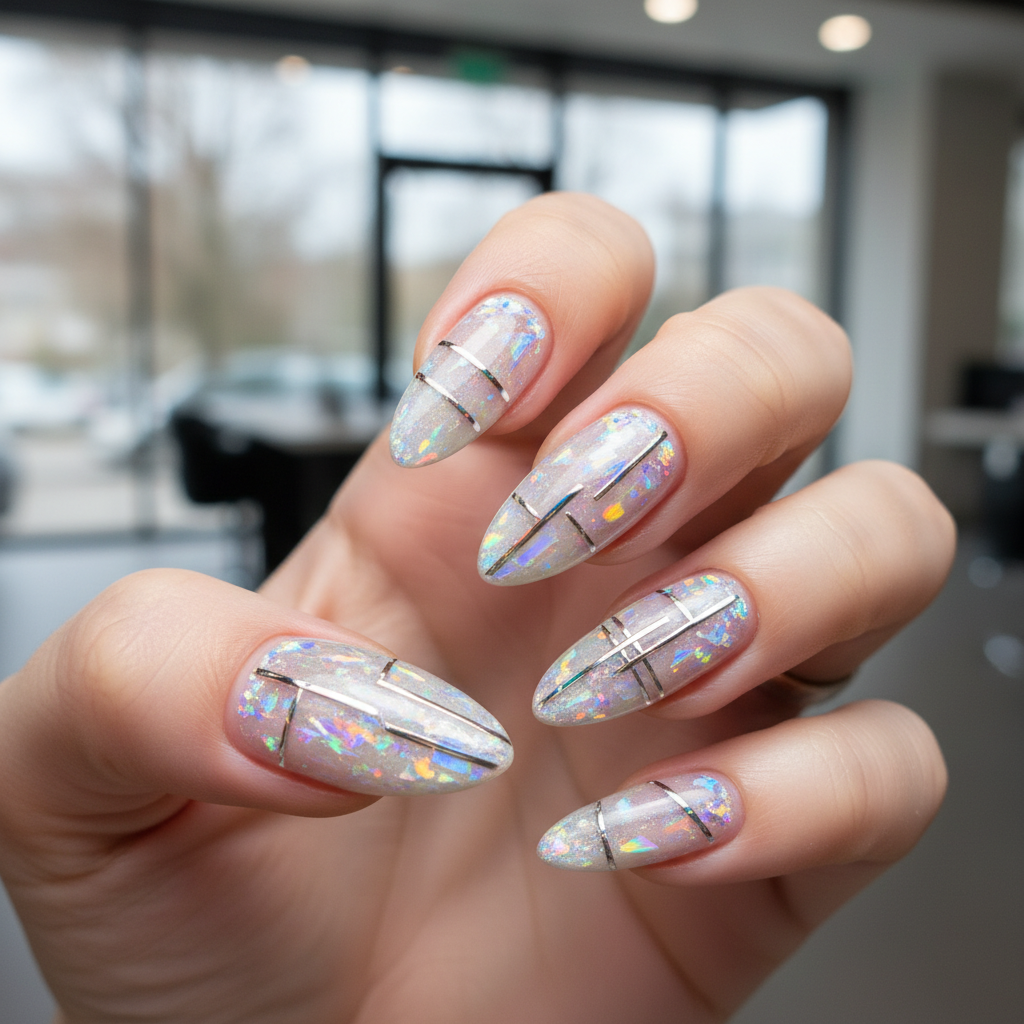
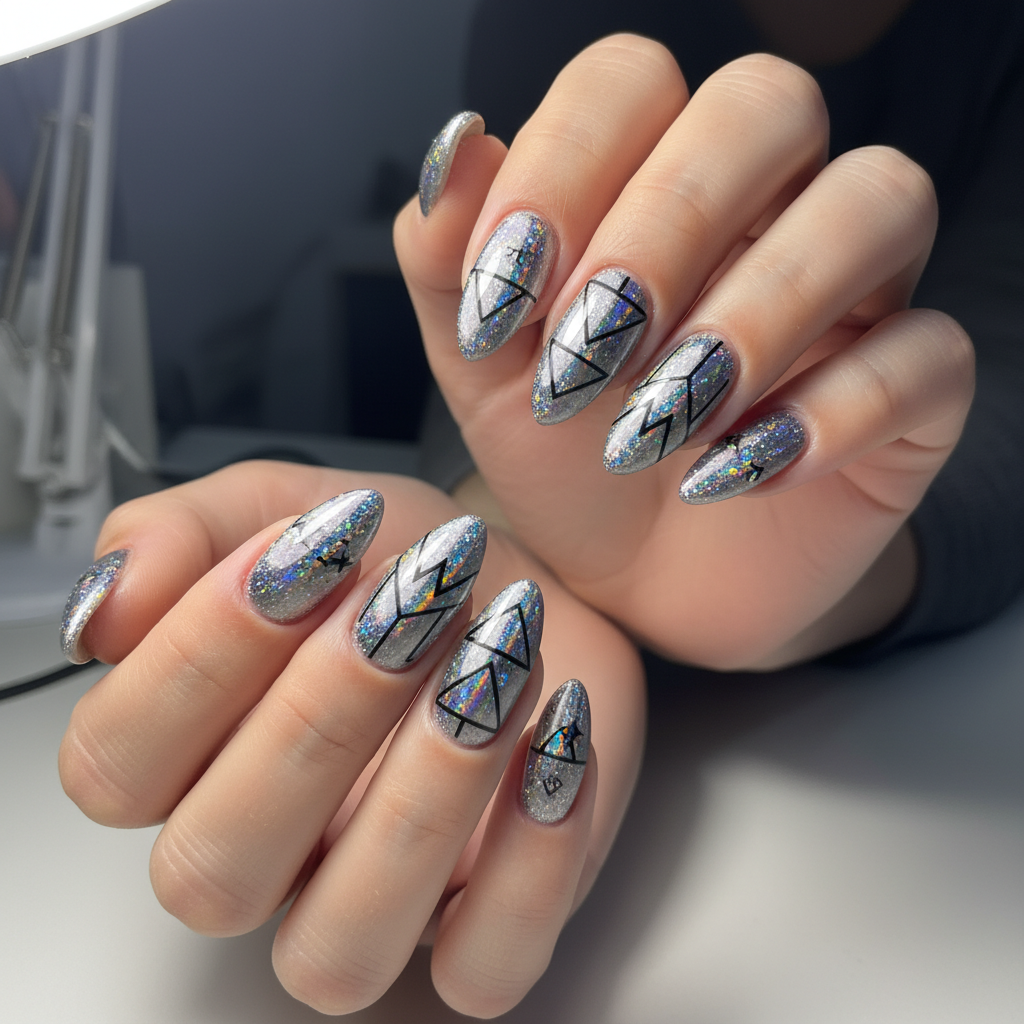
Photo-real Salon Holographic Nails
Holographic inspired nail art with clean, photo-real finish and professional salon quality
Created: October 5, 2025 at 12:05 PM
More Holographic Designs
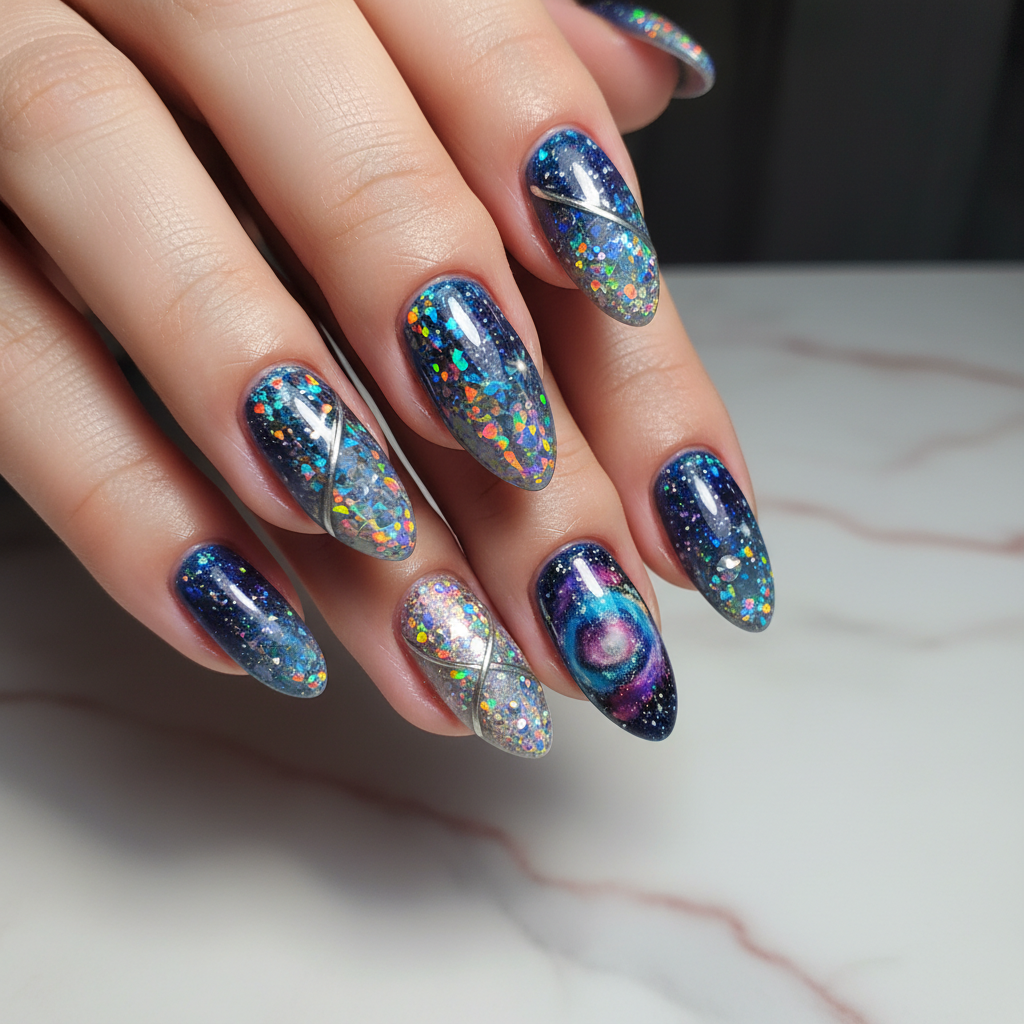
Beautiful Photo-real Salon Holographic Nails
Holographic inspired nail art with beautiful, photo-real finish and professional salon quality
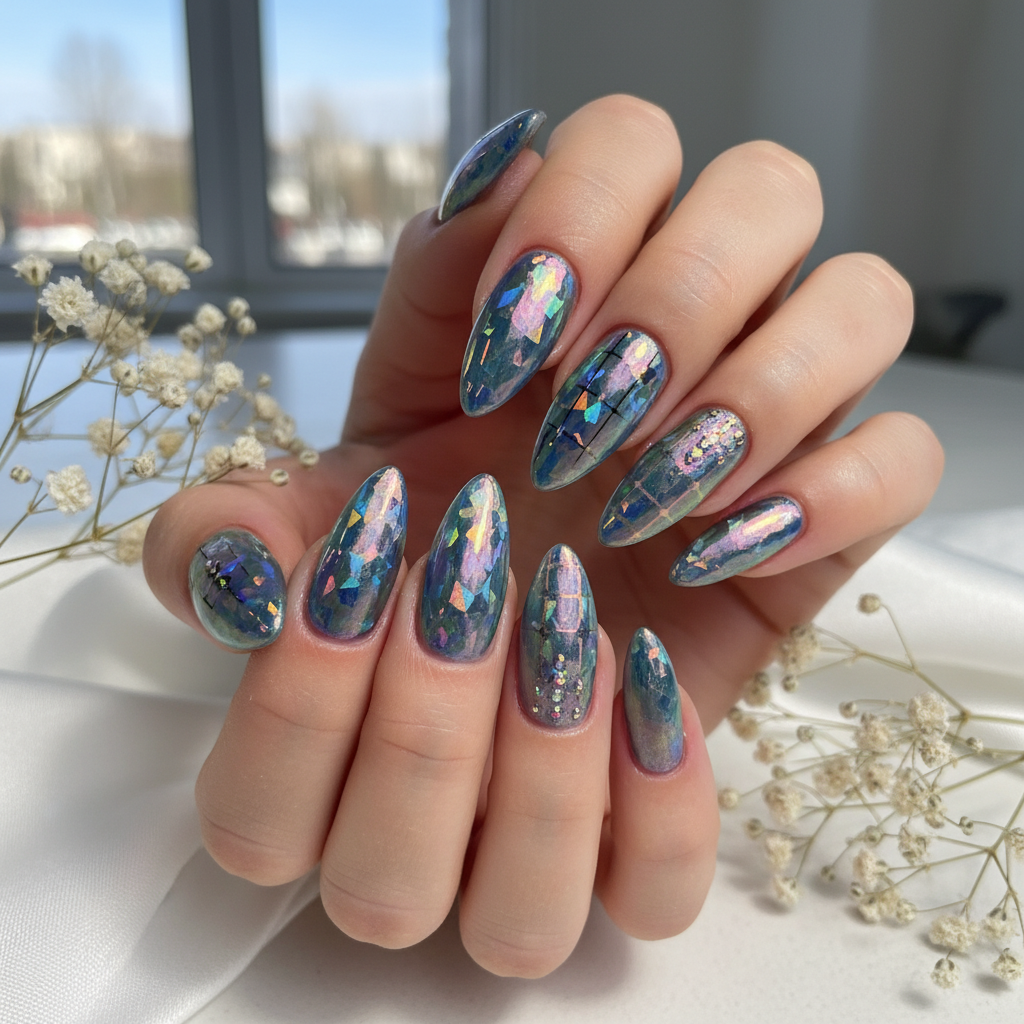
Gorgeous Photo-real Salon Holographic Nails
Holographic inspired nail art with gorgeous, photo-real finish and professional salon quality
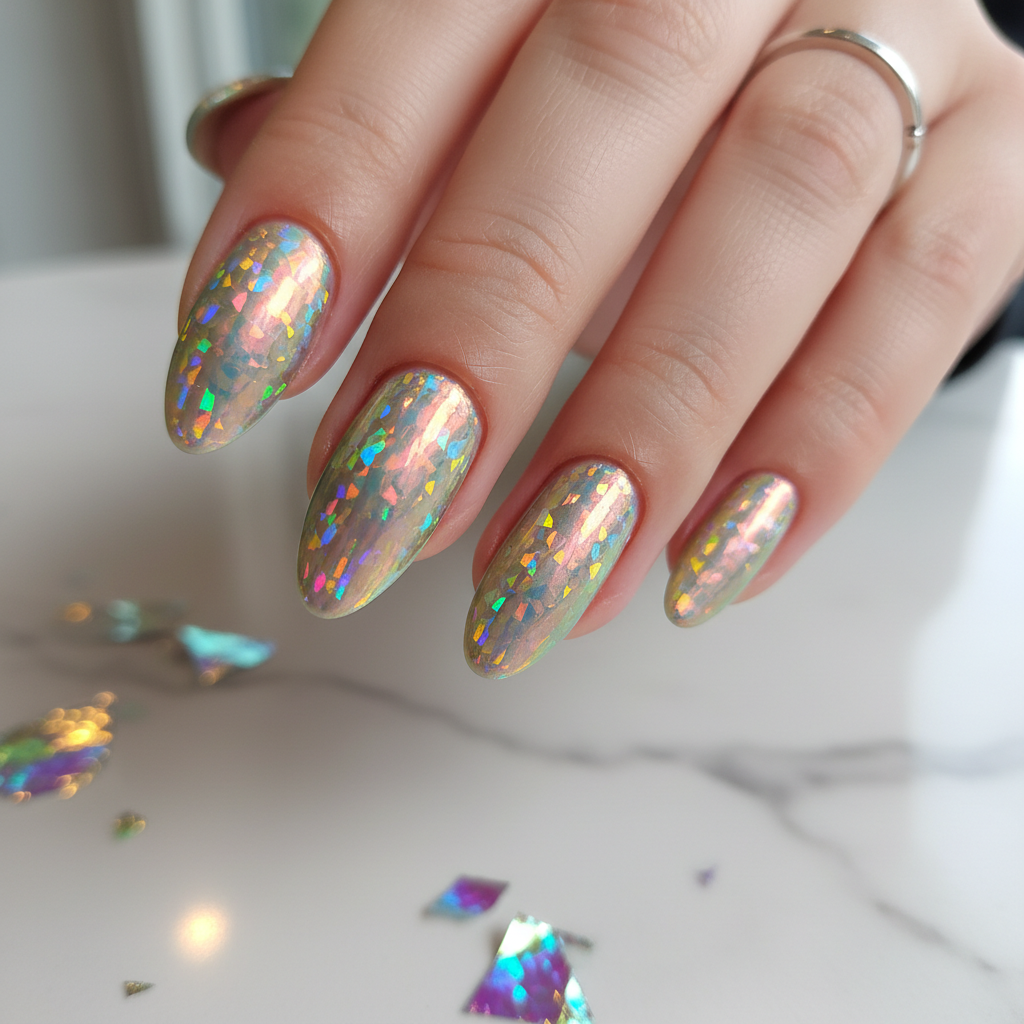
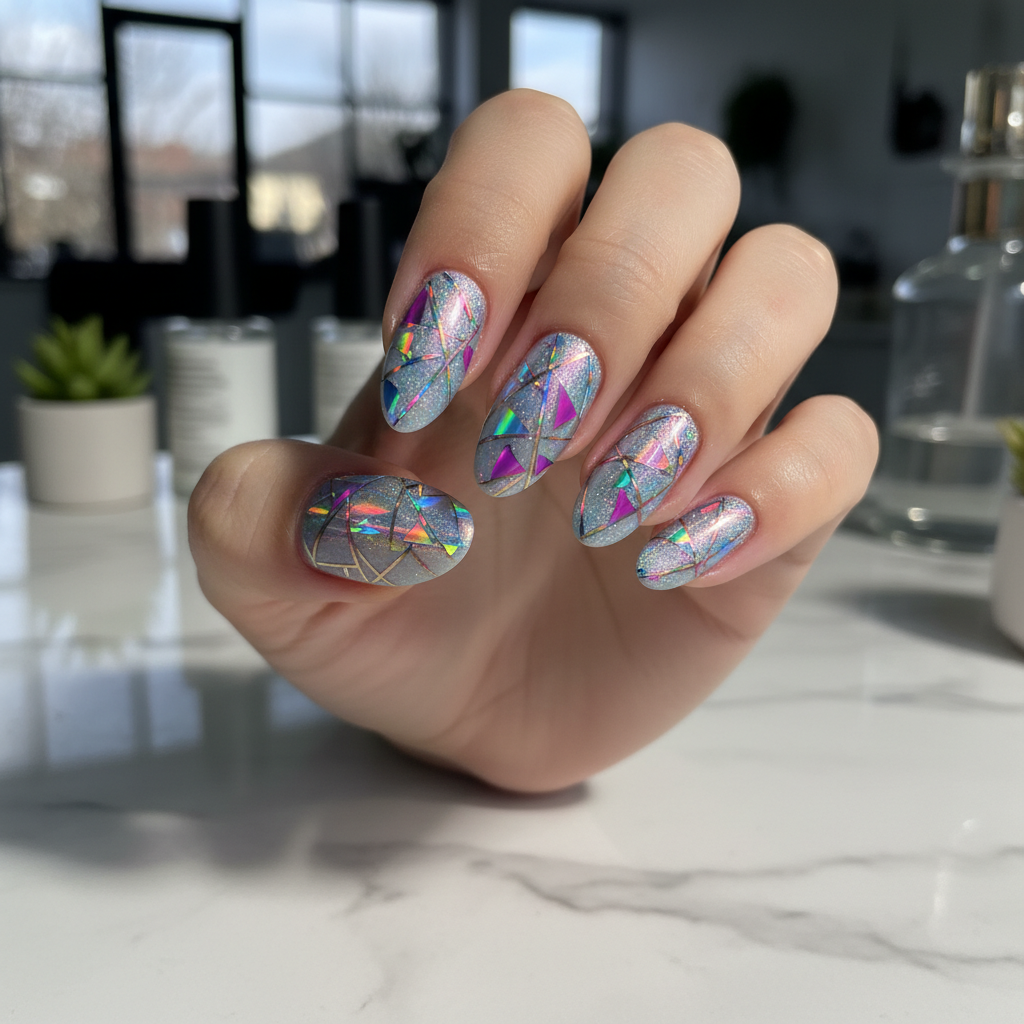
Stunning Photo-real Salon Holographic Nails
Holographic inspired nail art with stunning, photo-real finish and professional salon quality
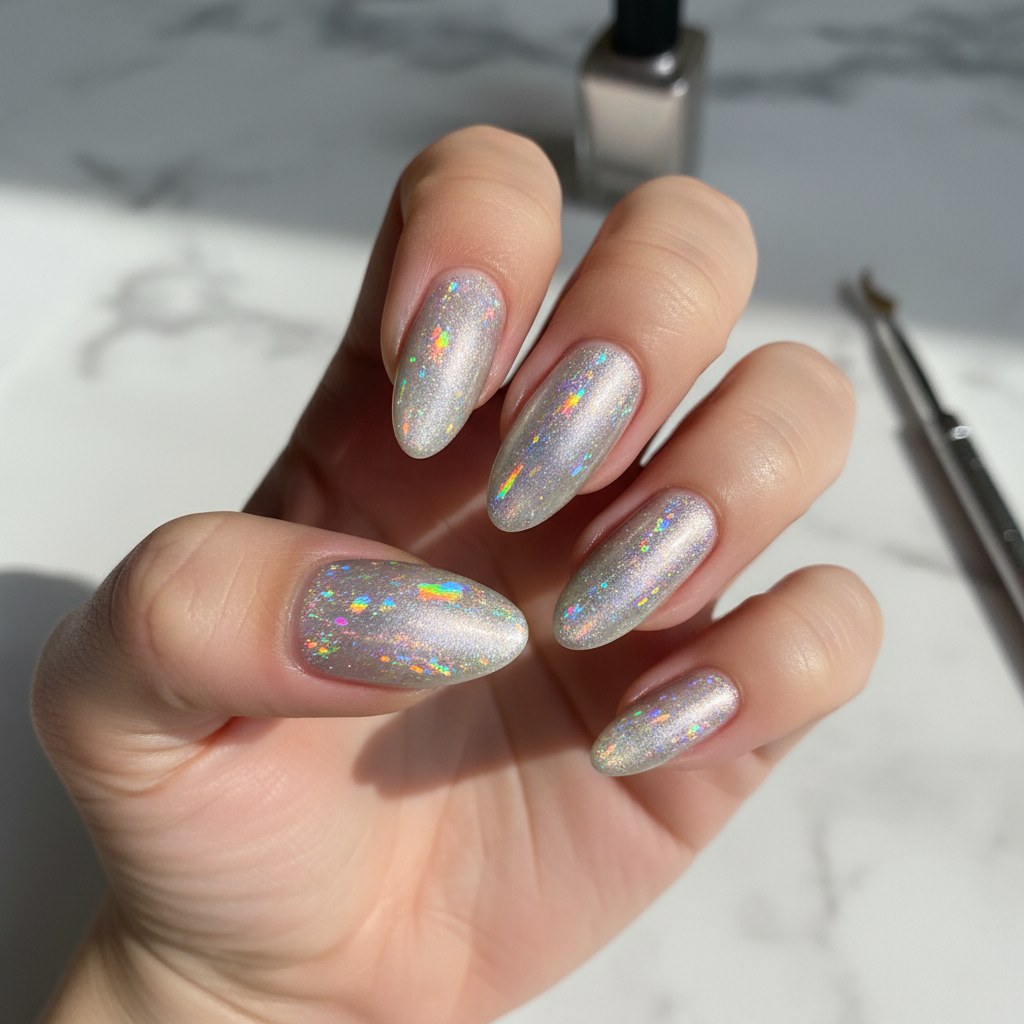
Beautiful Photo-real Salon Holographic Nails
Holographic inspired nail art with beautiful, photo-real finish and professional salon quality

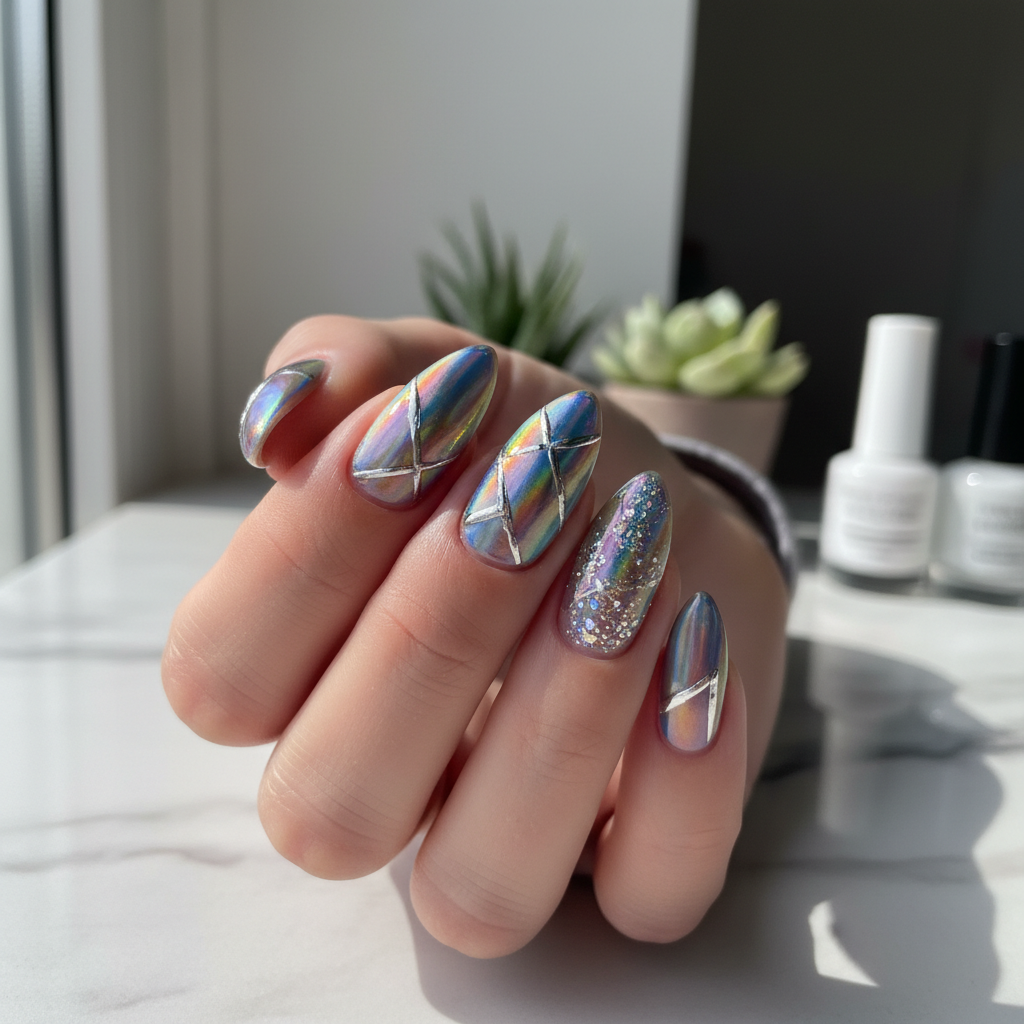
Sophisticated Photo-real Salon Holographic Nails
Holographic inspired nail art with sophisticated, photo-real finish and professional salon quality
Gorgeous Photo-real Salon Holographic Nails
Holographic inspired nail art with gorgeous, photo-real finish and professional salon quality
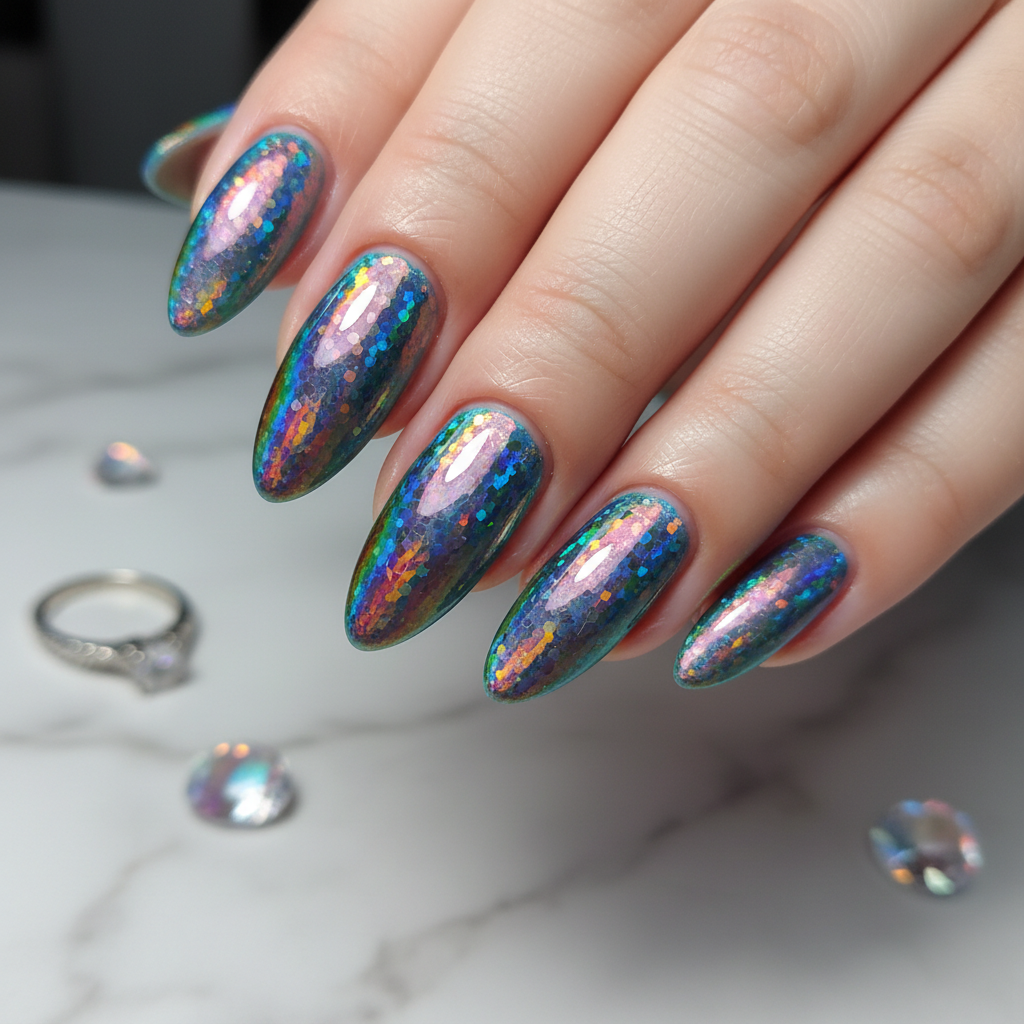
Beautiful Photo-real Salon Holographic Nails
Holographic inspired nail art with beautiful, photo-real finish and professional salon quality
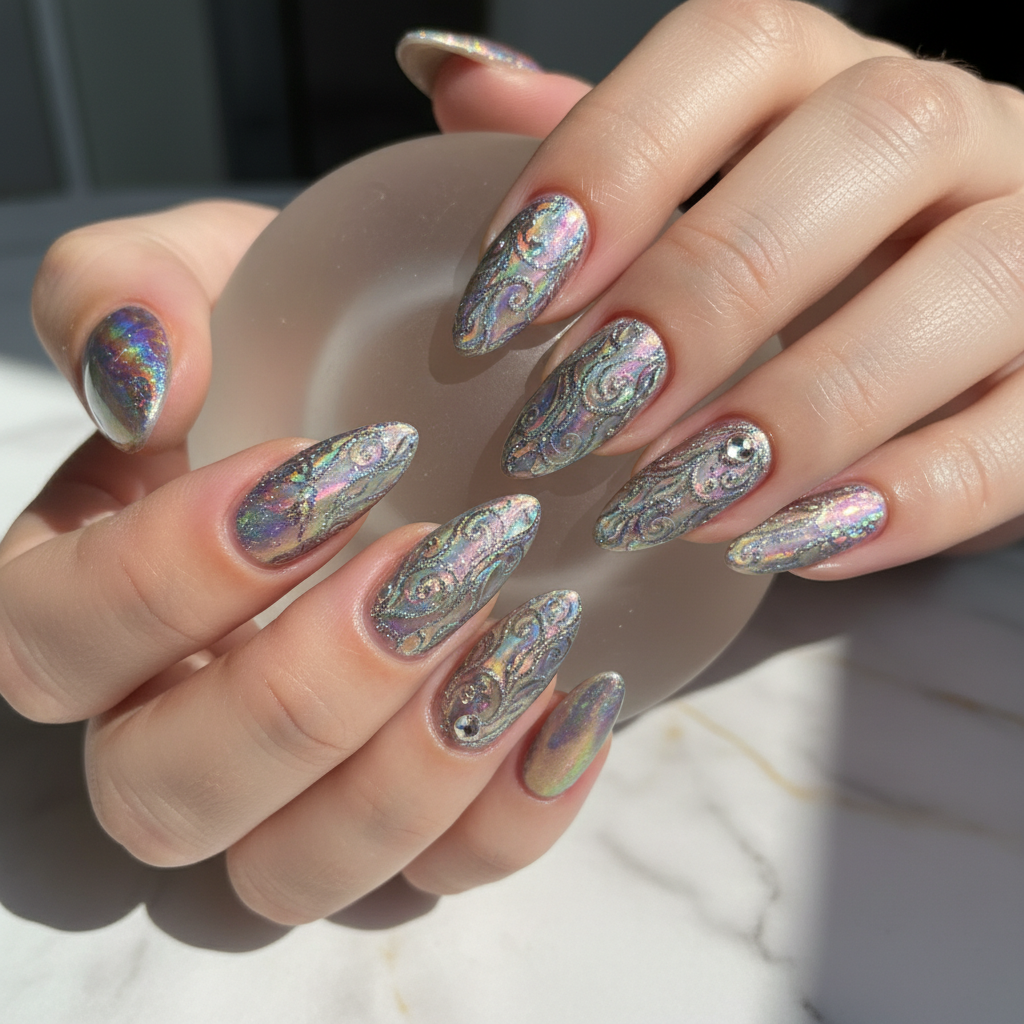
Photo-real Salon Holographic Nails
Holographic inspired nail art with elegant, photo-real finish and professional salon quality
Stunning Photo-real Salon Holographic Nails
Holographic inspired nail art with stunning, photo-real finish and professional salon quality
Gorgeous Photo-real Salon Holographic Nails
Holographic inspired nail art with gorgeous, photo-real finish and professional salon quality
More Designs
Dazzling Photo-Real Holographic Nail Design
Achieve salon-quality holographic nails with this mesmerizing design. This look combines a clean application with the captivating shimmer of holographic pigments, creating a photo-real finish that's sure to turn heads.
Supplies You'll Need
- Base Coat
- Gel Polish (matching holographic pigment undertone)
- Holographic Pigment Powder
- Gel Top Coat
- Applicator Brush (for pigment)
- UV/LED Lamp
How To Recreate It
- Apply a thin layer of base coat and cure under UV/LED lamp.
- Apply two coats of gel polish (color matching the desired holographic effect) and cure after each coat.
- Using an applicator brush, gently rub the holographic pigment powder onto the nail surface until a smooth, reflective layer is achieved.
- Dust off any excess pigment powder with a clean brush.
- Apply a layer of gel top coat to seal the design and cure under the lamp.
- Cleanse the nails with alcohol to remove any sticky residue.
Expert Tip
Apply the holographic pigment in thin layers and buff gently to avoid a grainy texture. Use a high-quality top coat to ensure a smooth and glossy finish that enhances the holographic effect.
Try These Variations
- →Holographic Tips: Apply holographic pigment only to the tips of the nails for a modern French manicure.
- →Ombre Holographic: Blend holographic pigment from the cuticle towards the free edge for an ombre effect.
- →Accent Nail: Use holographic pigment on only one nail per hand for a subtle touch of shimmer.
Aftercare Tips
- ✓Moisturize hands and cuticles regularly.
- ✓Avoid picking or biting your nails.
- ✓Use a gentle nail polish remover when removing the design.
Safe Removal
- 1.File off the top layer of the gel polish.
- 2.Soak cotton pads in acetone and wrap them around each nail. Secure with foil.
- 3.After 10-15 minutes, gently remove the soaked cotton pads and push off the softened gel polish with a cuticle pusher.
Quick Facts
Why It's Trending
Holographic nails are trending due to their futuristic and eye-catching appearance, offering a unique twist on classic nail styles.
Seasonal Styling
Perfect for any season, but especially stunning during summer festivals and holiday parties where the light can enhance the holographic effect.
Color Variations
Perfect For
Why People Love It
This design is popular on social media for its futuristic and eye-catching appearance, with many users praising its salon-quality finish.
Daily Maintenance
- 💅Apply cuticle oil daily to keep nails hydrated.
- 💅Avoid harsh chemicals and detergents to prevent chipping.
- 💅Wear gloves when doing housework or gardening.
- 💅Consider applying another layer of top coat after a week to prolong the design.
Common Issues & Fixes
- ⚠Uneven Holographic FinishEnsure the base color is applied evenly and that the holographic pigment is buffed in consistently. Try applying with a sponge applicator.
- ⚠Holographic Pigment Not AdheringThe gel polish may not be tacky enough. Try curing for a slightly shorter time or using a different gel polish.
- ⚠Chipping Top CoatApply a generous layer of top coat, making sure to seal the edges of the nail. Ensure the top coat is fully cured under the lamp.
- ⚠Dull Holographic EffectThe holographic pigment may be low quality, or the top coat is too thick. Try using a different pigment and a thinner top coat.
Design Inspiration
Inspired by futuristic aesthetics and the desire to create a nail design that reflects light in a captivating and dynamic way, mimicking the visual effects of advanced holographic technology.
Explore Similar Designs
Colors in this Design
Techniques Used
Perfect For
Nail Shapes
More Categories to Explore
Popular Colors
Popular Techniques
Perfect Occasions
FAQs
Can I achieve this look with regular nail polish?
While possible, it's much easier to achieve a smooth, photo-real finish with gel polish due to its longer-lasting tackiness for the pigment to adhere to.
What is the best type of holographic pigment to use?
Ultra-fine holographic pigment powder is recommended for a seamless, reflective finish. Avoid chunky glitters.
How long does this design typically last?
With proper application and maintenance, this design can last up to two weeks without chipping.
Can I apply nail art on top of this holographic design?
Yes, but use a light touch to avoid scratching the holographic surface. Consider using decals or stamping designs.
Is a special UV/LED lamp required for this design?
Yes, a UV/LED lamp is essential for curing the gel polish and top coat.
Can I use a top coat that's not gel?
It's recommended to use a gel top coat to preserve the photo-real look and seal the holographic design properly. Non-gel top coats may not provide adequate protection or shine.