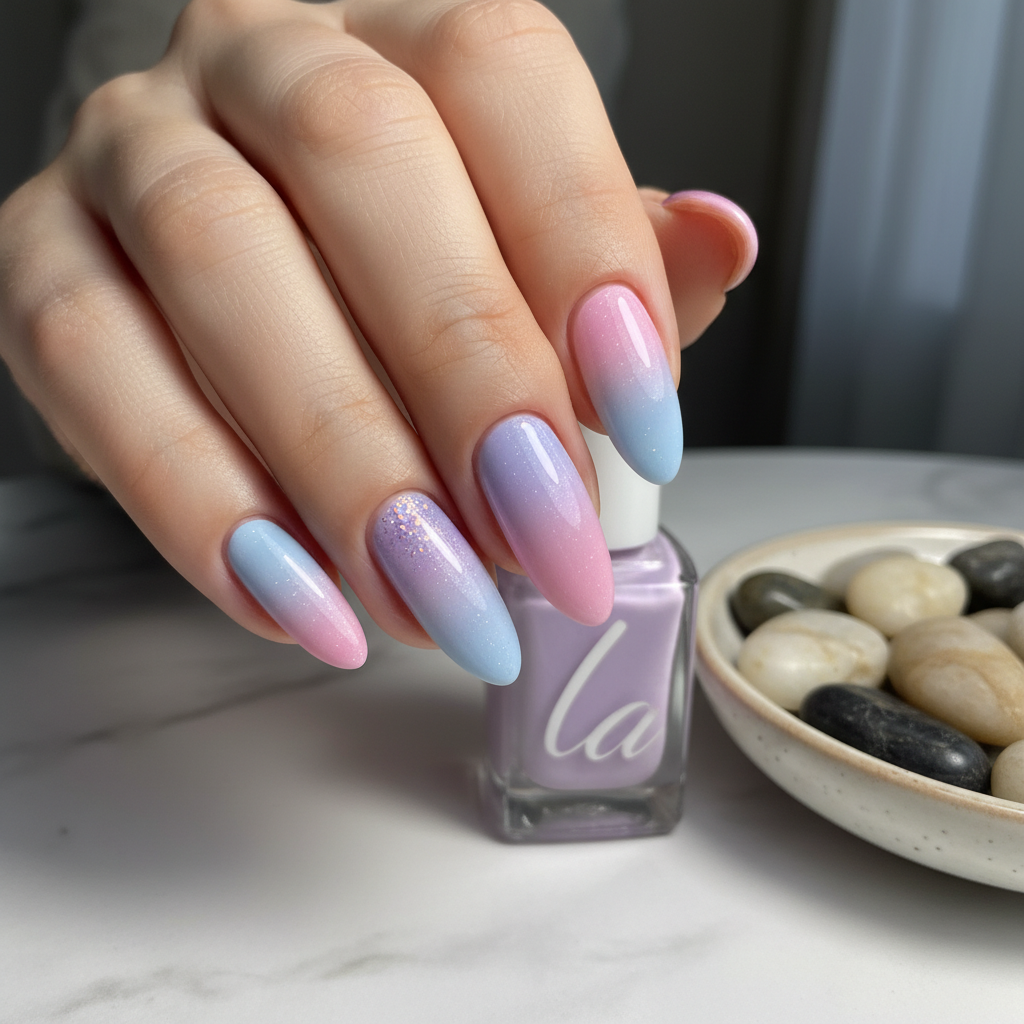
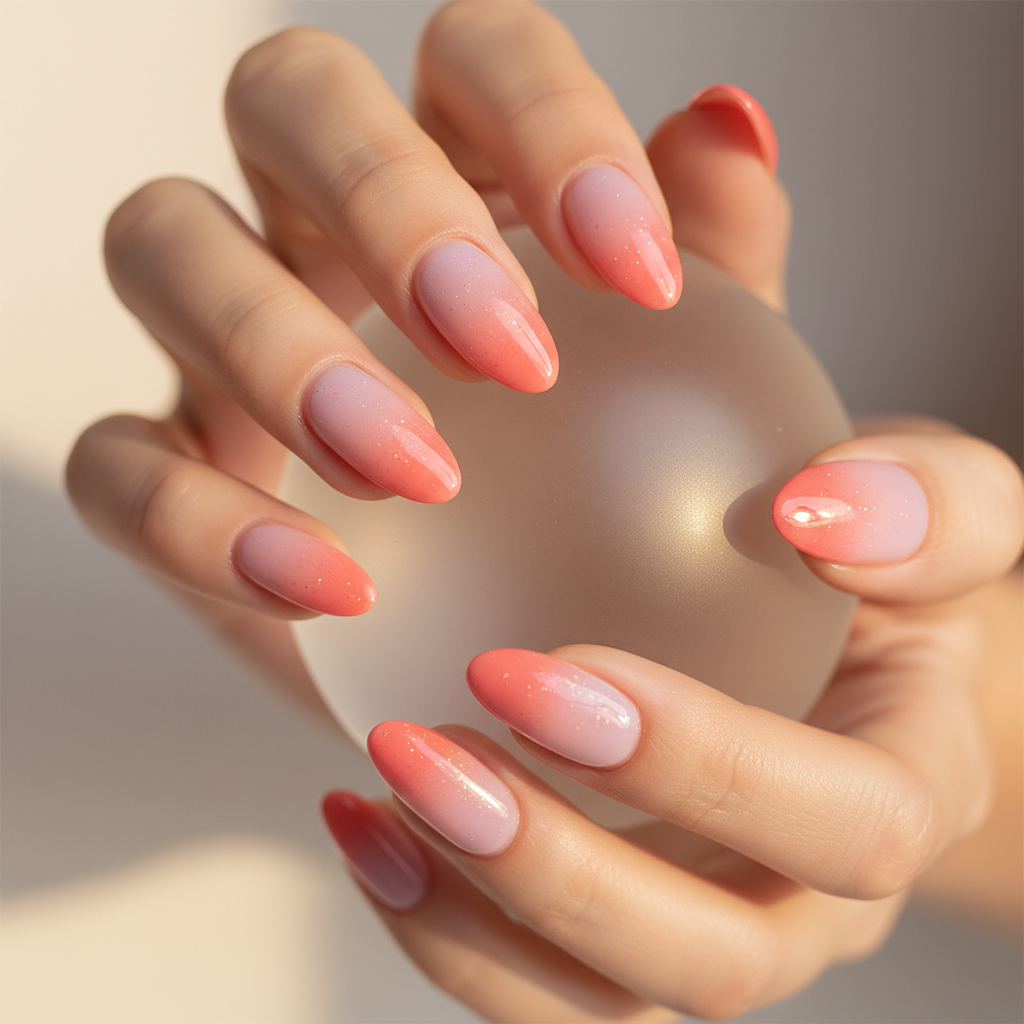
Photo-real Salon Gradient Nails
Gradient inspired nail art with clean, photo-real finish and professional salon quality
Created: October 5, 2025 at 11:54 AM
More Gradient Designs
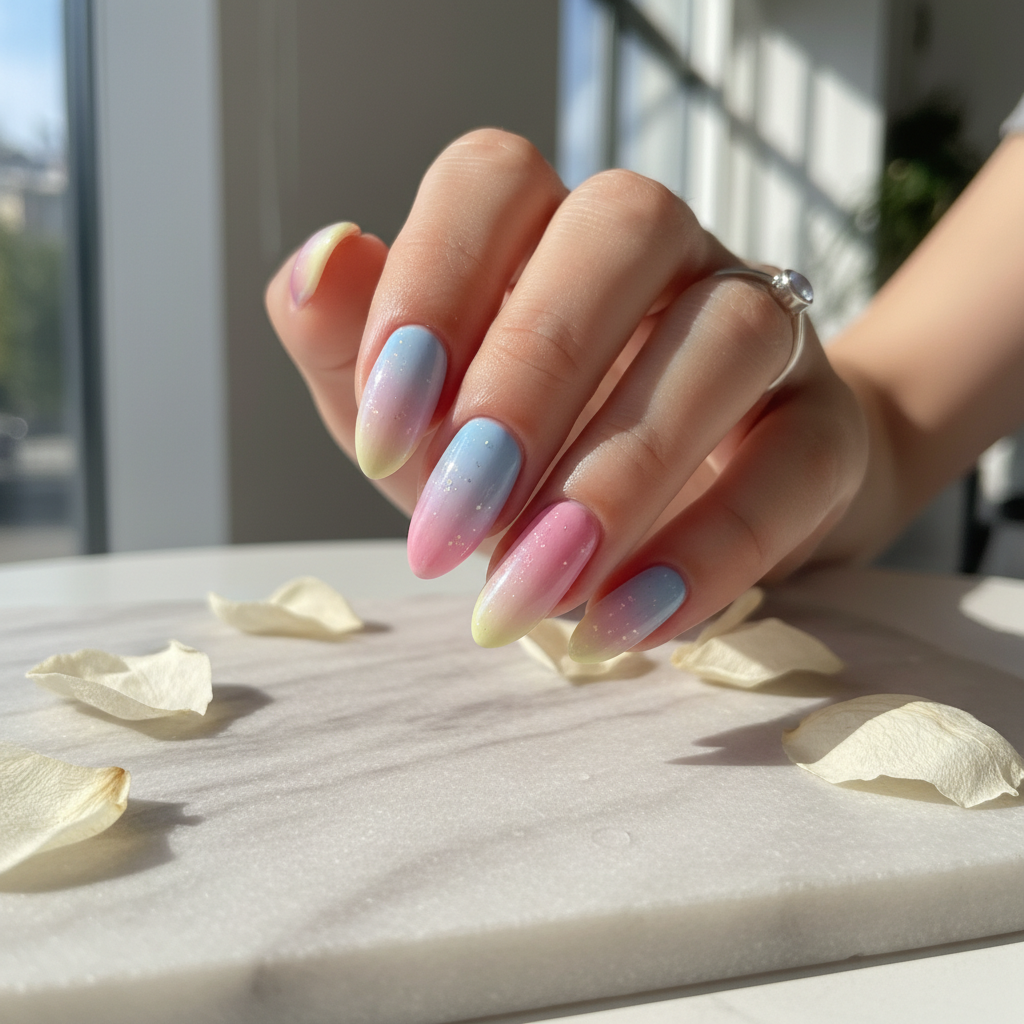
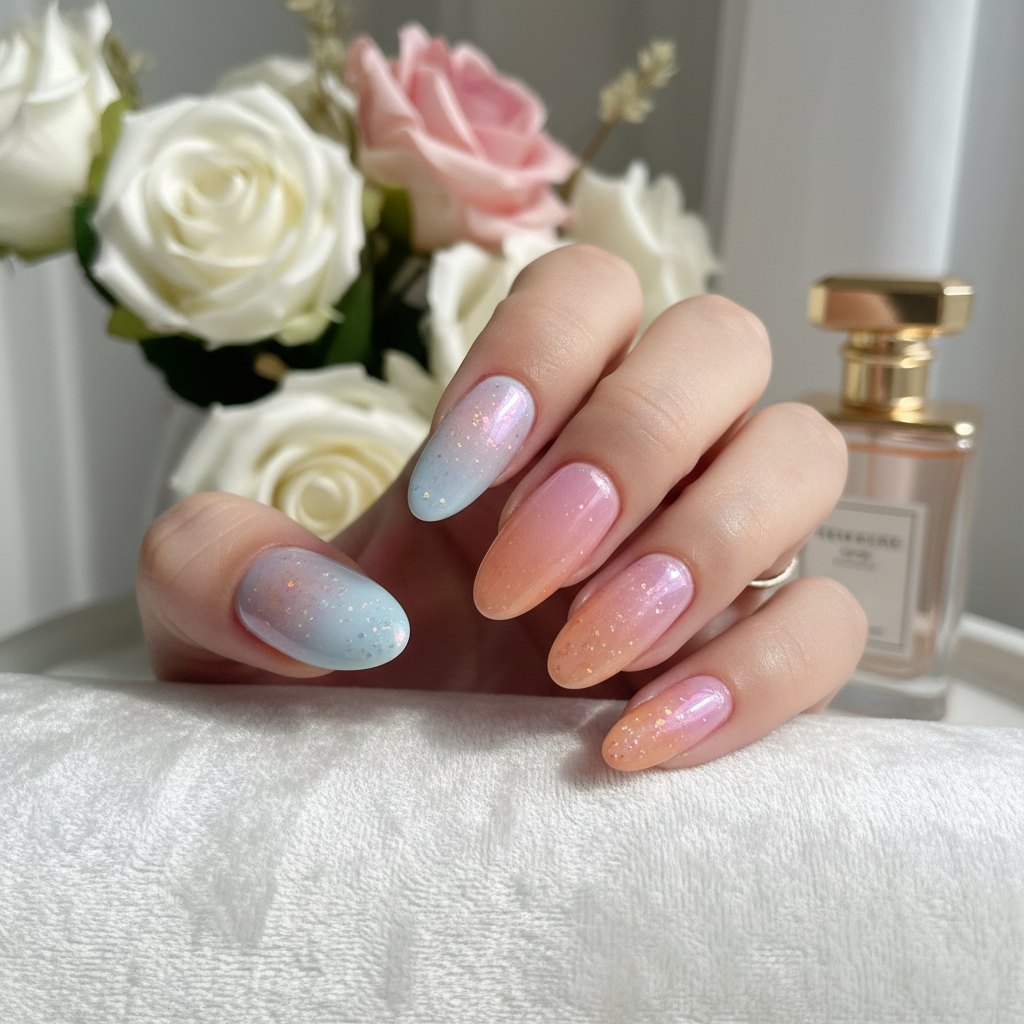
Beautiful Photo-real Salon Gradient Nails
Gradient inspired nail art with beautiful, photo-real finish and professional salon quality
Beautiful Photo-real Salon Gradient Nails
Gradient inspired nail art with beautiful, photo-real finish and professional salon quality
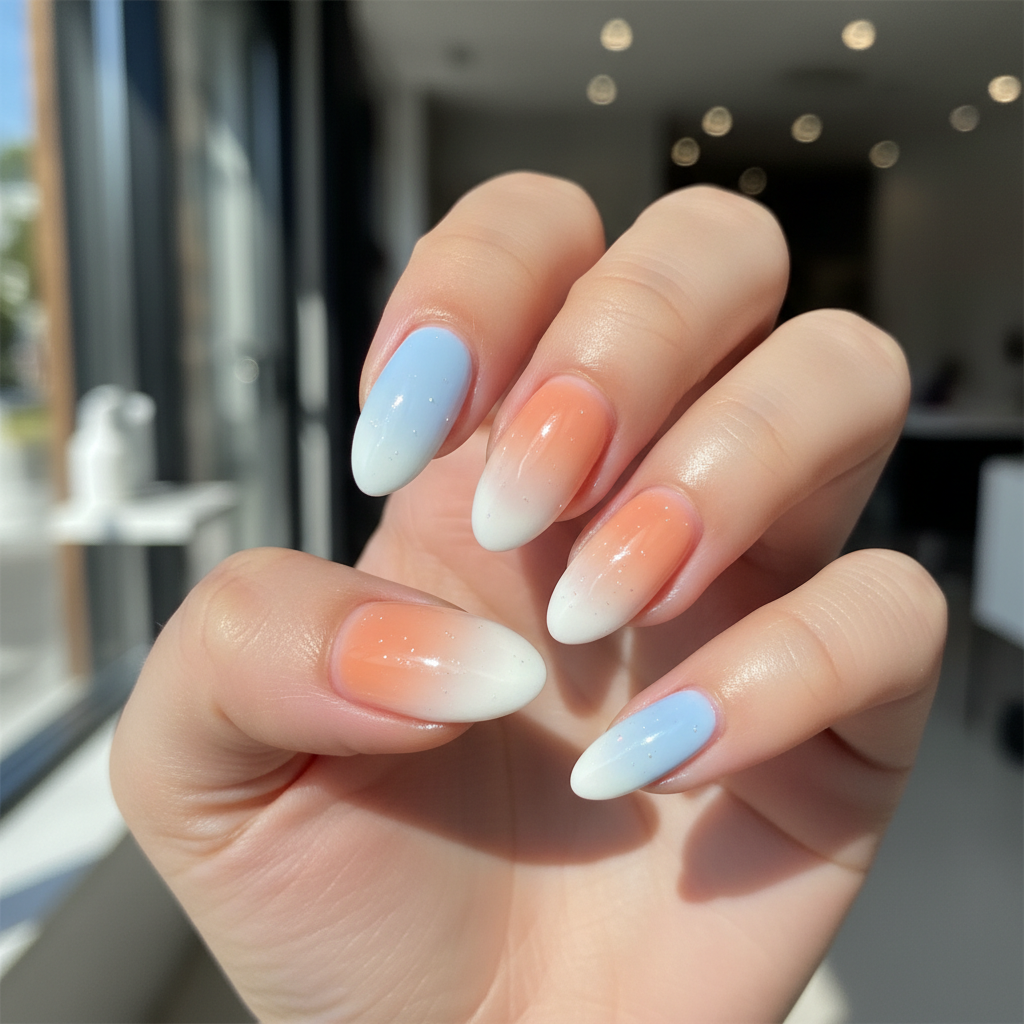
Gorgeous Photo-real Salon Gradient Nails
Gradient inspired nail art with gorgeous, photo-real finish and professional salon quality
Gorgeous Photo-real Salon Gradient Nails
Gradient inspired nail art with gorgeous, photo-real finish and professional salon quality
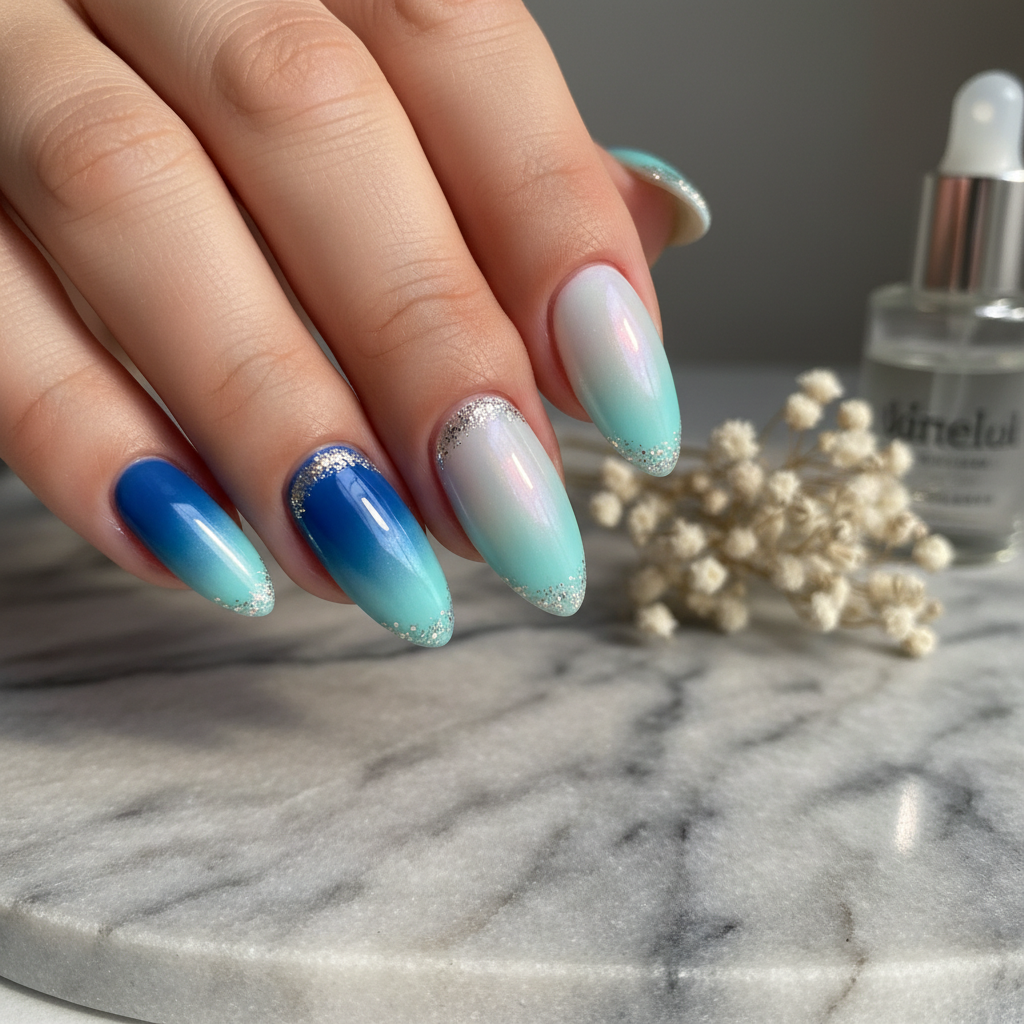
Stunning Photo-real Salon Gradient Nails
Gradient inspired nail art with stunning, photo-real finish and professional salon quality

Sophisticated Photo-real Salon Gradient Nails
Gradient inspired nail art with sophisticated, photo-real finish and professional salon quality

Stunning Photo-real Salon Gradient Nails
Gradient inspired nail art with stunning, photo-real finish and professional salon quality
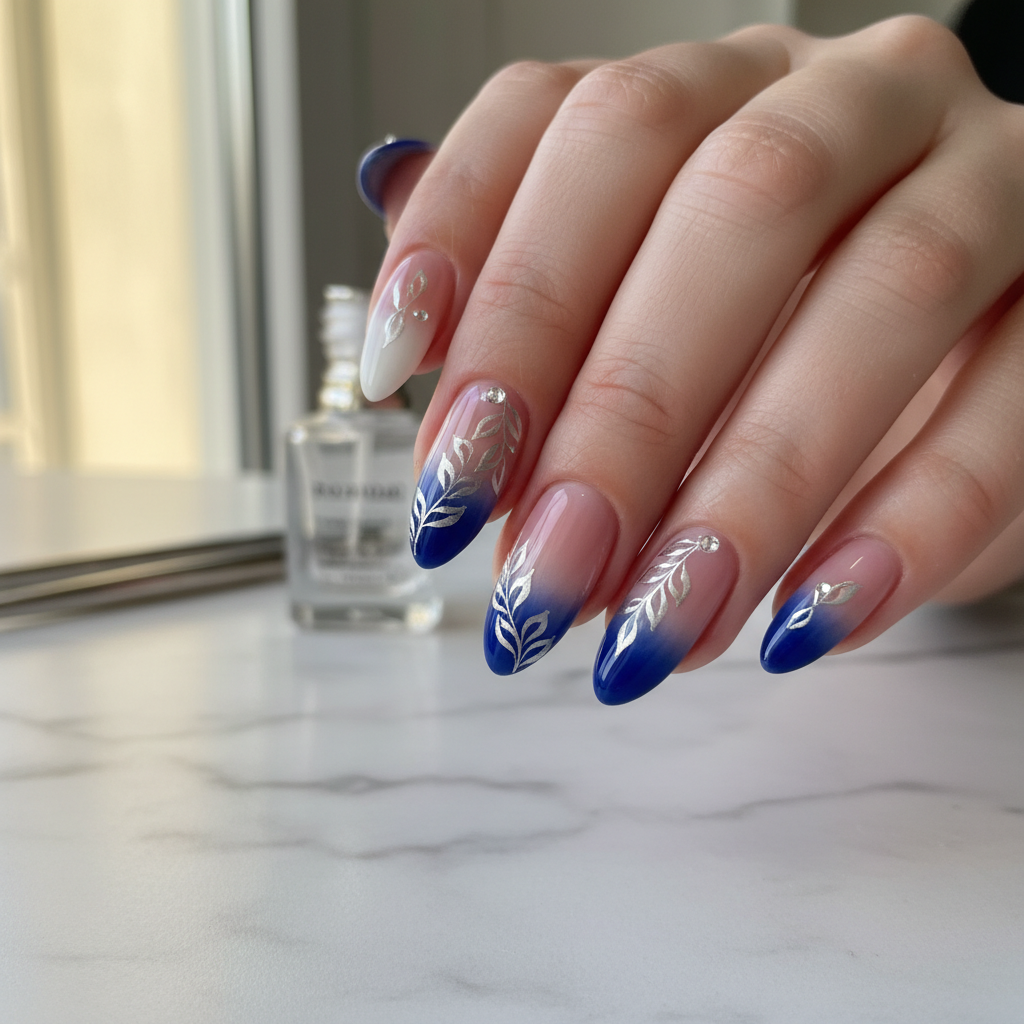
Photo-real Salon Gradient Nails
Gradient inspired nail art with elegant, photo-real finish and professional salon quality
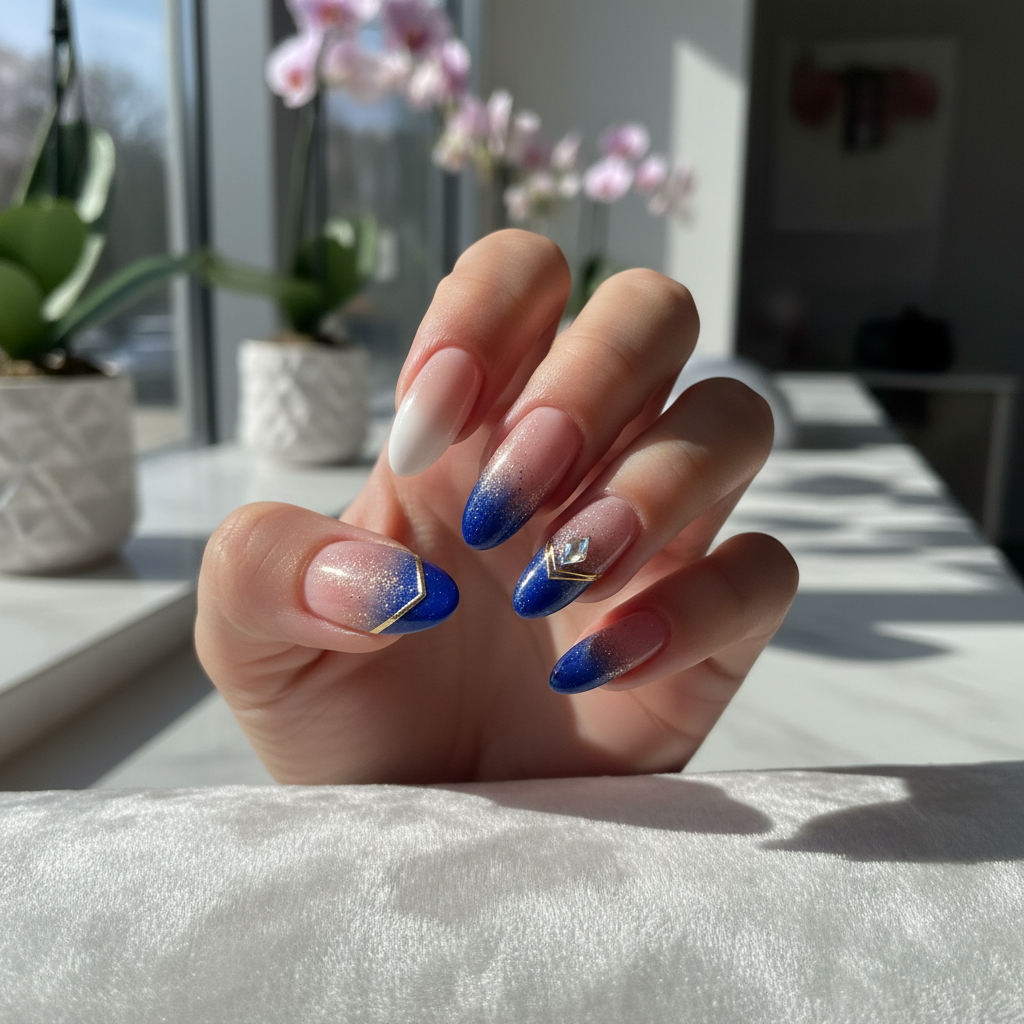
Photo-real Salon Gradient Nails
Gradient inspired nail art with elegant, photo-real finish and professional salon quality
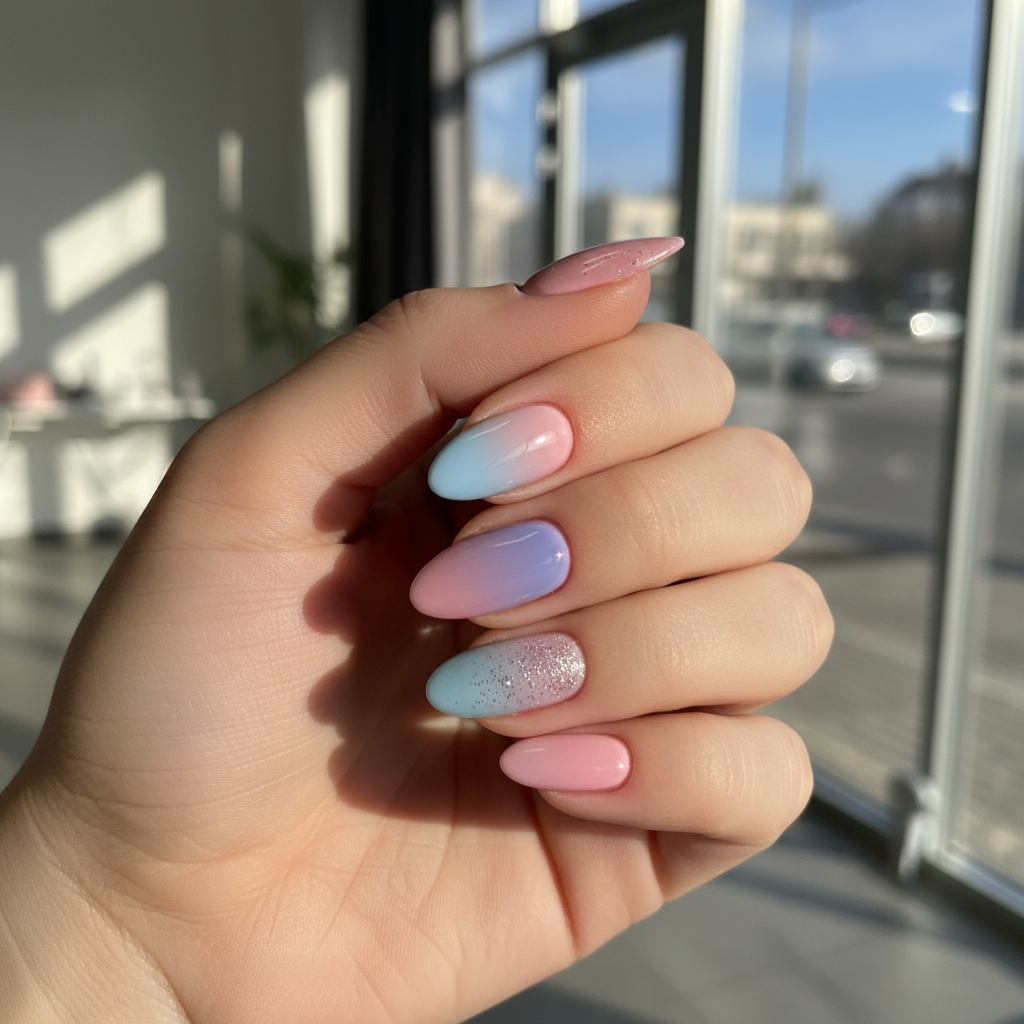
Photo-real Salon Gradient Nails
Gradient inspired nail art with clean, photo-real finish and professional salon quality
More Designs
Salon Gradient Nails: Clean & Photo-Real Nail Art
Achieve a flawless, salon-quality gradient effect at home with this photo-real nail design. This clean and sophisticated look blends colors seamlessly for a professional finish that's sure to impress.
Supplies You'll Need
- Base coat
- 2-3 gradient nail polish colors
- Makeup sponge or airbrush
- Top coat
- Cuticle oil
- Liquid latex or tape (optional)
How To Recreate It
- Apply a base coat to protect your nails.
- Apply a base color (the lightest shade) to all nails and let dry completely.
- Apply a thin layer of liquid latex or tape around your cuticles to protect the skin.
- Apply the gradient by dabbing the colors onto a makeup sponge, overlapping slightly, and gently press onto the nail. Repeat for desired opacity.
- Clean up any polish on the skin with a brush and nail polish remover.
- Finish with a glossy top coat for shine and longevity.
Expert Tip
Use a slightly damp makeup sponge for a smoother gradient application, preventing the polish from absorbing too quickly. Multiple thin layers of the gradient will create a more seamless blend than one thick layer.
Try These Variations
- →Glitter Gradient: Add a glitter top coat or use glitter polish for the gradient.
- →Vertical Gradient: Apply the gradient vertically instead of horizontally.
- →Reverse Gradient: Use darker shades at the cuticle and lighter shades at the free edge.
Aftercare Tips
- ✓Moisturize hands regularly.
- ✓Wear gloves when doing housework or gardening.
- ✓Avoid using your nails as tools.
Safe Removal
- 1.Soak cotton pads in acetone nail polish remover.
- 2.Place the soaked pads on your nails and wrap with foil. Let sit for 10-15 minutes.
- 3.Gently remove the foil and pads, and wipe away any remaining polish.
Quick Facts
Why It's Trending
Gradient nails are trending due to their versatility and ability to be customized with various colors and finishes, creating a unique and eye-catching look.
Seasonal Styling
Perfect for spring and summer to showcase vibrant color combinations, or adapt for fall and winter with rich, muted tones.
Color Variations
Perfect For
Why People Love It
This design is highly sought after for its elegant and refined look, allowing users to achieve salon-quality results from the comfort of their home. The blending technique provides a photo-real effect.
Daily Maintenance
- 💅Apply cuticle oil daily to keep nails hydrated.
- 💅Reapply top coat every 2-3 days to prevent chipping.
- 💅Avoid harsh chemicals and excessive water exposure.
Common Issues & Fixes
- ⚠Uneven gradientApply more layers of the gradient and blend carefully with the sponge.
- ⚠Streaky finishUse a high-quality top coat and apply in thin, even layers.
- ⚠Polish absorbing into the sponge too quicklyDampen the sponge with water or a quick-drying base coat before applying the polish.
Design Inspiration
Inspired by the seamless color transitions and refined aesthetic of professional salon nail art, aiming to replicate the photo-real quality at home.
Explore Similar Designs
Colors in this Design
Techniques Used
Perfect For
Nail Shapes
More Categories to Explore
Popular Colors
Popular Techniques
Perfect Occasions
FAQs
What's the best sponge for gradient nails?
A makeup sponge with a fine pore structure works best. Wedge sponges are a popular choice.
Can I use regular nail polish for a gradient?
Yes, but gel polish tends to blend better and last longer.
How do I prevent the polish from getting on my skin?
Use liquid latex or tape around your cuticles before applying the gradient.
How many layers of gradient should I apply?
2-3 thin layers are usually sufficient for good coverage and blending.
What's the key to a smooth gradient?
Blending, blending, blending! Make sure the colors overlap slightly and blend seamlessly with the sponge.
What top coat is best to use?
A thick gel top coat or quick dry top coat can create a high shine finish and blend any imperfections of the colors.