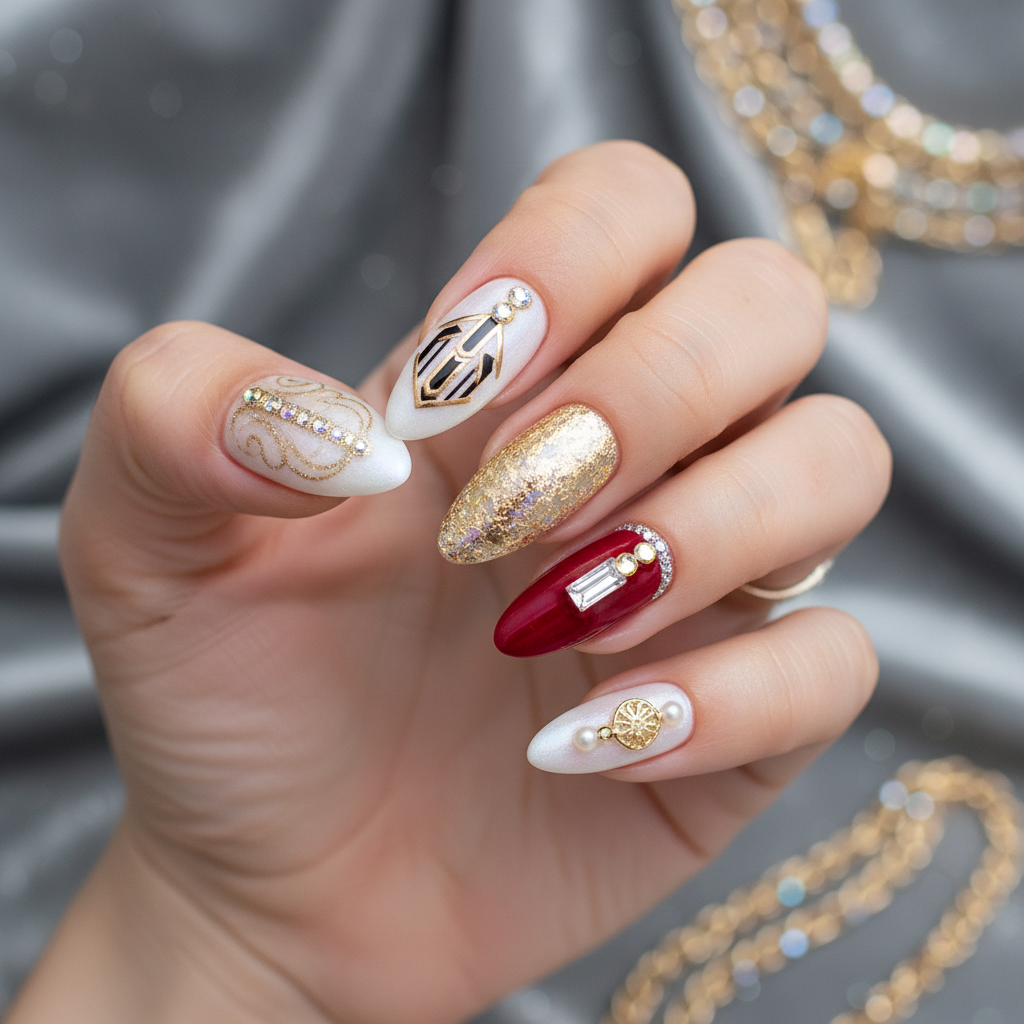
Photo-real Salon Glamour Nails
Glamour inspired nail art with clean, photo-real finish and professional salon quality
Created: October 5, 2025 at 12:46 PM
More Glamour Designs
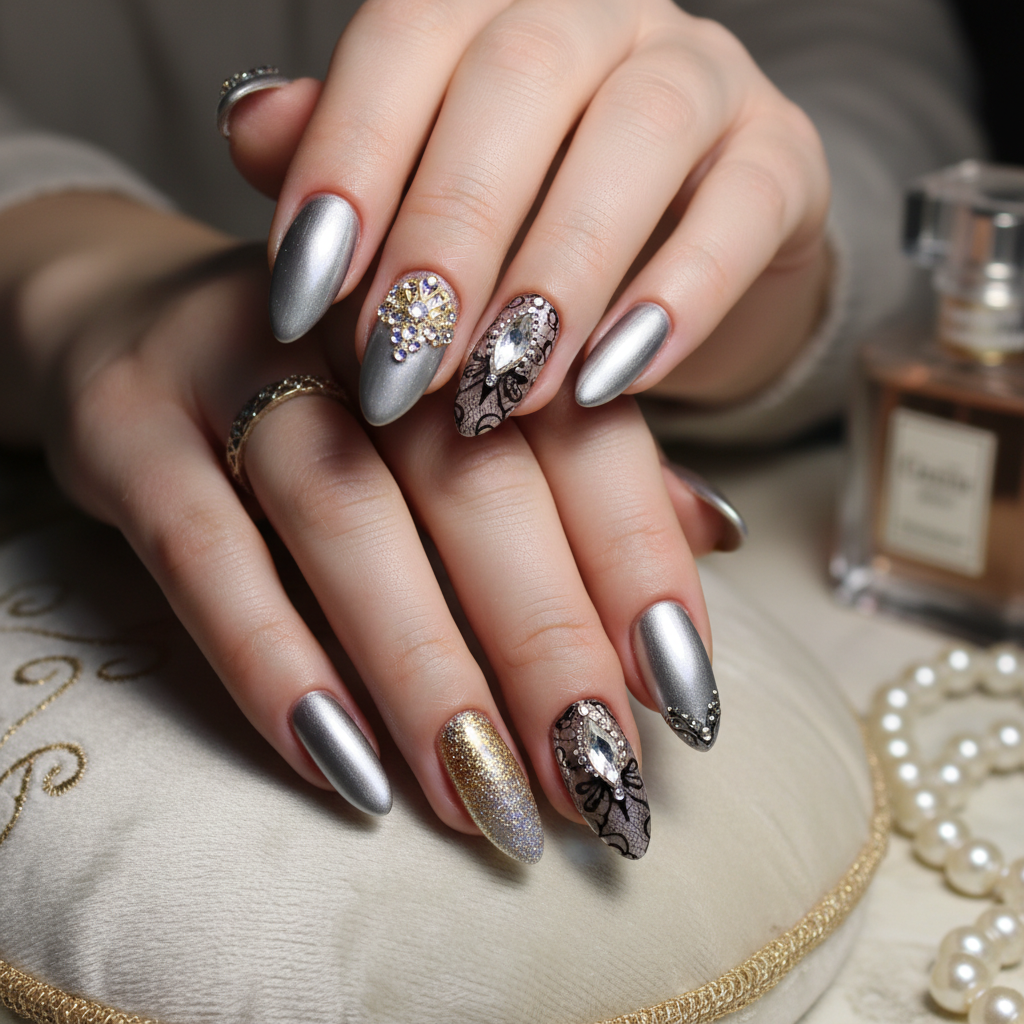
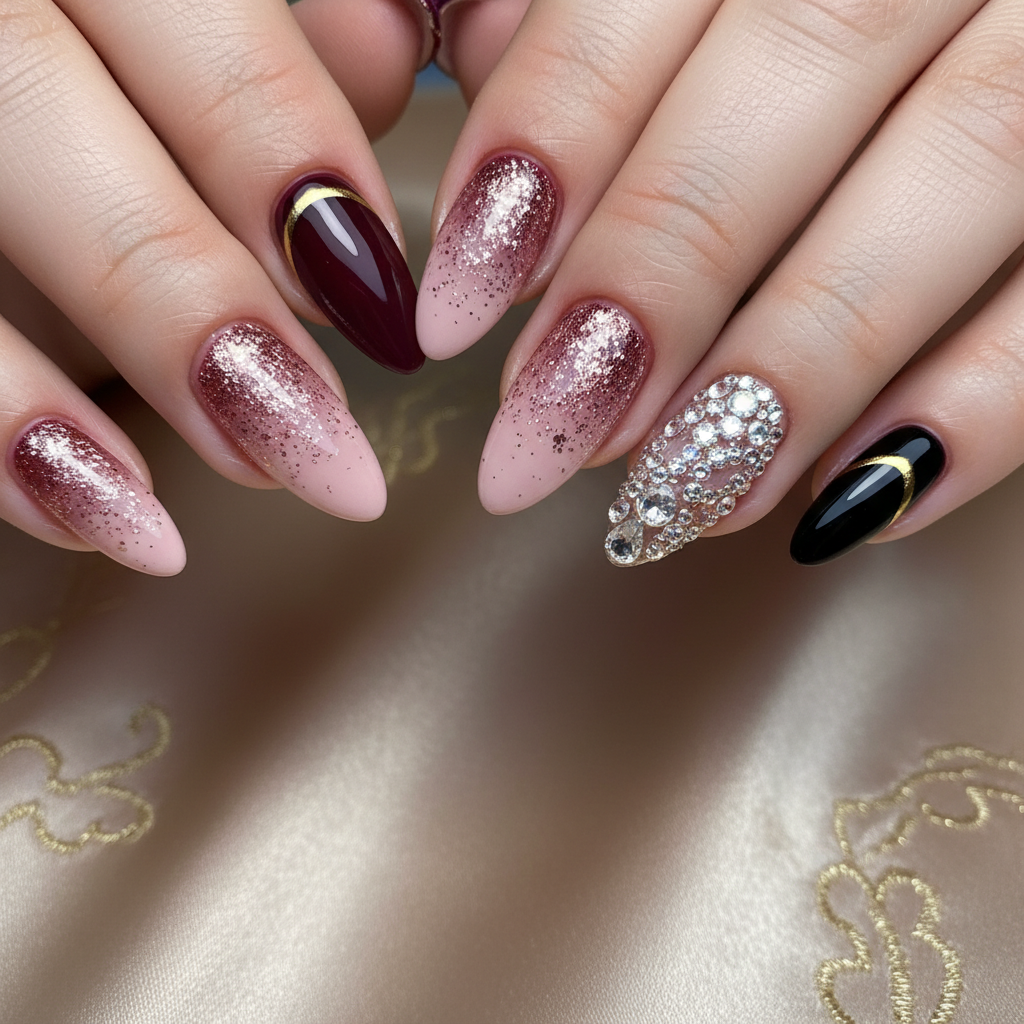
More Designs
Salon Glamour Nails: Photo-Real Finish Nail Art
Achieve ultimate nail glamour with this salon-quality, photo-real nail art design. This look combines sophisticated techniques with a flawless finish for a truly glamorous and polished appearance.
Supplies You'll Need
- Gel base coat
- Gel top coat
- High-quality gel polishes (nude, rose gold, black, silver)
- Fine detail brush
- LED/UV nail lamp
- Nail cleanser
How To Recreate It
- Apply a thin layer of gel base coat and cure under the LED/UV lamp.
- Apply 2-3 thin coats of your chosen nude or base color, curing after each coat.
- Using a fine detail brush, create geometric lines or delicate patterns with black, silver, or rose gold gel polish. Cure.
- Apply a generous layer of high-gloss gel top coat, ensuring full coverage. Cure thoroughly.
- Cleanse the nails with nail cleanser to remove any sticky residue.
- Apply cuticle oil to hydrate the surrounding skin.
Expert Tip
Use a very fine brush and a light hand when creating the delicate lines. Practice on a piece of paper first to perfect your technique before applying to your nails.
Try These Variations
- →Ombre Glamour: Blend two complementary colors like nude and rose gold for a gradient effect.
- →Crystal Accent: Add a few strategically placed crystals for extra sparkle.
- →Negative Space: Incorporate bare nail areas for a modern and minimalist twist.
Aftercare Tips
- ✓Keep your hands moisturized with a quality hand cream.
- ✓Schedule regular gel polish removal by a professional.
- ✓Consider a break from gel polish every few months to allow your nails to breathe.
Safe Removal
- 1.Gently file the top coat to break the seal.
- 2.Soak cotton pads in acetone and apply to each nail, securing with foil.
- 3.After 10-15 minutes, gently remove the gel polish with a cuticle pusher.
Quick Facts
Why It's Trending
The desire for nails that look professionally done and perfectly polished is driving the popularity of photo-real salon glamour nails.
Seasonal Styling
Perfect for year-round wear, but especially stunning for holiday parties and special occasions.
Color Variations
Perfect For
Why People Love It
Nail enthusiasts are loving this design for its sophisticated and polished look that elevates any outfit.
Daily Maintenance
- 💅Apply cuticle oil daily to keep nails hydrated.
- 💅Wear gloves when doing household chores to prevent chipping.
- 💅Avoid using your nails as tools to prevent breakage.
Common Issues & Fixes
- ⚠Gel polish is peeling.Ensure you are curing each layer thoroughly. Also, avoid getting gel polish on your skin.
- ⚠Lines are not crisp.Use a very fine detail brush and thin layers of gel polish. Clean the brush frequently.
- ⚠Top coat is not shiny.Apply a generous layer of high-quality gel top coat and cure for the recommended time.
Design Inspiration
Inspired by high-fashion runway looks and the desire for flawlessly executed nail art, this design brings professional salon glamour to your fingertips.
Explore Similar Designs
Colors in this Design
Techniques Used
Perfect For
Nail Shapes
More Categories to Explore
Popular Colors
Popular Techniques
Perfect Occasions
FAQs
How long will this design last?
With proper application and aftercare, this gel polish design can last up to two weeks.
Can I achieve this design with regular nail polish?
While possible, gel polish is recommended for its durability and high-gloss finish. Regular polish may not achieve the same photo-real effect.
What is the best way to clean my fine detail brush?
Use a brush cleaner specifically designed for gel polish brushes to prevent hardening and maintain its fine point.
How many coats of color should I apply?
Typically, 2-3 thin coats of color are sufficient for full opacity. Cure each coat thoroughly.
Is a UV or LED lamp better for curing gel polish?
Both UV and LED lamps work effectively for curing gel polish. LED lamps generally cure faster.
Can I add glitter to this design?
Yes, you can add a fine glitter over the base color before applying the top coat for added glamour.