Photo-real Salon Girly Nails
Girly inspired nail art with clean, photo-real finish and professional salon quality
Created: October 5, 2025 at 12:52 PM
More Girly Designs
More Designs
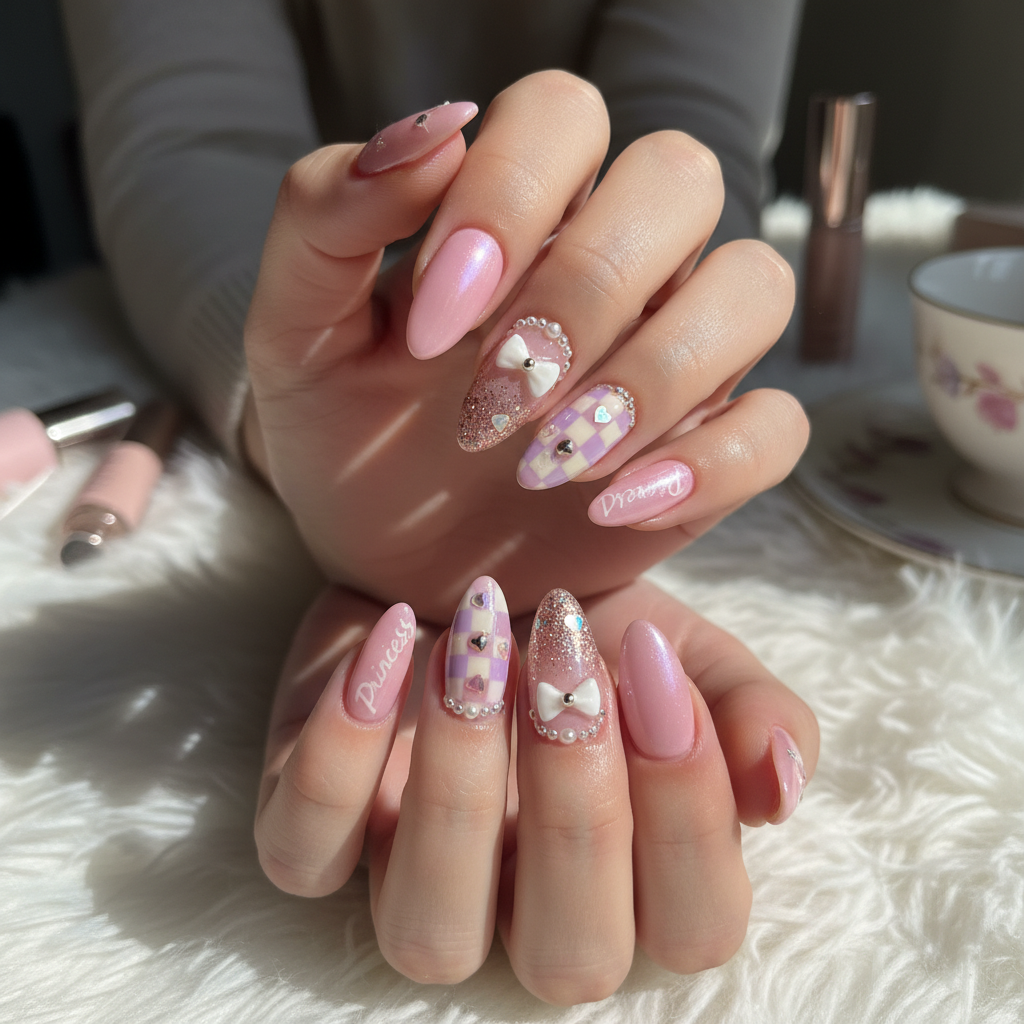
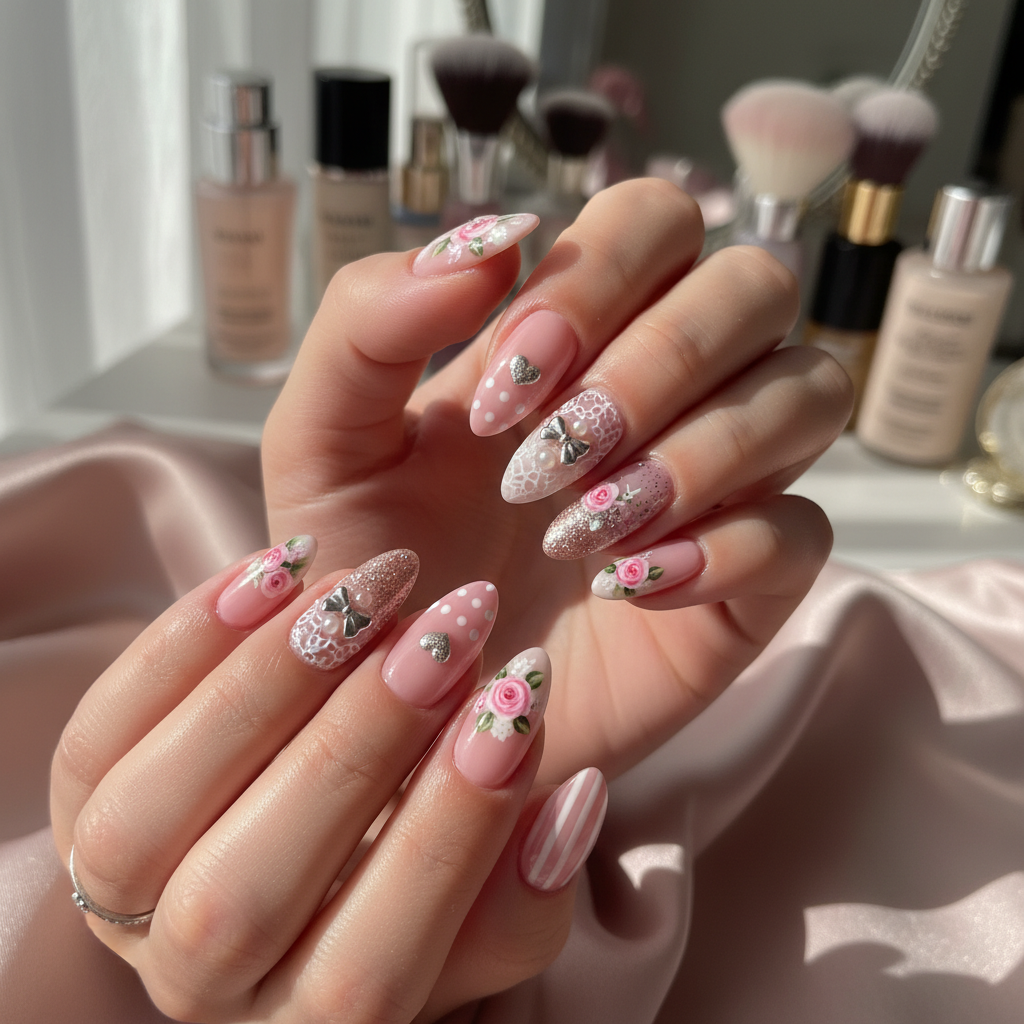
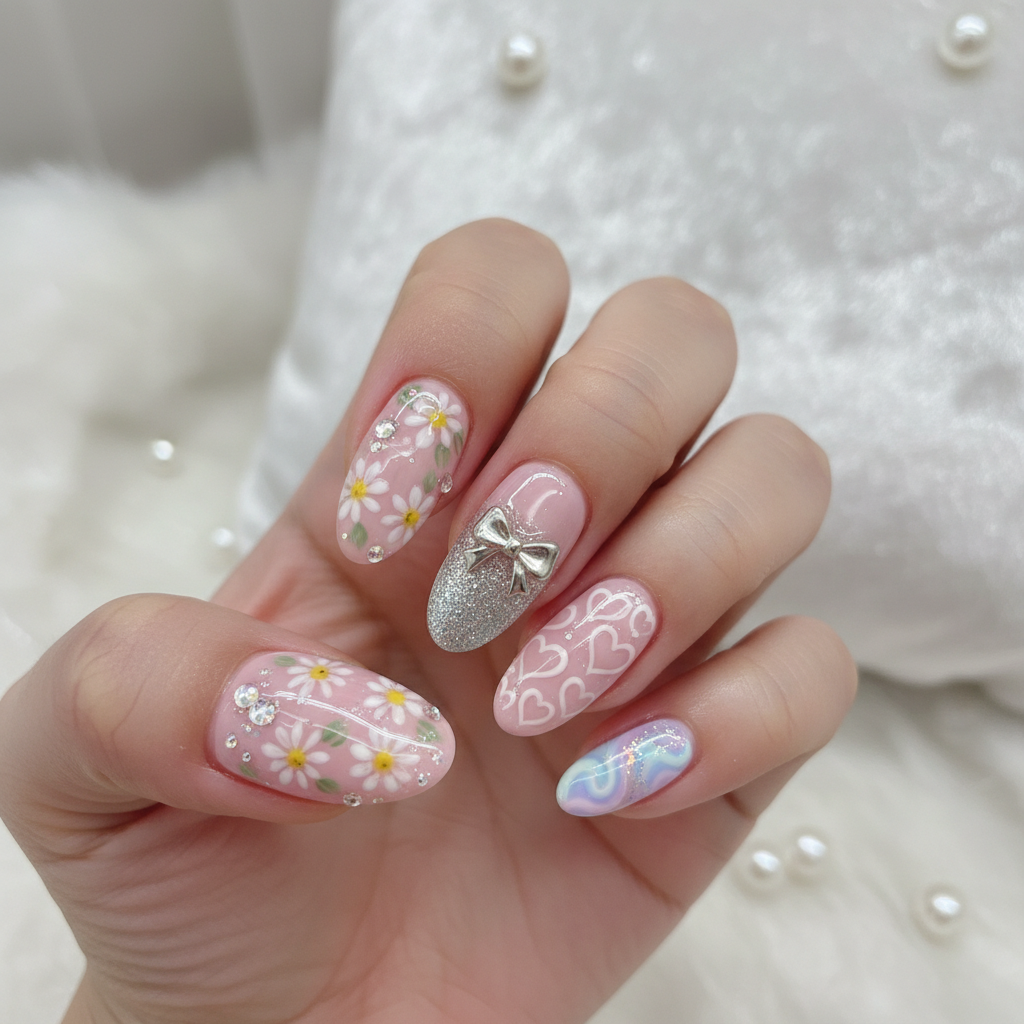
Photo-Real Salon Girly Nails: Perfect Pink & Glitter!
Embrace your inner girly girl with this stunning photo-real nail design! Featuring a perfect blend of soft pinks, sparkling glitter accents, and a flawless salon finish, these nails are the epitome of feminine elegance and fun.
Supplies You'll Need
- Light pink gel polish
- Fine silver glitter
- Gel base coat
- Gel top coat
- UV/LED lamp
- Nail art brushes
How To Recreate It
- Apply a thin layer of gel base coat and cure under the UV/LED lamp.
- Apply two coats of light pink gel polish, curing after each coat.
- Using a nail art brush, carefully apply silver glitter to desired areas (e.g., tips, cuticle area, or scattered throughout).
- Encapsulate the glitter with a layer of clear gel polish and cure.
- Apply a gel top coat for a glossy finish and cure.
- Cleanse the nails with alcohol to remove any sticky residue.
Expert Tip
To achieve a truly photo-real finish, ensure each layer of polish is thin and evenly applied. Encapsulating the glitter is crucial for a smooth, long-lasting manicure.
Try These Variations
- →Ombre Glitter: Fade the glitter from the cuticle to the tip.
- →Reverse Glitter: Apply glitter to the base of the nail instead of the tip.
- →Holographic Glitter: Use holographic glitter for a more multi-dimensional sparkle.
Aftercare Tips
- ✓Moisturize your hands and nails regularly.
- ✓Avoid picking or peeling the gel polish.
- ✓Schedule professional removal to prevent nail damage.
Safe Removal
- 1.Soak cotton pads in acetone and place them on each nail.
- 2.Wrap each nail with foil and let it sit for 10-15 minutes.
Quick Facts
Why It's Trending
Girly aesthetics and hyper-realistic nail art are having a major moment, making this design a perfect blend of both trends.
Seasonal Styling
Perfect for spring and summer, but the sparkle makes it a great choice for holiday parties, too!
Color Variations
Perfect For
Why People Love It
This design is popular on Instagram and Pinterest, with users showcasing its elegant simplicity and eye-catching sparkle.
Daily Maintenance
- 💅Apply cuticle oil daily to keep nails hydrated.
- 💅Avoid using your nails as tools.
- 💅Wear gloves when doing household chores.
- 💅Consider a gel top coat refresh every week for extended wear.
Common Issues & Fixes
- ⚠Glitter is too chunky.Use a finer glitter or gently press the glitter into the gel before curing.
- ⚠Gel polish is peeling.Ensure proper nail prep and use a high-quality base and top coat.
- ⚠Uneven glitter application.Use a thin nail art brush for precise glitter placement.
- ⚠Bubbles in gel polish.Apply thin coats and avoid shaking the bottle vigorously.
Design Inspiration
Inspired by classic girly aesthetics, the design blends the timeless appeal of pink with the modern trend of photo-real salon finishes.
Explore Similar Designs
Colors in this Design
Techniques Used
Perfect For
Nail Shapes
More Categories to Explore
Popular Colors
Popular Techniques
Perfect Occasions
FAQs
How long will this manicure last?
With proper application and maintenance, this gel manicure can last up to two weeks.
Can I achieve this design with regular nail polish?
Yes, but the longevity and photo-real finish are best achieved with gel polish.
What kind of glitter should I use?
Fine glitter is recommended for a smooth, even finish. Avoid chunky glitter, as it can be difficult to work with.
Do I need a special brush for glitter application?
A small, thin nail art brush is ideal for precise glitter placement.
How do I prevent glitter from smudging?
Encapsulating the glitter with a layer of clear gel polish is essential to prevent smudging and chipping.
Is this design suitable for short nails?
Absolutely! While the design looks great on medium-length nails, it can be adapted for shorter nails by adjusting the glitter placement.