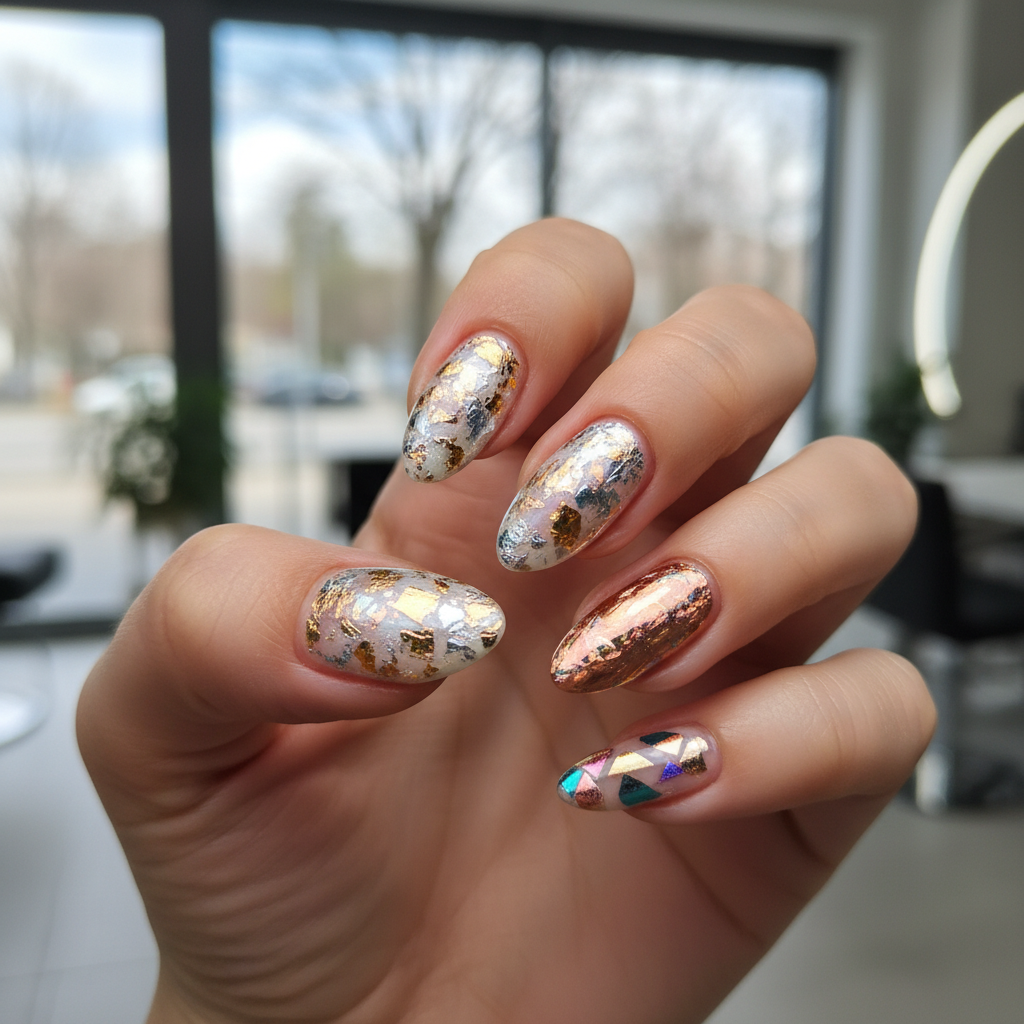
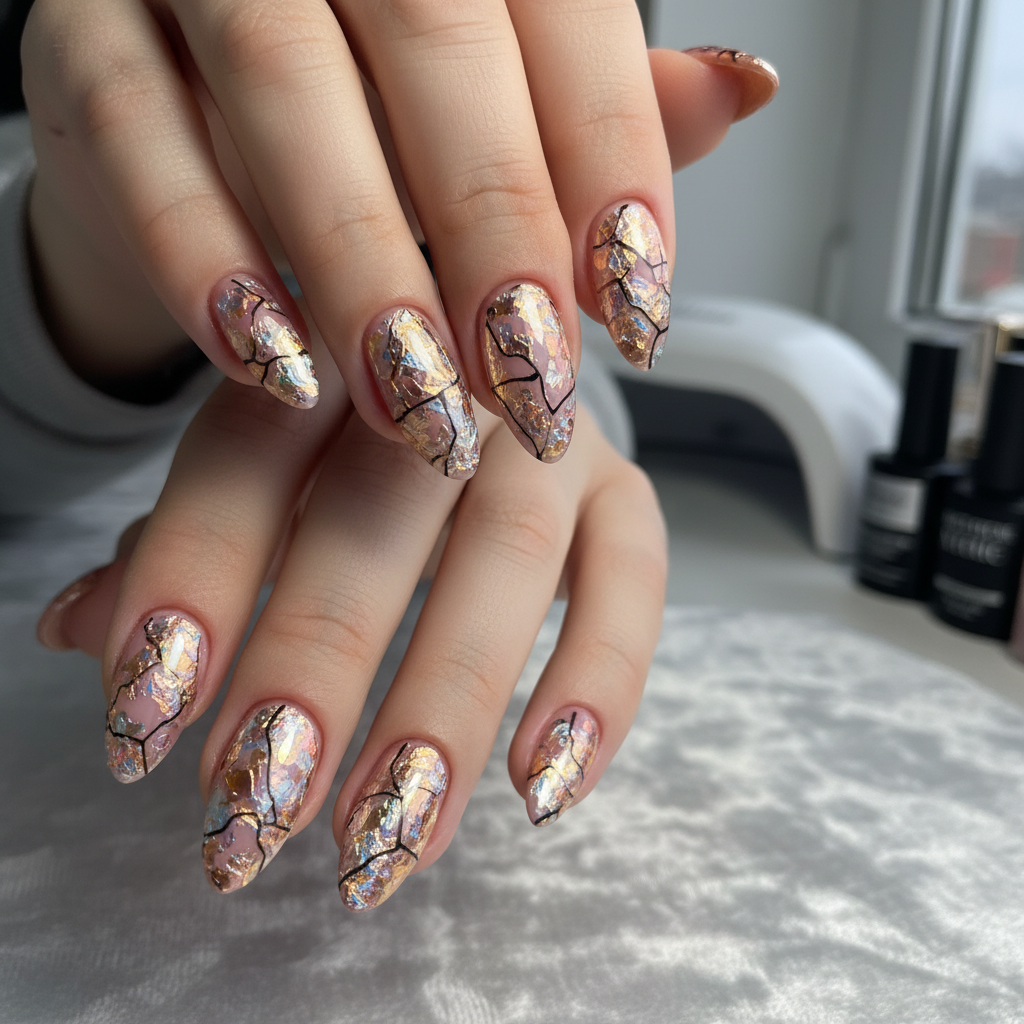
Photo-real Salon Foil Nails
Foil inspired nail art with clean, photo-real finish and professional salon quality
Created: October 5, 2025 at 12:04 PM
More Foil Designs
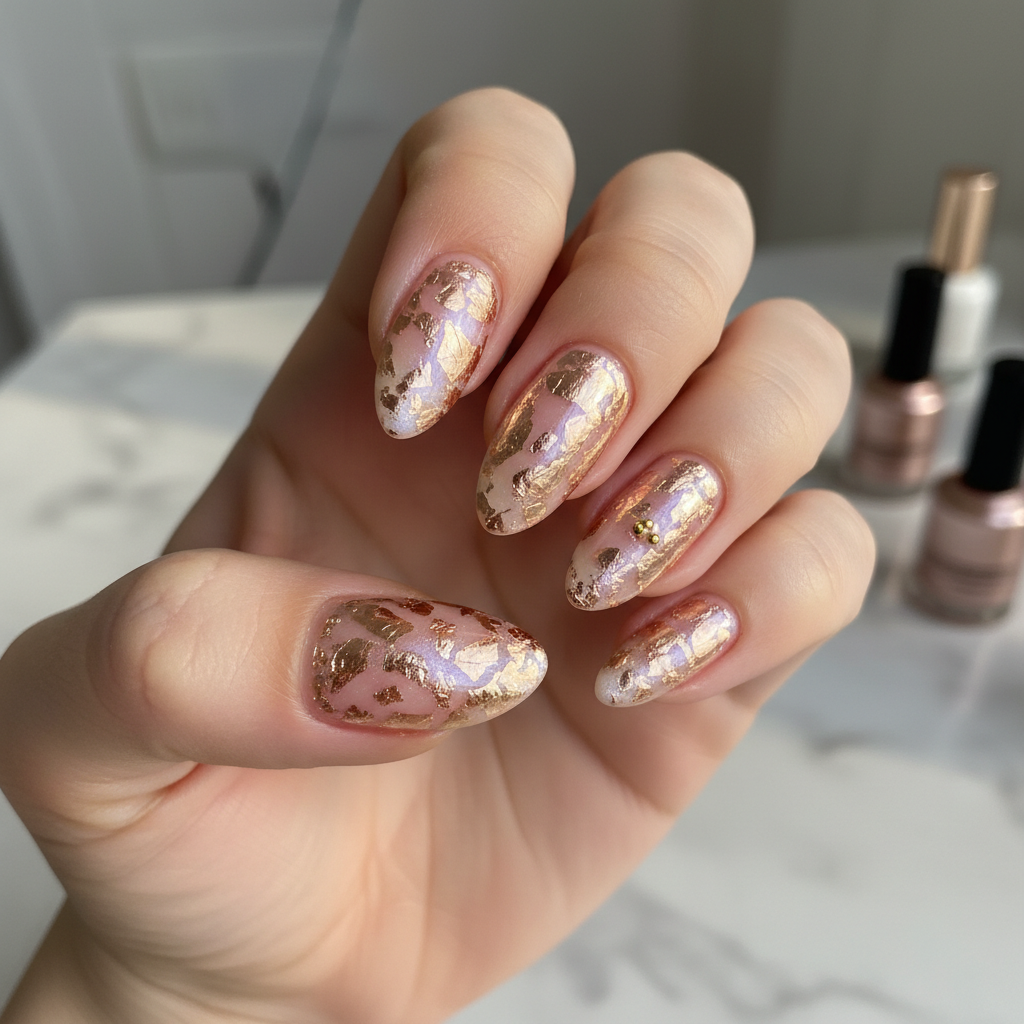
Beautiful Photo-real Salon Foil Nails
Foil inspired nail art with beautiful, photo-real finish and professional salon quality
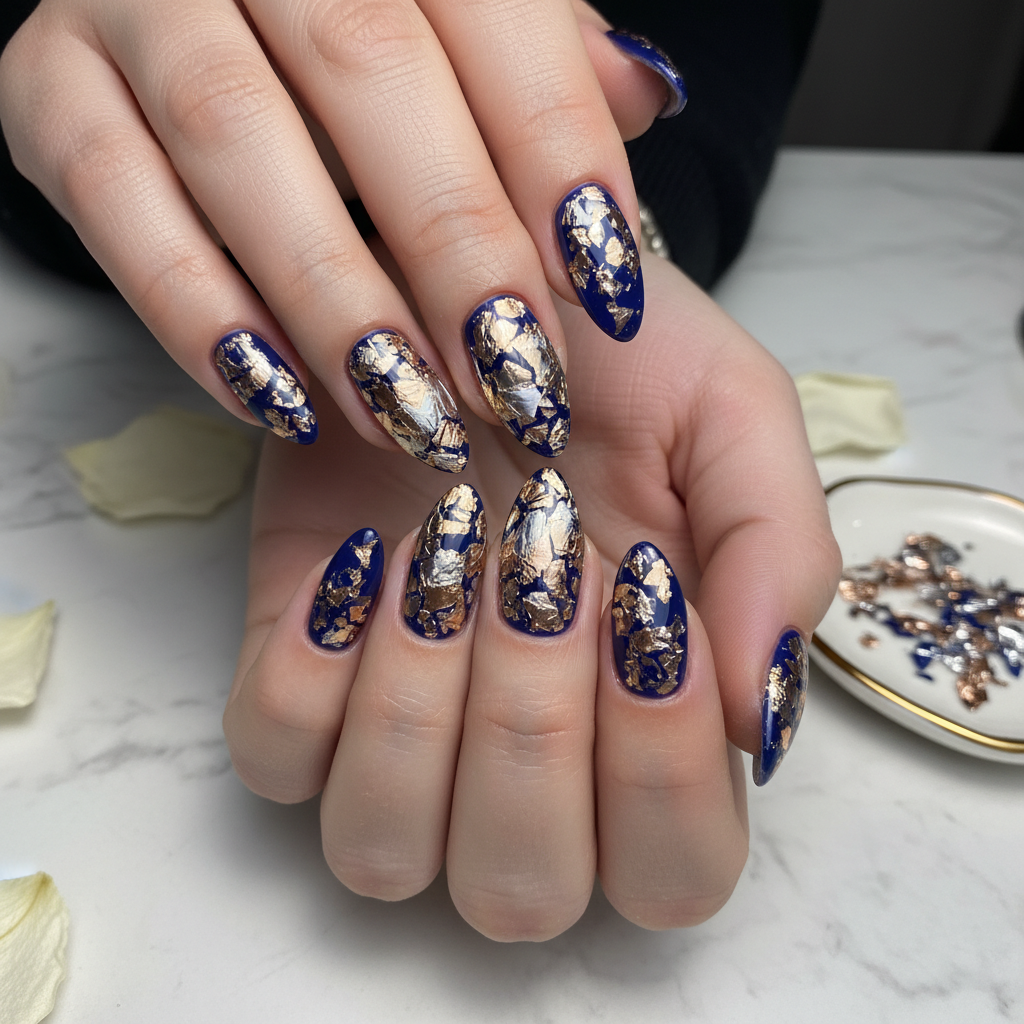
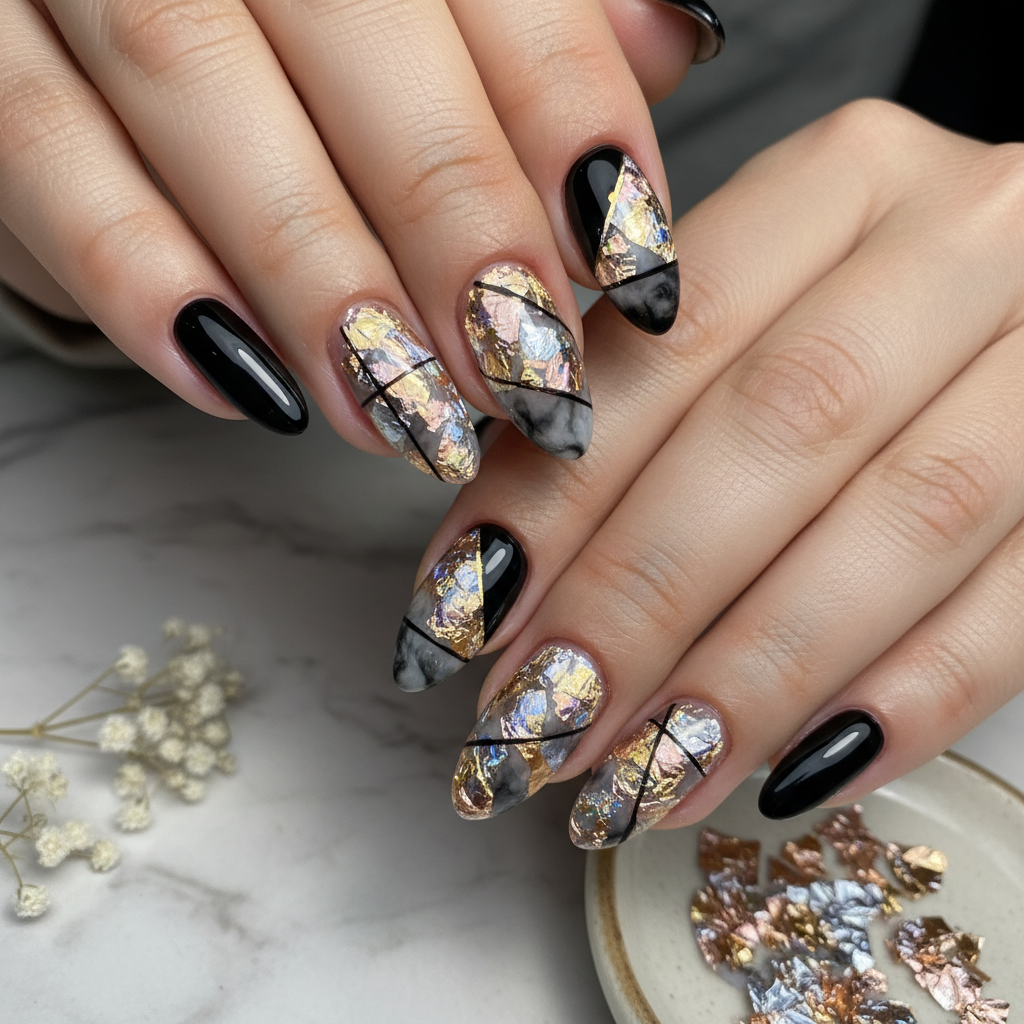
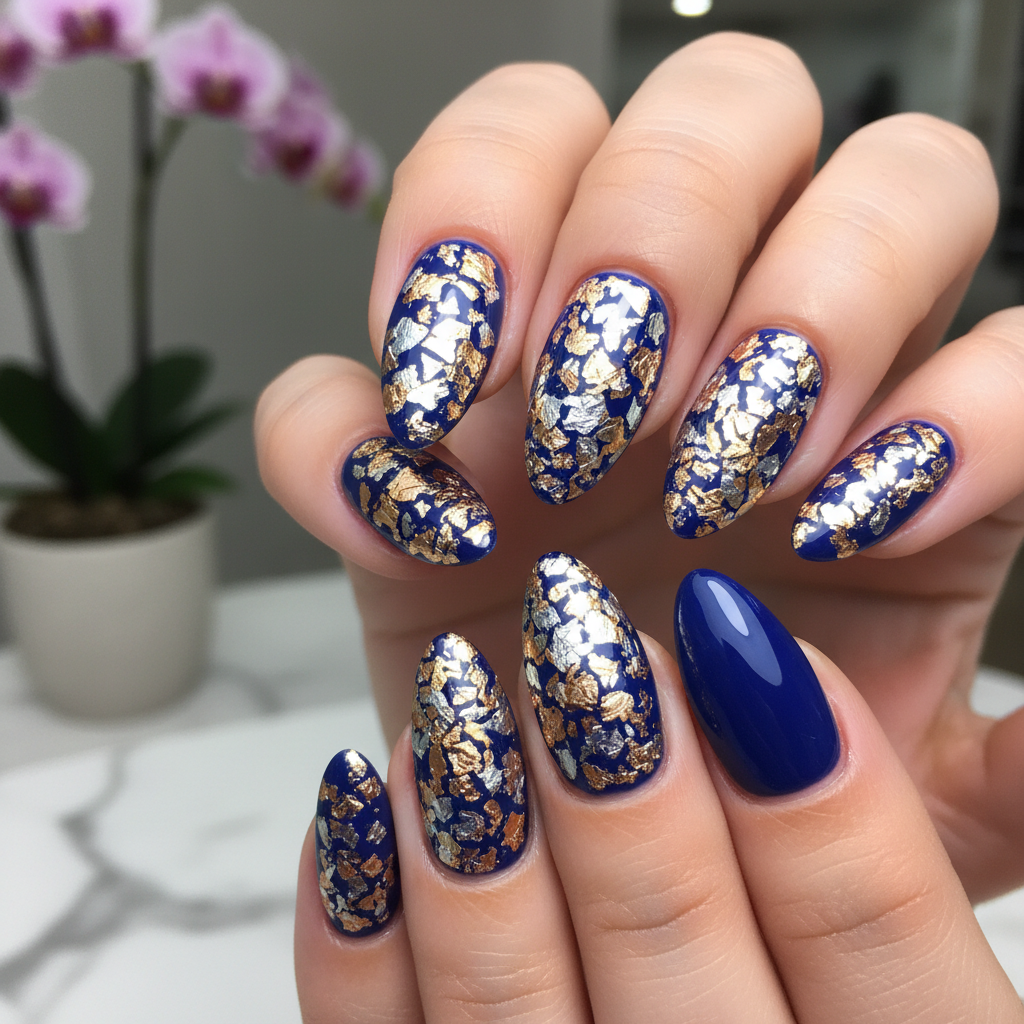
Gorgeous Photo-real Salon Foil Nails
Foil inspired nail art with gorgeous, photo-real finish and professional salon quality
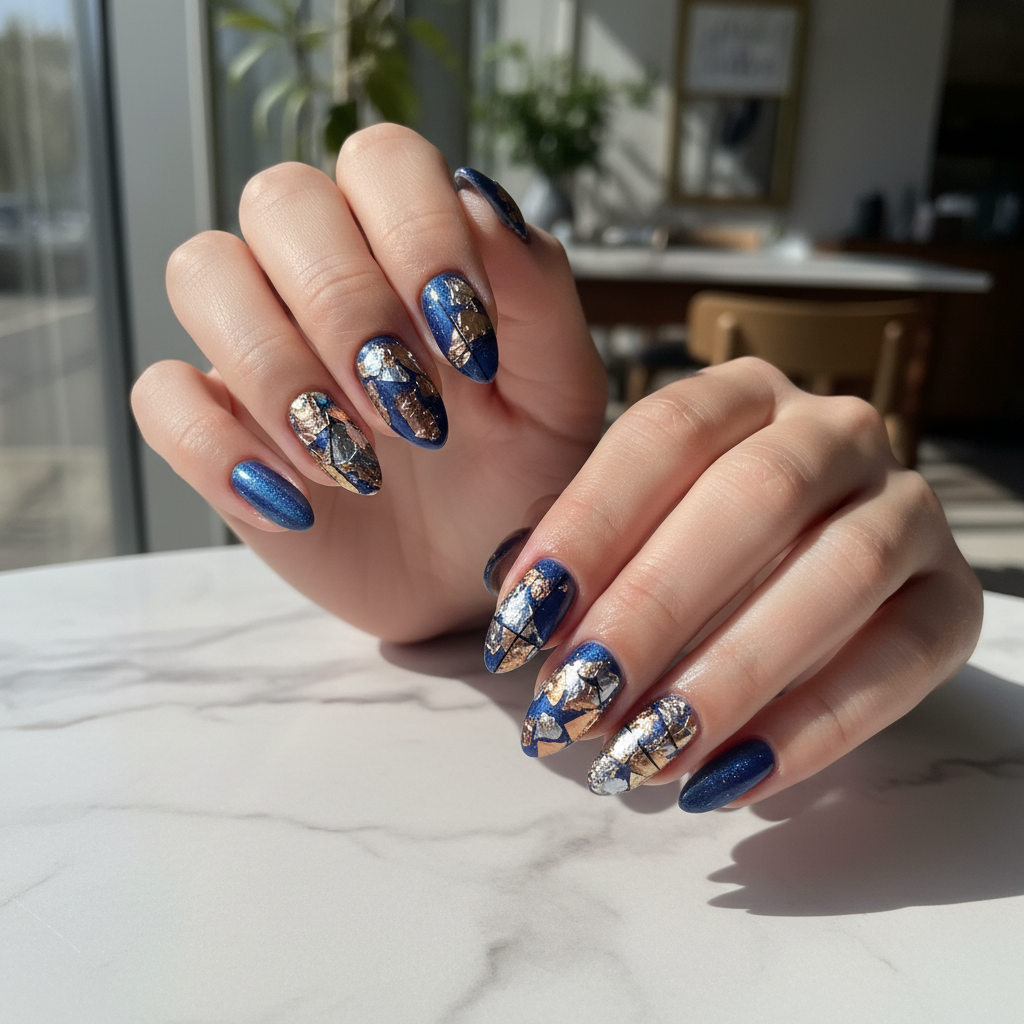
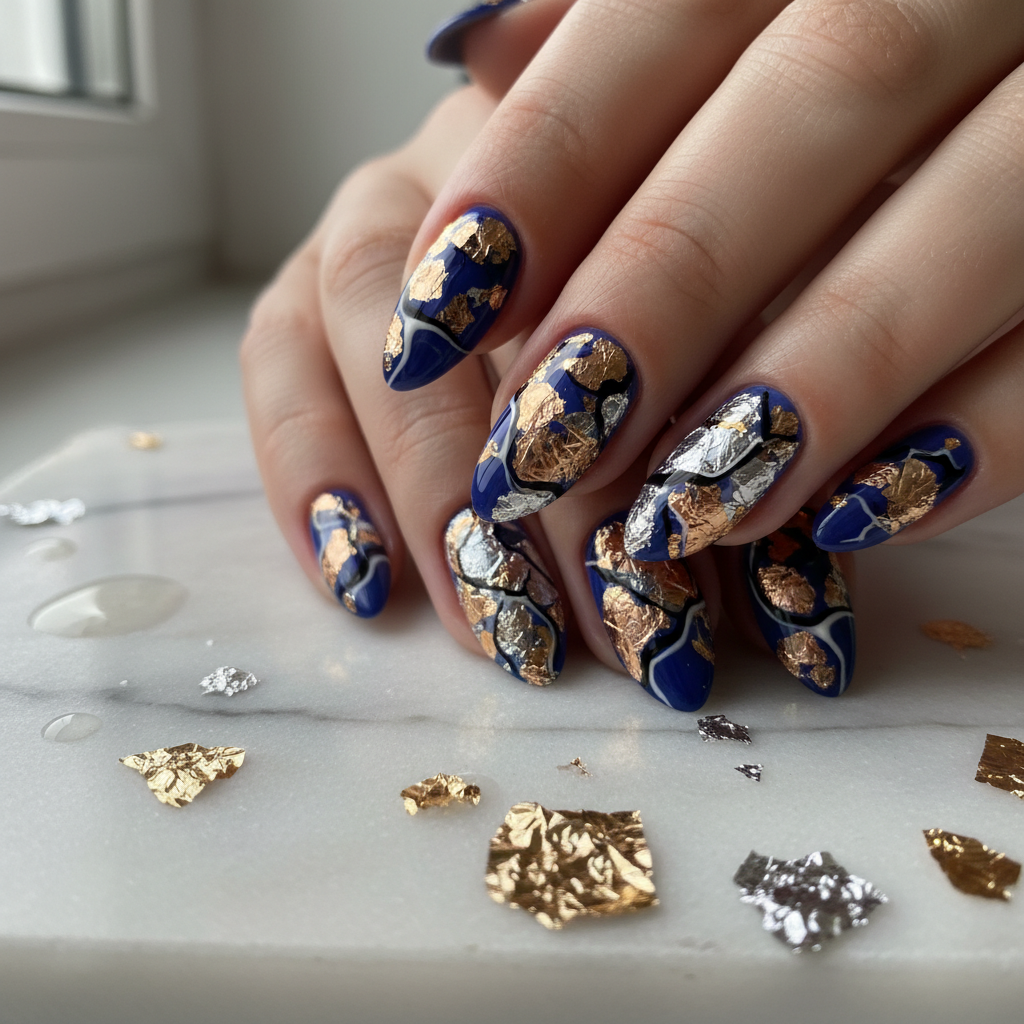
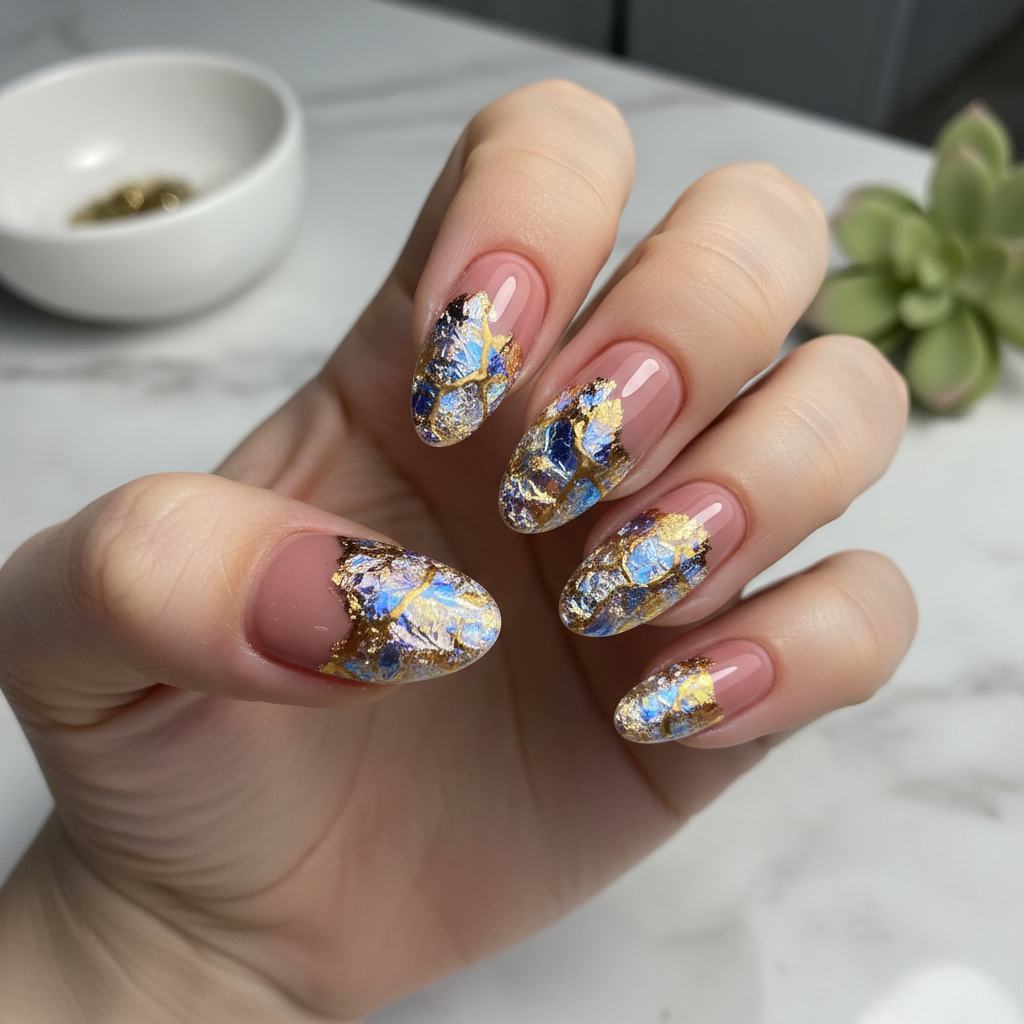
Stunning Photo-real Salon Foil Nails
Foil inspired nail art with stunning, photo-real finish and professional salon quality
Beautiful Photo-real Salon Foil Nails
Foil inspired nail art with beautiful, photo-real finish and professional salon quality
Sophisticated Photo-real Salon Foil Nails
Foil inspired nail art with sophisticated, photo-real finish and professional salon quality
Gorgeous Photo-real Salon Foil Nails
Foil inspired nail art with gorgeous, photo-real finish and professional salon quality
Beautiful Photo-real Salon Foil Nails
Foil inspired nail art with beautiful, photo-real finish and professional salon quality
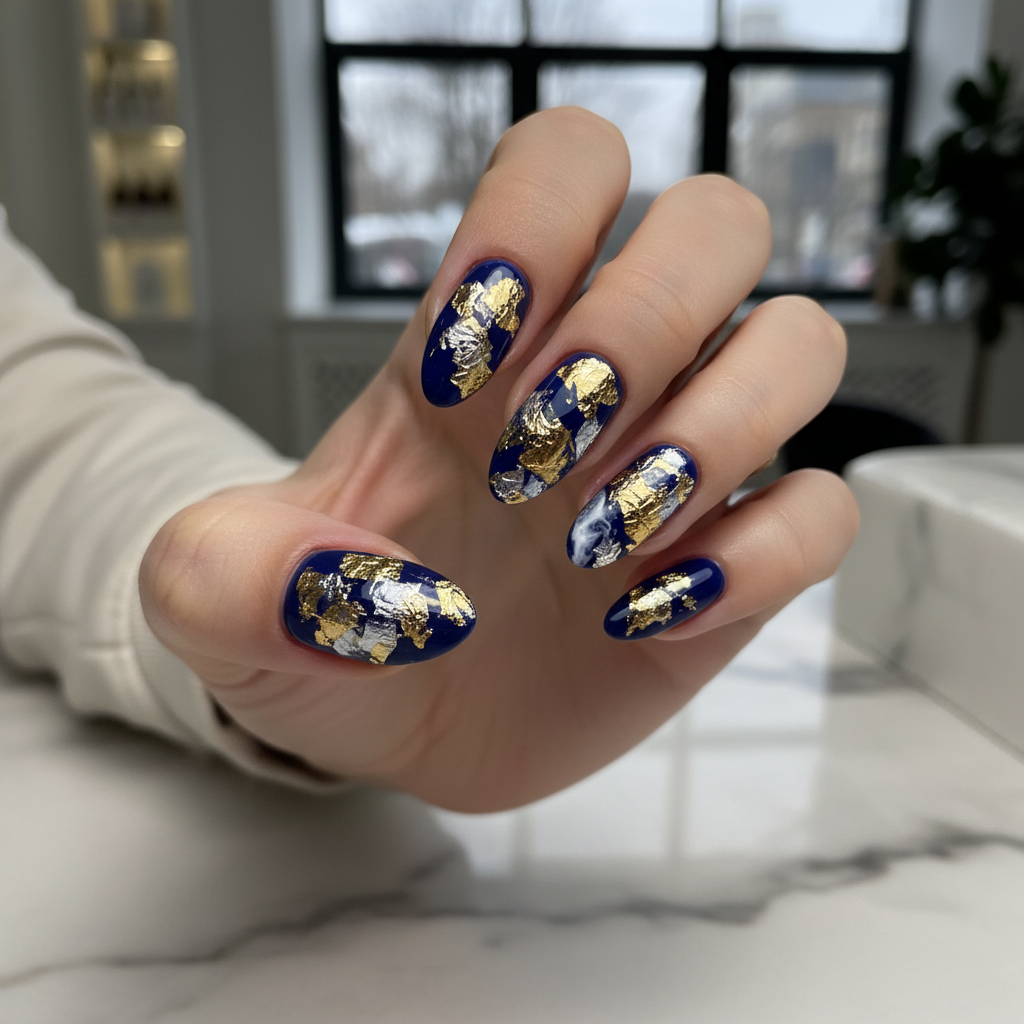
Photo-real Salon Foil Nails
Foil inspired nail art with elegant, photo-real finish and professional salon quality
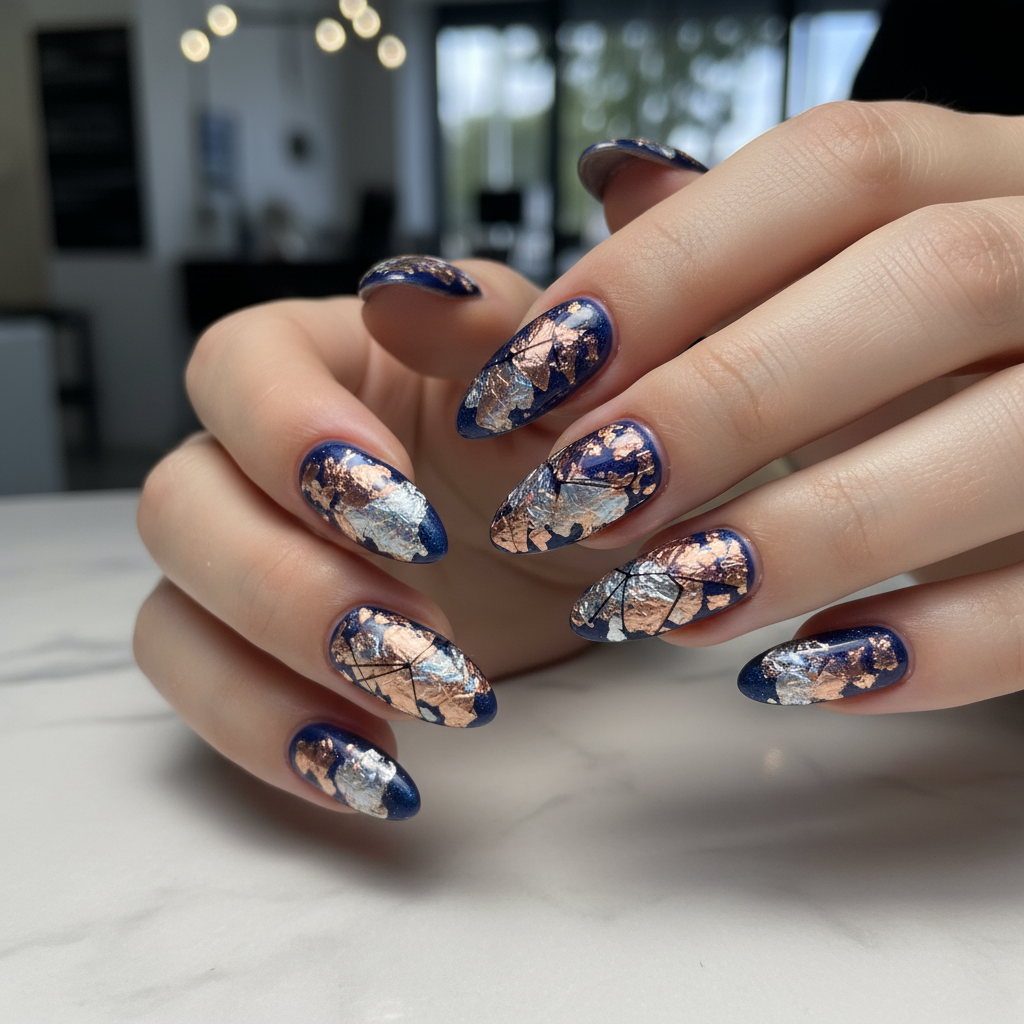
Stunning Photo-real Salon Foil Nails
Foil inspired nail art with stunning, photo-real finish and professional salon quality
Gorgeous Photo-real Salon Foil Nails
Foil inspired nail art with gorgeous, photo-real finish and professional salon quality
More Designs
Salon-Ready Foil Nails: Photo-Real Foil Design
Elevate your nail game with this sophisticated foil design. Achieve a flawless, photo-real finish that mimics professional salon quality, perfect for adding a touch of glamour to any look.
Supplies You'll Need
- Gel base coat
- Gel top coat
- Foil adhesive/glue
- Foil sheets (gold, silver, or rose gold)
- Cuticle pusher
- UV/LED lamp
How To Recreate It
- Prepare nails by cleaning, shaping, and gently buffing the surface.
- Apply a thin layer of gel base coat and cure under a UV/LED lamp.
- Apply foil adhesive to the entire nail or in desired patterns. Let it dry until tacky.
- Gently press foil sheet (shiny side up) onto the nail, ensuring full contact.
- Peel off the foil sheet to reveal the foil pattern adhered to the nail. Repeat as needed.
- Seal with a gel top coat and cure under a UV/LED lamp.
Expert Tip
Use a silicone tool or a soft brush to press the foil firmly onto the adhesive for even coverage and to avoid any air bubbles. This will ensure a flawless photo-real effect.
Try These Variations
- →Ombre Foil: Blend foil gradually from the cuticle to the tip for a gradient effect.
- →Geometric Foil: Create sharp, geometric patterns using tape as a guide for foil application.
- →Negative Space Foil: Leave sections of the nail bare to create a striking contrast with the foil.
Aftercare Tips
- ✓Keep nails moisturized with cuticle oil.
- ✓Avoid picking or peeling the foil.
- ✓Consider a gel top coat refresh after 1 week for extended wear.
Safe Removal
- 1.Gently file the top coat to break the seal.
- 2.Soak cotton pads in acetone and place them on the nails, wrapping each finger with foil.
- 3.After 10-15 minutes, remove the foil and cotton pads, gently scraping off any remaining foil or gel.
Quick Facts
Why It's Trending
Foil nail art is trending for its ability to create a glamorous, eye-catching effect with relatively simple techniques, providing a sophisticated touch for any occasion.
Seasonal Styling
Perfect for winter holiday parties, New Year's Eve celebrations, or any special occasion where you want to add a touch of sparkle.
Color Variations
Perfect For
Why People Love It
Instagram nail artists are showcasing stunning photo-real foil designs, inspiring nail enthusiasts to try this luxurious trend at home.
Daily Maintenance
- 💅Avoid harsh chemicals and prolonged exposure to water.
- 💅Apply cuticle oil daily to keep nails hydrated.
- 💅Wear gloves when doing household chores.
Common Issues & Fixes
- ⚠
- ⚠
- ⚠
Design Inspiration
Inspired by high-fashion runway looks and the desire to create a luxurious, salon-worthy nail experience at home. The goal was to achieve a flawless, almost unreal finish.
Explore Similar Designs
Colors in this Design
Techniques Used
Perfect For
Nail Shapes
More Categories to Explore
Popular Colors
Popular Techniques
Perfect Occasions
FAQs
Can I use regular nail polish instead of gel?
While possible, gel polish provides a longer-lasting and more durable base for foil application. Regular polish is more prone to chipping.
How do I prevent the foil from wrinkling?
Apply a thin, even layer of foil adhesive and ensure it's properly tacky before applying the foil. Use a silicone tool to smooth the foil and prevent air bubbles.
What's the best way to clean up around the cuticles?
Use a small, angled brush dipped in acetone to carefully clean up any excess adhesive or foil around the cuticles.
How long will this foil design last?
With proper application and aftercare, this design can last up to two weeks.
Can I reuse foil sheets?
No, once a section of foil has been applied, it cannot be reused. Always use a fresh piece for each nail or section.
Do I need a special UV/LED lamp?
Yes, a UV/LED lamp is required for curing the gel base and top coats, which are essential for this design.