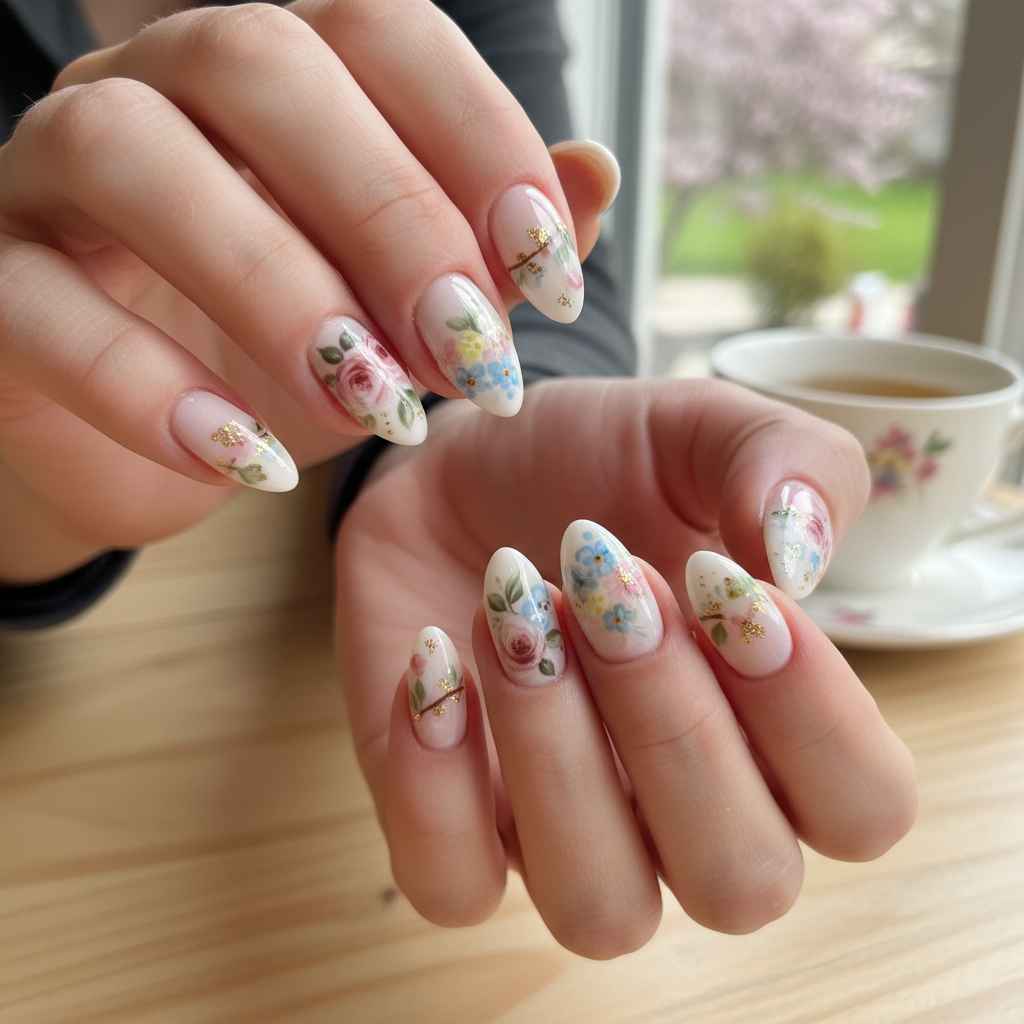
Photo-real Salon Floral Nails
Floral inspired nail art with clean, photo-real finish and professional salon quality
Created: October 5, 2025 at 12:00 PM
More Floral Designs
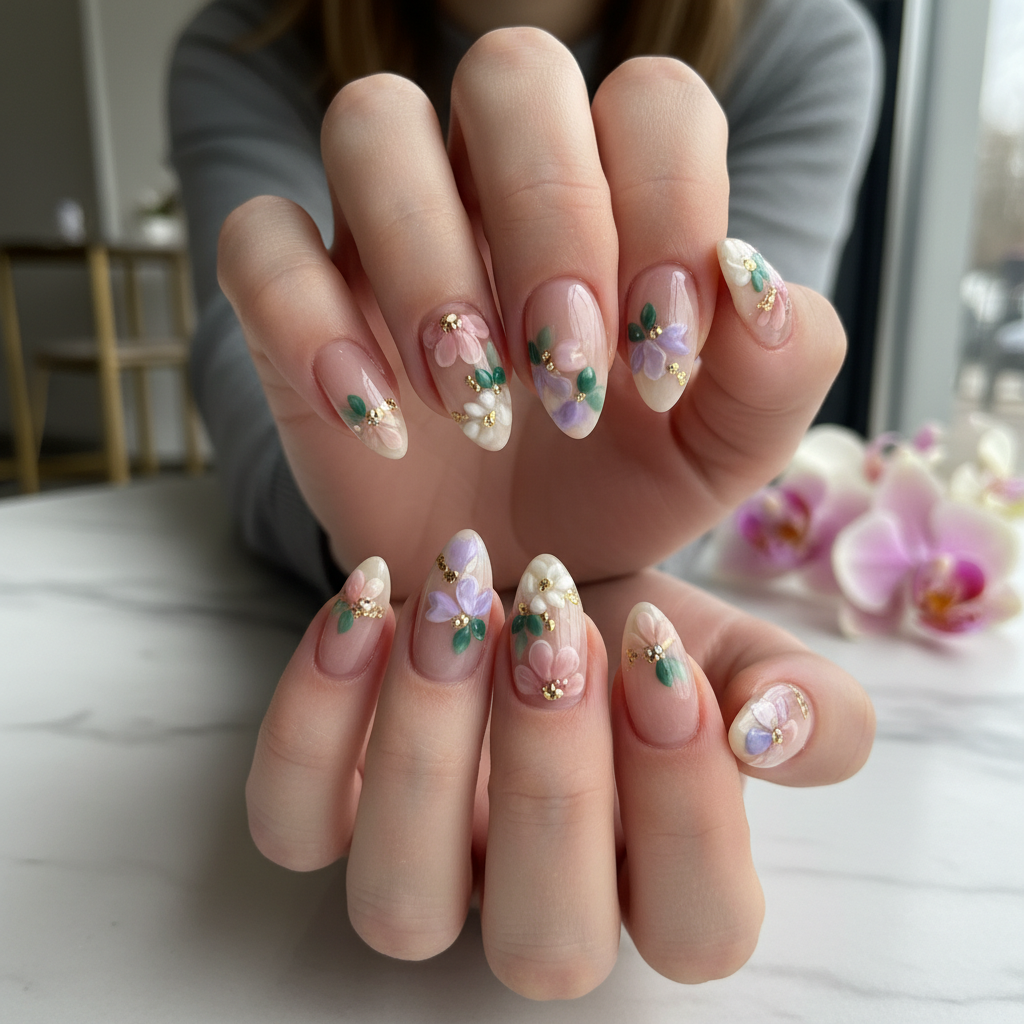
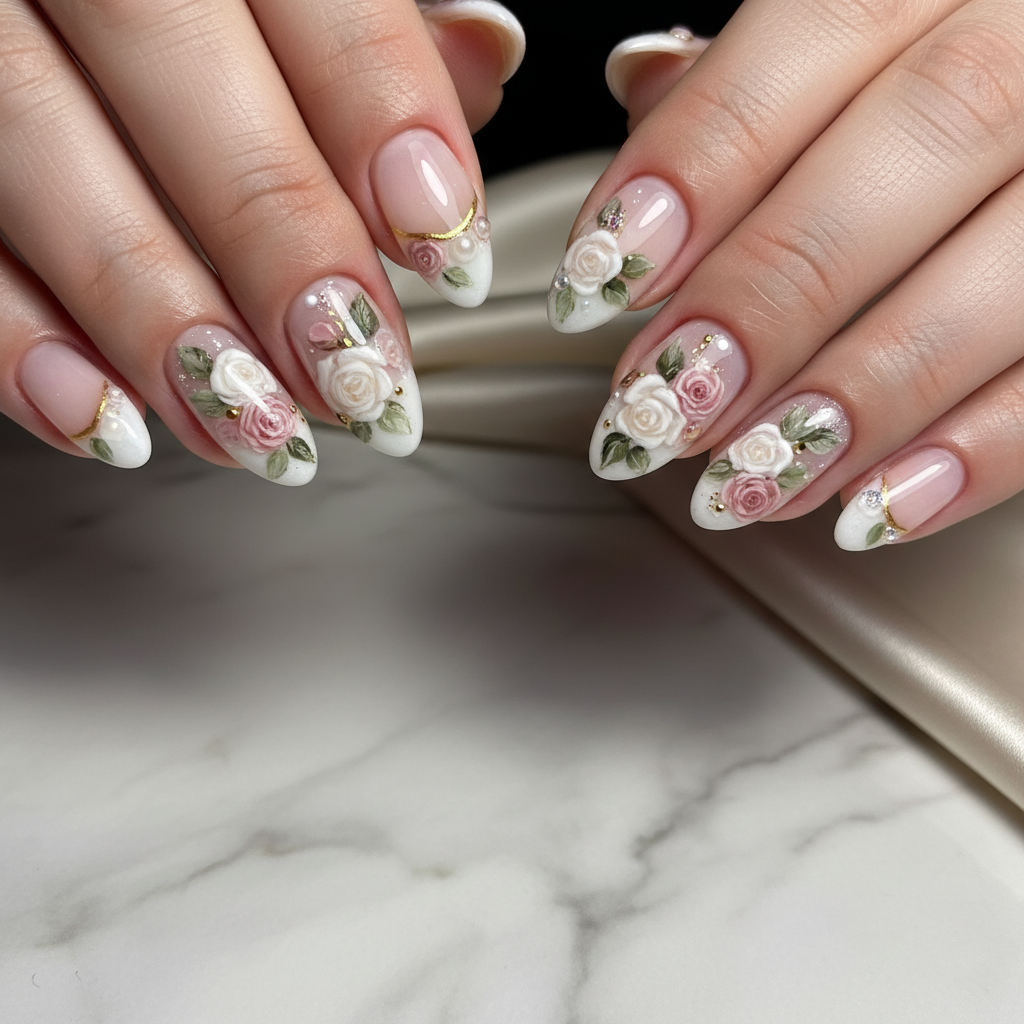
Sophisticated Photo-real Salon Floral Nails
Floral inspired nail art with sophisticated, photo-real finish and professional salon quality
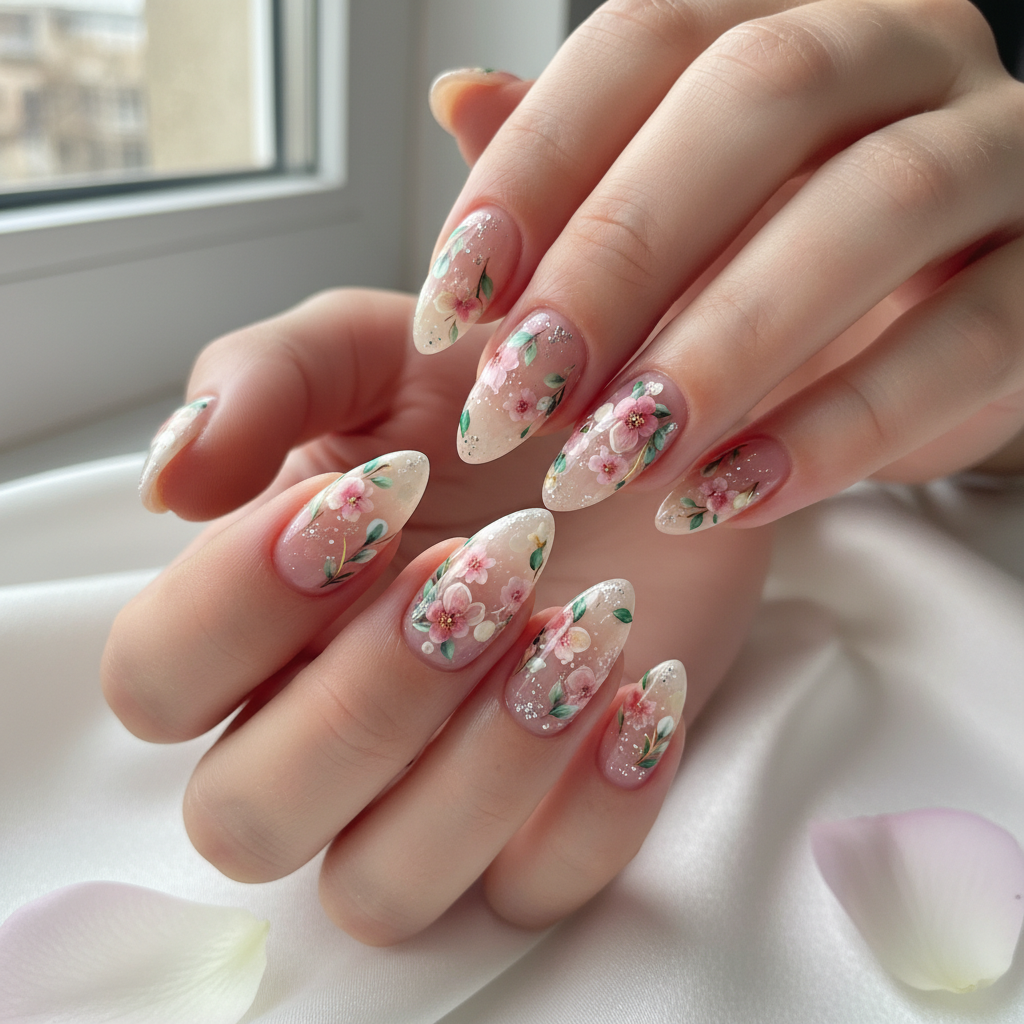
Sophisticated Photo-real Salon Floral Nails
Floral inspired nail art with sophisticated, photo-real finish and professional salon quality
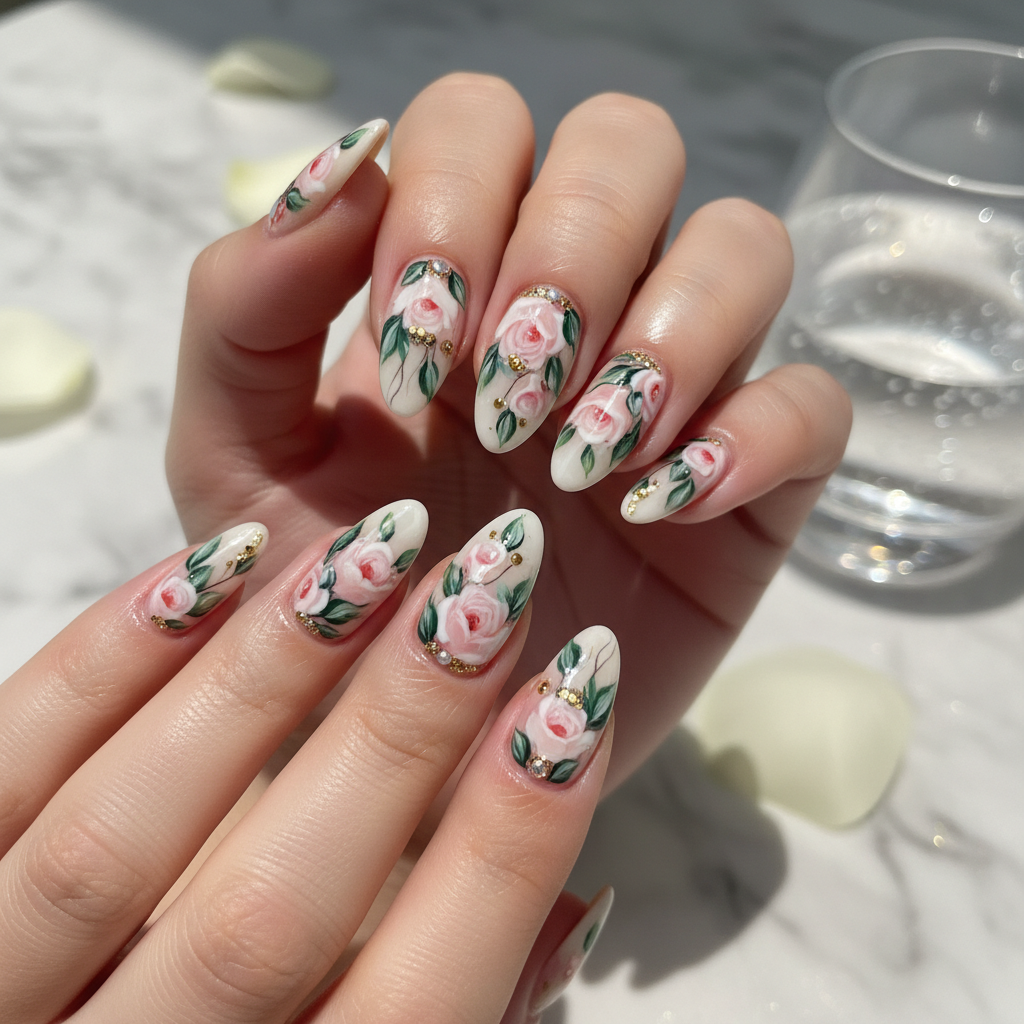
Photo-real Salon Floral Nails
Floral inspired nail art with elegant, photo-real finish and professional salon quality
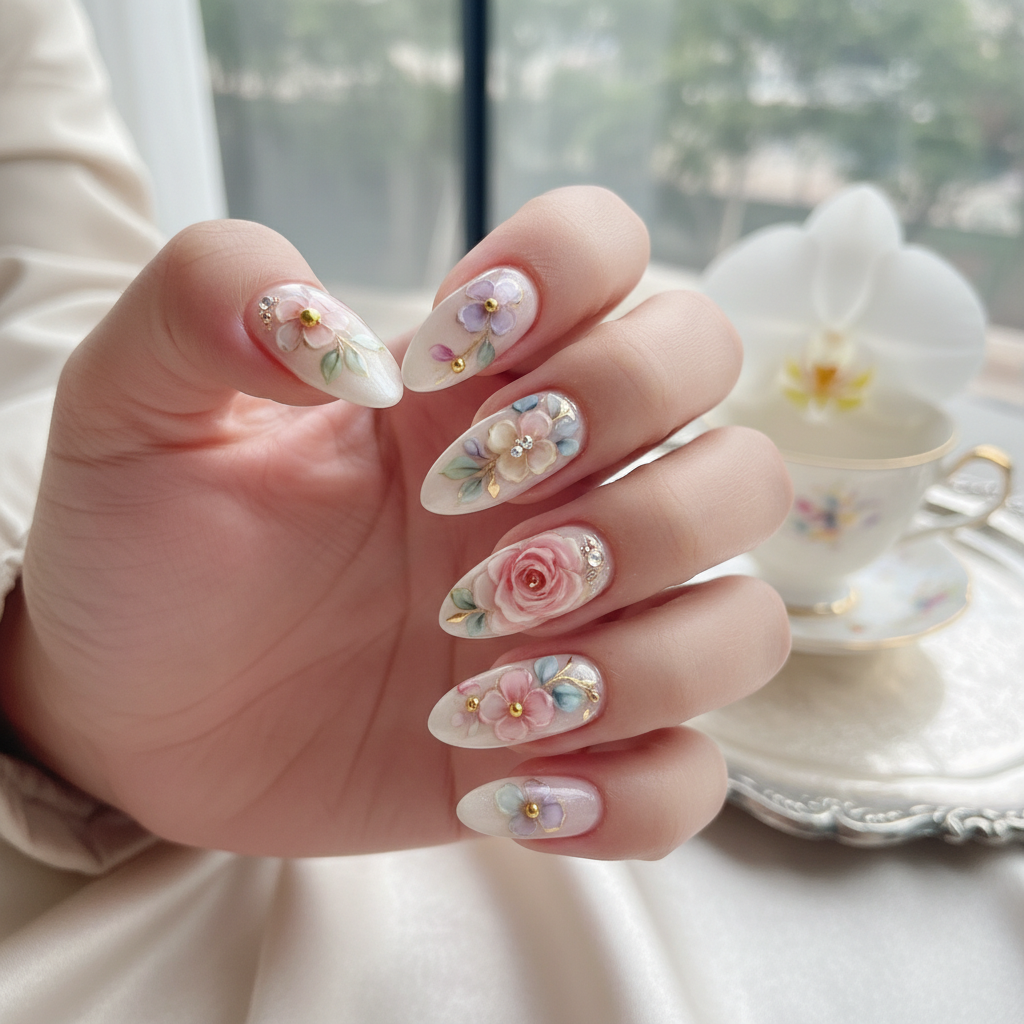
Photo-real Salon Floral Nails
Floral inspired nail art with elegant, photo-real finish and professional salon quality
Sophisticated Photo-real Salon Floral Nails
Floral inspired nail art with sophisticated, photo-real finish and professional salon quality
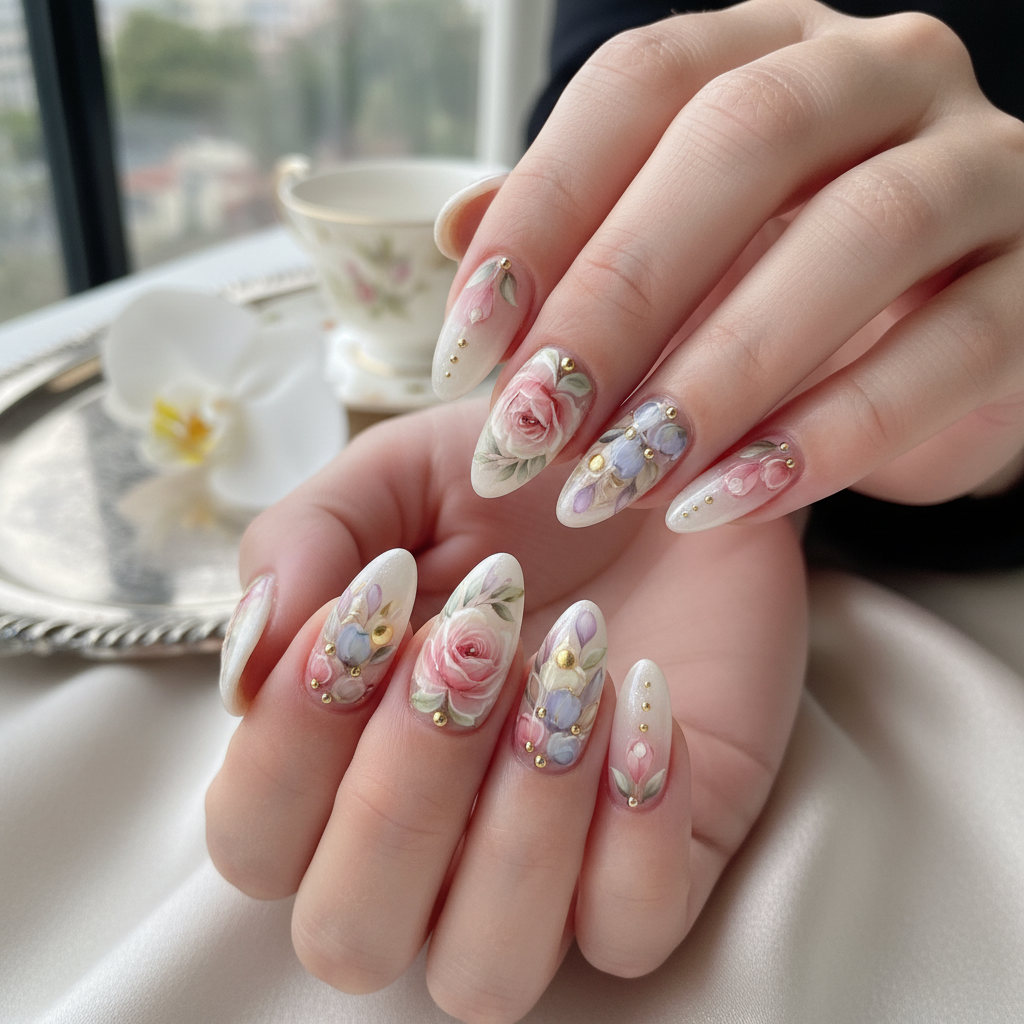
Photo-real Salon Floral Nails
Floral inspired nail art with elegant, photo-real finish and professional salon quality
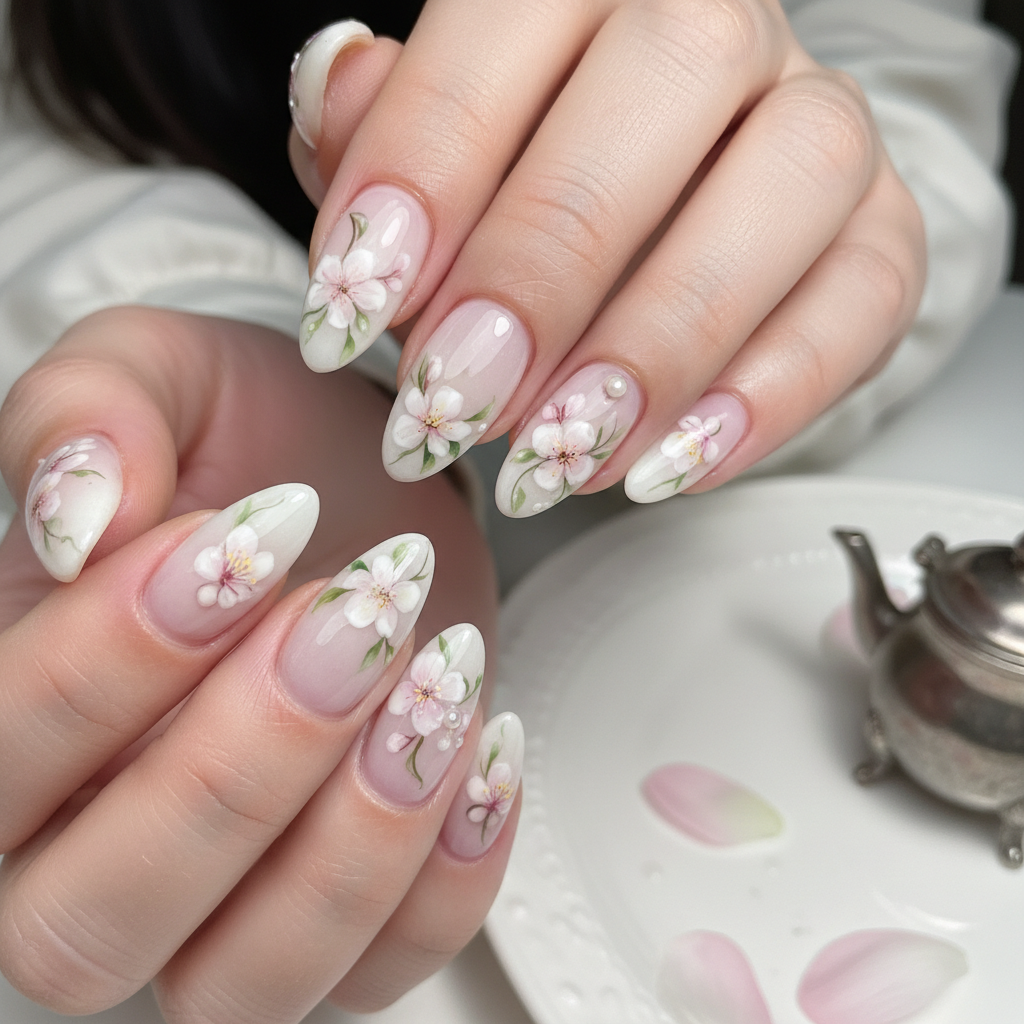
Photo-real Salon Floral Nails
Floral inspired nail art with clean, photo-real finish and professional salon quality
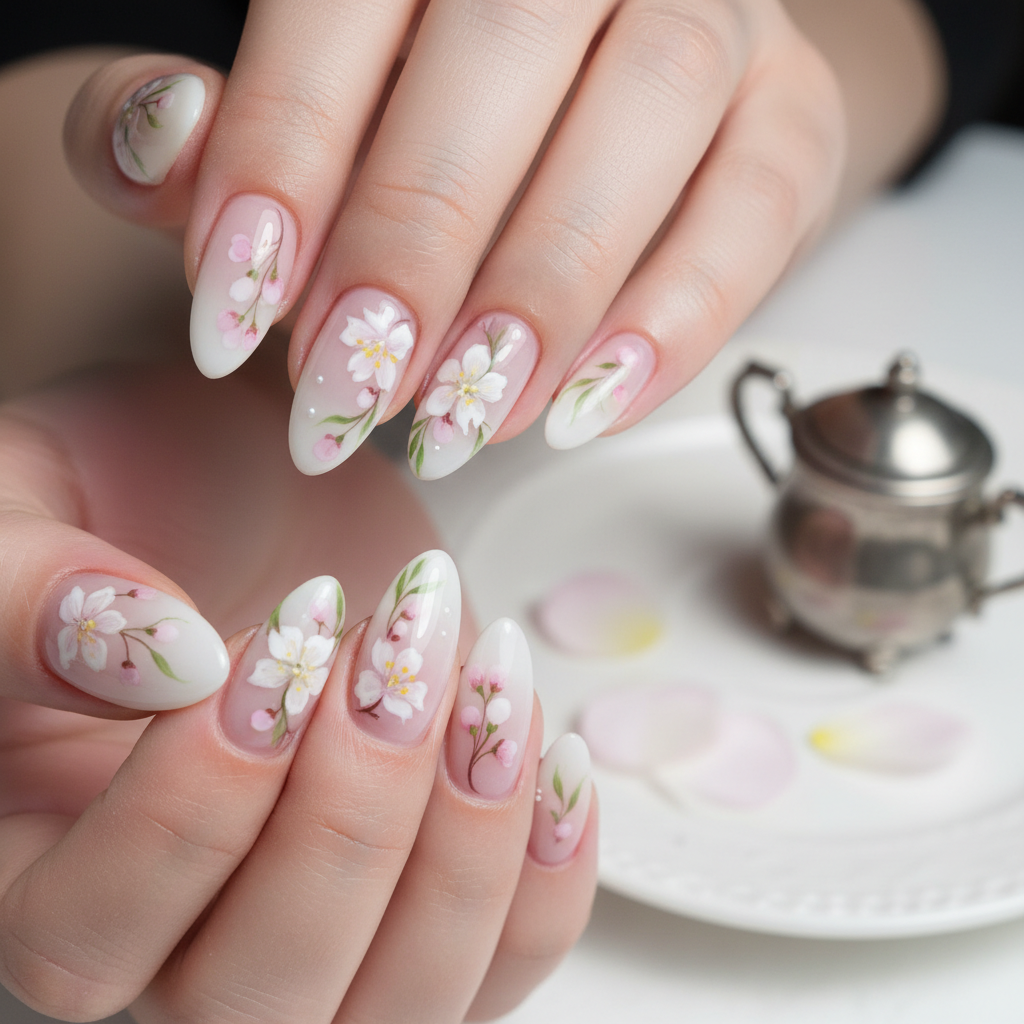
Photo-real Salon Floral Nails
Floral inspired nail art with clean, photo-real finish and professional salon quality
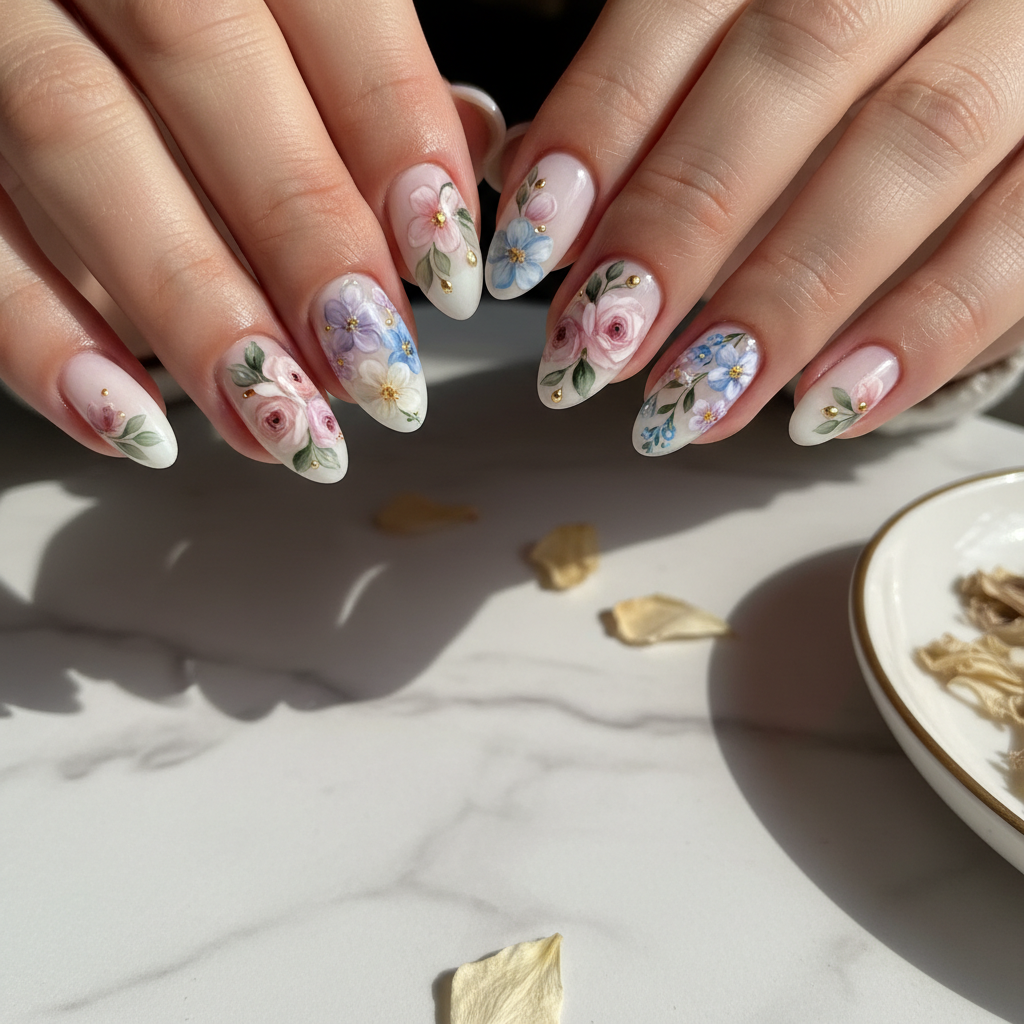
Photo-real Salon Floral Nails
Floral inspired nail art with clean, photo-real finish and professional salon quality
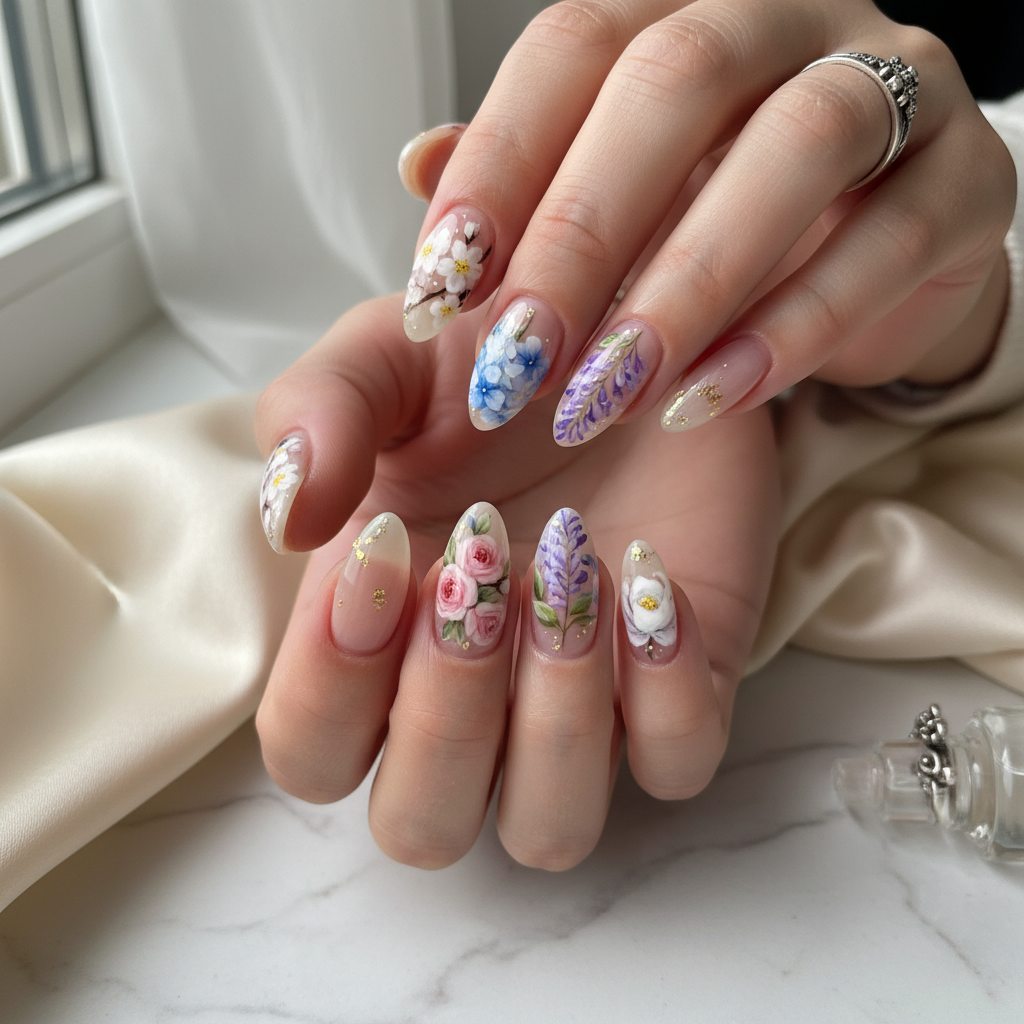
Photo-real Salon Floral Nails
Floral inspired nail art with clean, photo-real finish and professional salon quality
More Designs
Photo-Real Floral Nails: Salon-Quality Floral Design
Achieve stunning, photo-realistic floral nails that look like they came straight from a professional salon! This design combines intricate floral detailing with a flawlessly smooth finish, creating a sophisticated and eye-catching look.
Supplies You'll Need
- Base coat
- Gel polishes in desired floral colors
- Fine detail nail art brushes
- Top coat
- UV/LED lamp
- Dotting tool
How To Recreate It
- Apply base coat and cure under UV/LED lamp.
- Apply a base color, such as pastel pink or white, and cure.
- Using fine detail brushes, carefully paint realistic floral designs. Start with larger petals and gradually add smaller details like veins and shading.
- Cure each layer of floral art under the lamp to prevent smudging.
- Apply a glossy top coat and cure to seal the design and add shine.
- Cleanse nails to remove any sticky residue.
Expert Tip
Practice your floral designs on a nail wheel or piece of paper first to refine your technique before applying them to your nails. Use very thin layers of polish to achieve a clean, realistic look.
Try These Variations
- →Monochrome Floral: Use different shades of the same color for a subtle effect.
- →Accent Nail: Focus the elaborate floral design on one or two nails and use a simpler design on the others.
- →Dark Background: Use a dark background, like navy or black, to make the floral details pop.
Aftercare Tips
- ✓Moisturize hands regularly to prevent dryness.
- ✓Avoid picking or peeling the polish.
- ✓Use a gentle nail cleanser to remove dirt and oils.
- ✓Consider a clear strengthener to prevent chipping.
Safe Removal
- 1.Gently file the top coat to break the seal.
- 2.Soak cotton balls in acetone and apply to nails, wrapping them in foil.
- 3.After 10-15 minutes, gently remove the gel polish with a cuticle pusher.
Quick Facts
Why It's Trending
Realistic floral designs are trending as people seek sophisticated and detailed nail art that mimics natural beauty.
Seasonal Styling
Perfect for spring and summer, but the color palette can be adjusted to suit autumn and winter themes.
Color Variations
Perfect For
Why People Love It
The photo-real finish is highly coveted on social media, with nail enthusiasts sharing their stunning recreations and inspiring others to try this intricate design.
Daily Maintenance
- 💅Apply cuticle oil daily to keep nails hydrated.
- 💅Wear gloves when doing housework or gardening to protect the design.
- 💅Avoid using harsh chemicals that could damage the polish.
- 💅Fill in any gaps at the cuticle line every 1-2 weeks to maintain the look.
Common Issues & Fixes
- ⚠Smudging of floral detailsCure each layer of polish under the UV/LED lamp to prevent smudging.
- ⚠Uneven application of floral designUse fine detail brushes and apply thin layers of polish for even coverage.
- ⚠Chipping of gel polishEnsure proper nail prep and use a high-quality top coat.
- ⚠Bubbles in gel polishApply thin coats of polish and avoid shaking the bottle vigorously.
Design Inspiration
Inspired by botanical illustrations and the delicate beauty of real flowers.
Explore Similar Designs
Colors in this Design
Techniques Used
Perfect For
Nail Shapes
More Categories to Explore
Popular Colors
Popular Techniques
Perfect Occasions
FAQs
Can I achieve this look with regular nail polish?
While possible, gel polish provides a smoother, more durable finish and allows for easier correction of mistakes.
What kind of brushes are best for floral details?
Fine detail brushes with very thin, pointed bristles are ideal for creating realistic floral designs.
How long will this design last?
With proper application and care, this design can last up to 2-3 weeks with gel polish.
Do I need any special tools for this?
Besides the brushes and polishes, a dotting tool can be helpful for creating small details like flower centers.
Can I use nail stickers or decals instead of painting?
While stickers can be used, achieving a truly photo-realistic look requires hand-painted details.
How do I prevent the polish from bleeding?
Make sure each layer is completely dry before applying the next, and cure each layer thoroughly under the UV/LED lamp.