Photo-real Salon Edge Nails
Edge inspired nail art with clean, photo-real finish and professional salon quality
Created: October 5, 2025 at 01:21 PM
More Edge Designs
More Designs
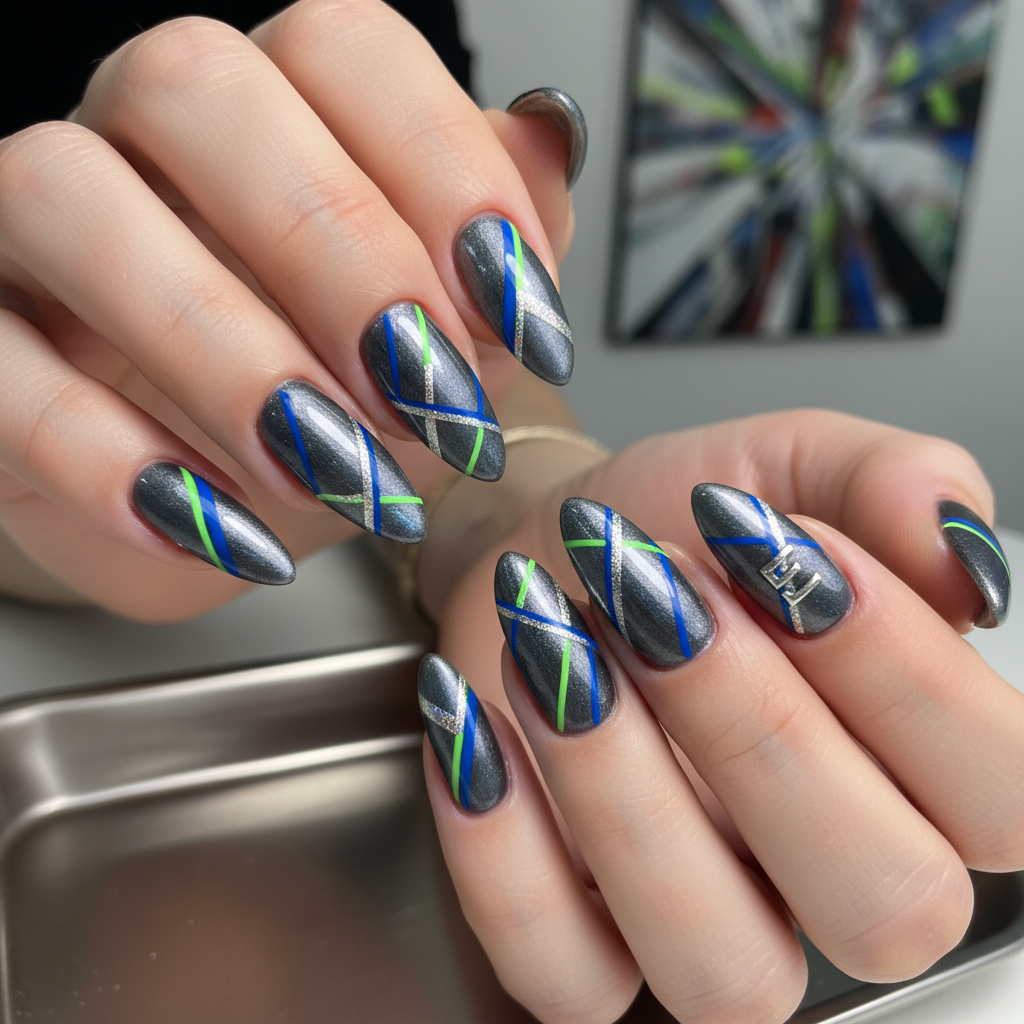
Sharp Edge Nails: Photo-Real Salon Finish Nail Art
Achieve a modern, edgy look with these photo-realistic salon edge nails. This design focuses on clean lines and a professional, high-quality finish, perfect for those who love bold and geometric nail art.
Supplies You'll Need
- Gel polish (various colors)
- Gel base coat
- Gel top coat
- Fine liner brush
- LED/UV lamp
- Nail file and buffer
How To Recreate It
- Prep nails by filing and shaping them into an edge shape.
- Apply a thin layer of gel base coat and cure under an LED/UV lamp.
- Apply 2-3 coats of your chosen base color, curing after each coat.
- Using a fine liner brush and contrasting gel polish, carefully create geometric patterns and sharp lines along the edges.
- Cure the design under the lamp.
- Finish with a gel top coat and cure again for a glossy, long-lasting finish.
Expert Tip
Use a very fine liner brush and steady hand to achieve precise edges. Practice on paper first to perfect your technique before applying to the nails.
Try These Variations
- →Negative Space Edge Nails: Incorporate negative space into the geometric design for a minimalist look.
- →Ombre Edge Nails: Blend two colors smoothly at the base and transition to a sharp edge.
- →Glitter Edge Nails: Add glitter polish to the edges for a touch of sparkle and glamour.
Aftercare Tips
- ✓Keep nails moisturized with hand cream.
- ✓Avoid picking or peeling the gel polish.
- ✓Schedule regular maintenance appointments every 2-3 weeks.
Safe Removal
- 1.File off the top layer of the gel polish.
- 2.Soak cotton pads in acetone, place them on the nails, and wrap with foil. Let it sit for 10-15 minutes.
Quick Facts
Why It's Trending
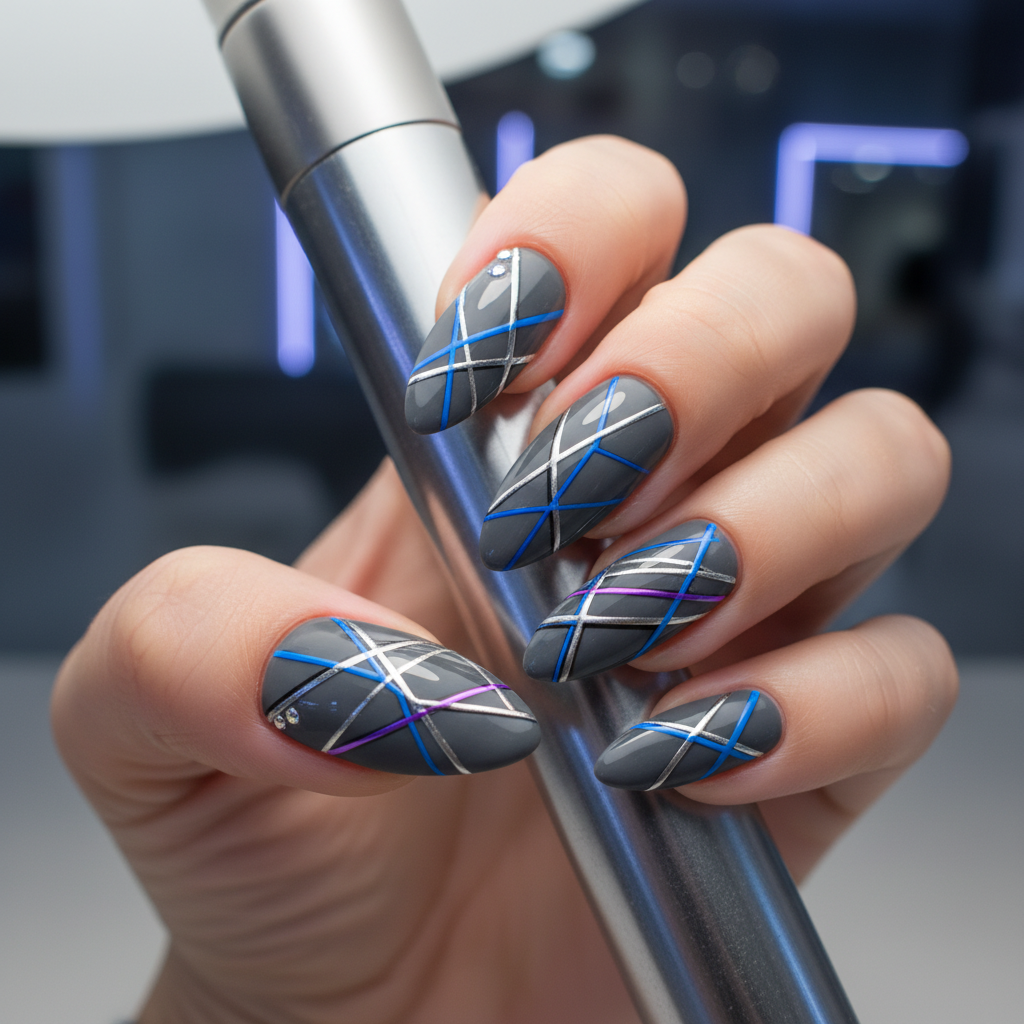
The clean lines and geometric shapes are highly sought after for a minimalist yet striking nail statement.
Seasonal Styling
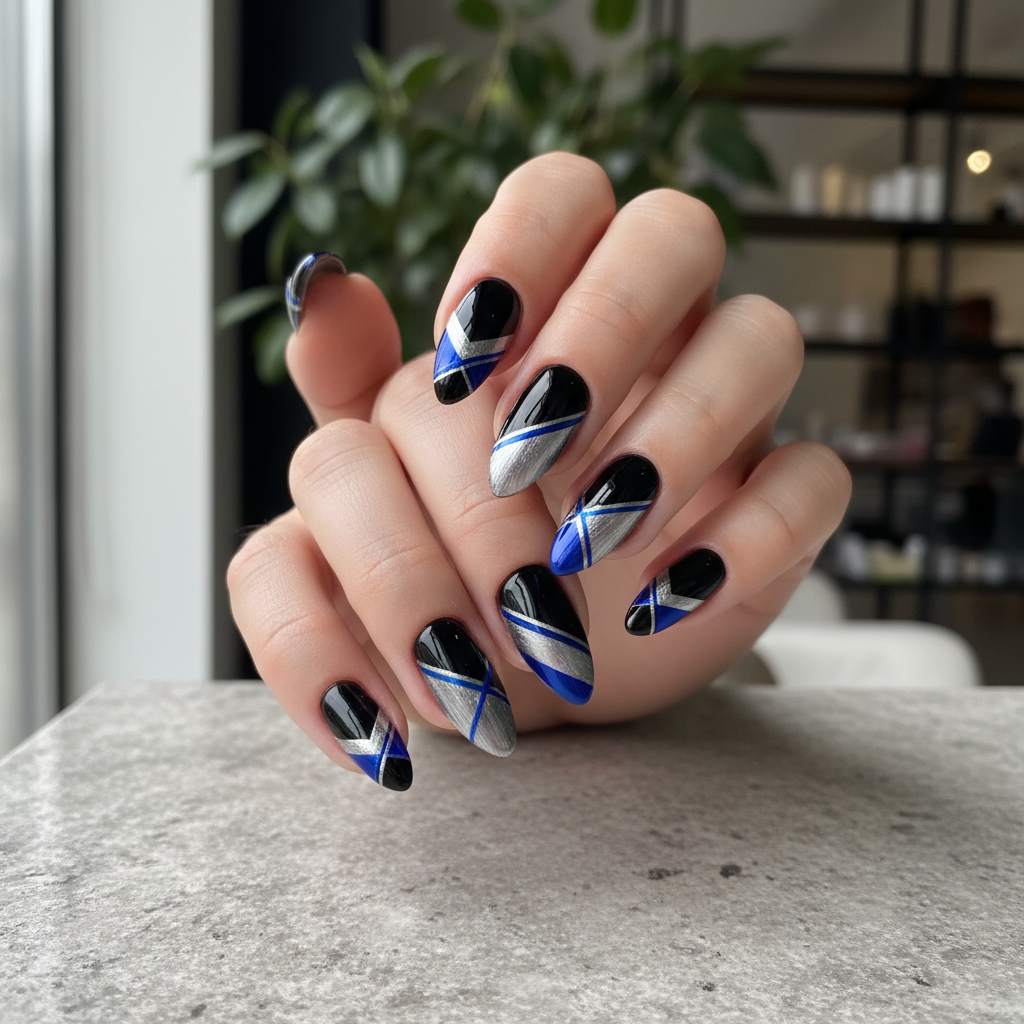
Great for all seasons, but particularly impactful during fall and winter when paired with darker, richer colors.
Color Variations
Perfect For
Why People Love It
Instagram and Pinterest are flooded with stunning edge nail designs, making it a highly coveted trend among nail enthusiasts.
Daily Maintenance
- 💅Apply cuticle oil daily to keep nails healthy and hydrated.
- 💅Avoid harsh chemicals that can damage the gel polish.
- 💅Wear gloves when doing household chores.
Common Issues & Fixes
- ⚠Gel polish is peeling.Ensure proper nail prep and use a high-quality base and top coat.
- ⚠Edges are not sharp enough.Use a fine liner brush and practice a steady hand. Apply thin coats for better control.
- ⚠Bubbles in the gel polish.Apply thin, even coats and avoid shaking the bottle vigorously before application.
Design Inspiration
Inspired by modern architecture and minimalist design, this nail art aims to replicate the clean lines and sharp angles found in contemporary art.
Explore Similar Designs
Colors in this Design
Techniques Used
Perfect For
Nail Shapes
More Categories to Explore
Popular Colors
Popular Techniques
Perfect Occasions
FAQs
What is the best way to achieve sharp edges?
Using a very fine liner brush and practicing steady strokes is key.
How long will this design last?
With proper care, this gel polish design can last up to 2-3 weeks.
Can I do this design with regular nail polish?
While possible, gel polish provides a more durable and glossy finish, ideal for clean edge designs. Regular polish is harder to get sharp clean lines with.
What shape nail is best for this design?
The edge shape is ideal, but it can also work well on coffin or stiletto shapes.
Is it difficult to remove gel polish?
Gel polish removal requires soaking in acetone, but it's a simple process if done correctly.
Can I add embellishments to this design?
Yes, subtle embellishments like rhinestones or studs can enhance the design, but avoid overcrowding to maintain the clean aesthetic.