Photo-real Salon Coffin Nails
Coffin inspired nail art with clean, photo-real finish and professional salon quality
Created: October 5, 2025 at 01:07 PM
More Coffin Designs
More Designs
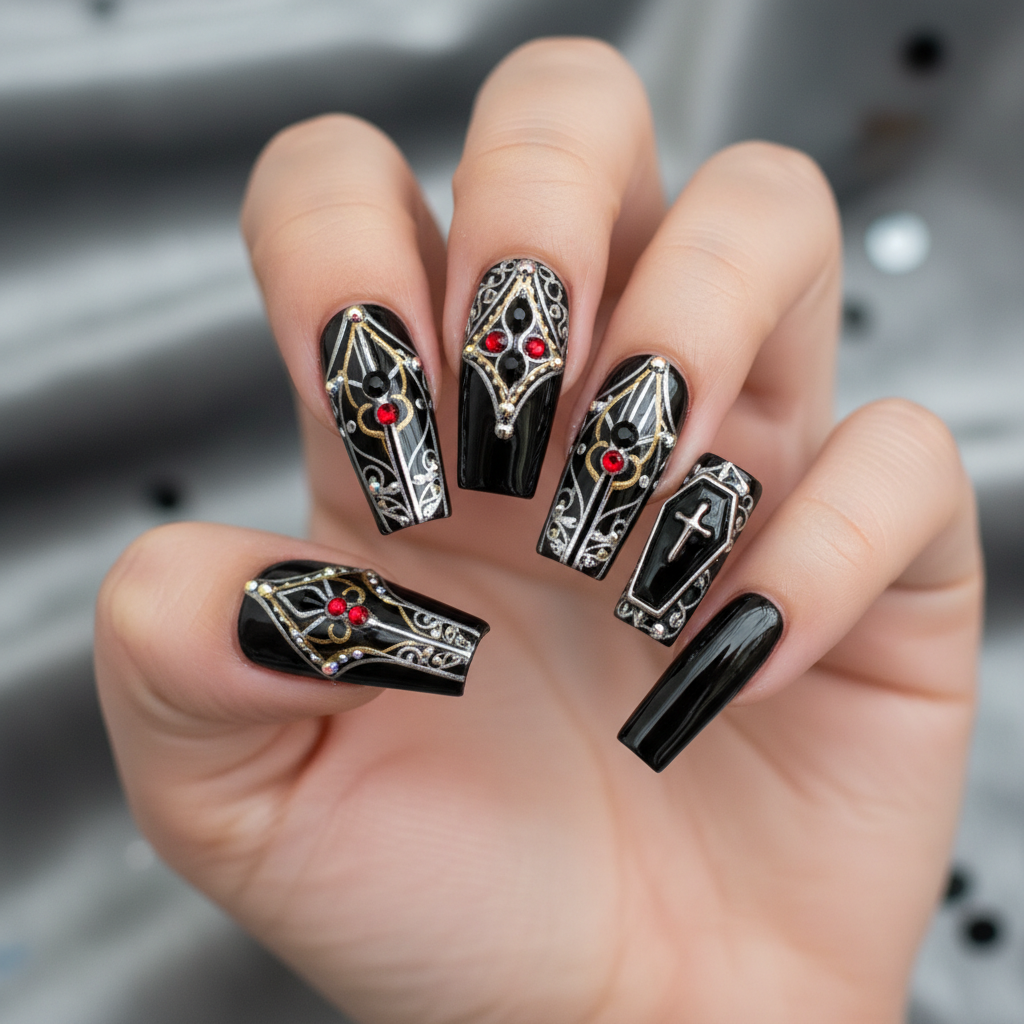
Salon-Quality Coffin Nails: The Photo-Real Finish
Achieve a flawless, photo-real finish with these stunning coffin-shaped nails. This design offers a professional salon-quality look that's both elegant and modern, perfect for making a statement.
Supplies You'll Need
- Acrylic powder and liquid (optional)
- Gel base coat
- Gel polish in desired color(s)
- Gel top coat
- Nail buffer
- UV/LED lamp
How To Recreate It
- Prep nails: Clean, file, and shape nails into a coffin shape. Gently buff the surface.
- Apply base coat: Apply a thin layer of gel base coat and cure under UV/LED lamp.
- Apply gel polish: Apply 2-3 thin coats of gel polish, curing after each coat. For a photo-real effect, use a very smooth, self-leveling gel.
- Buff and smooth: Gently buff the surface to remove any imperfections and create a smooth canvas.
- Apply top coat: Apply a generous layer of gel top coat for a high-shine, photo-real finish. Cure under UV/LED lamp.
- Cleanse: Remove any sticky residue with a cleansing wipe.
Expert Tip
For a true photo-real finish, consider using a self-leveling gel polish and dedicating extra time to buffing and smoothing the nail surface. This will minimize imperfections and create a flawless look.
Try These Variations
- →Ombre Coffin Nails: Blend two or more colors for a gradient effect.
- →Glitter Accent Nails: Add a touch of sparkle to one or two nails.
- →French Tip Coffin Nails: Opt for a classic French manicure with a coffin shape.
Aftercare Tips
- ✓Moisturize hands regularly with a quality hand cream.
- ✓Avoid harsh chemicals and detergents that can damage the nail polish.
- ✓Consider a gel polish refresher application after 2 weeks for longevity
Safe Removal
- 1.File off the top layer of gel polish.
- 2.Soak cotton balls in acetone, apply to nails, and wrap with foil. Allow to soak for 10-15 minutes.
- 3.Gently remove softened gel polish with a cuticle pusher.
Quick Facts
Why It's Trending
The demand for salon-worthy nails at home is booming, and this design delivers that professional aesthetic without the salon price tag.
Seasonal Styling
This versatile design works year-round, but the colors can be adjusted to match seasonal trends. Consider deeper jewel tones for fall and winter, and brighter pastels for spring and summer.
Color Variations
Perfect For
Why People Love It
Instagram and TikTok are flooded with tutorials and inspiration for achieving salon-worthy nails at home, making this design highly sought after.
Daily Maintenance
- 💅Apply cuticle oil daily to keep nails and cuticles hydrated.
- 💅Avoid using your nails as tools to prevent chipping or breakage.
- 💅Wear gloves when doing housework or gardening to protect your manicure.
Common Issues & Fixes
- ⚠
- ⚠
- ⚠
Design Inspiration
Inspired by the flawless finish of professional salon manicures and the desire to replicate that look at home with accessible techniques and products.
Explore Similar Designs
Colors in this Design
Techniques Used
Perfect For
Nail Shapes
More Categories to Explore
Popular Colors
Popular Techniques
Perfect Occasions
FAQs
How long will this design last?
With proper application and care, this design can last up to 2-3 weeks without chipping.
Can I achieve this look with regular nail polish?
While possible, a gel polish is recommended for the best results and durability. Regular polish doesn't have the same self-leveling properties.
What is the best way to shape coffin nails?
Start by filing the sides straight, then taper towards the tip, creating a flattened square at the end. Use a file to refine the shape.
Can I add nail art to this design?
Absolutely! Consider adding delicate line work, rhinestones, or subtle stamping patterns to personalize your design.
What if my nails are too short for coffin shape?
You can use nail extensions or tips to create the desired length and shape.