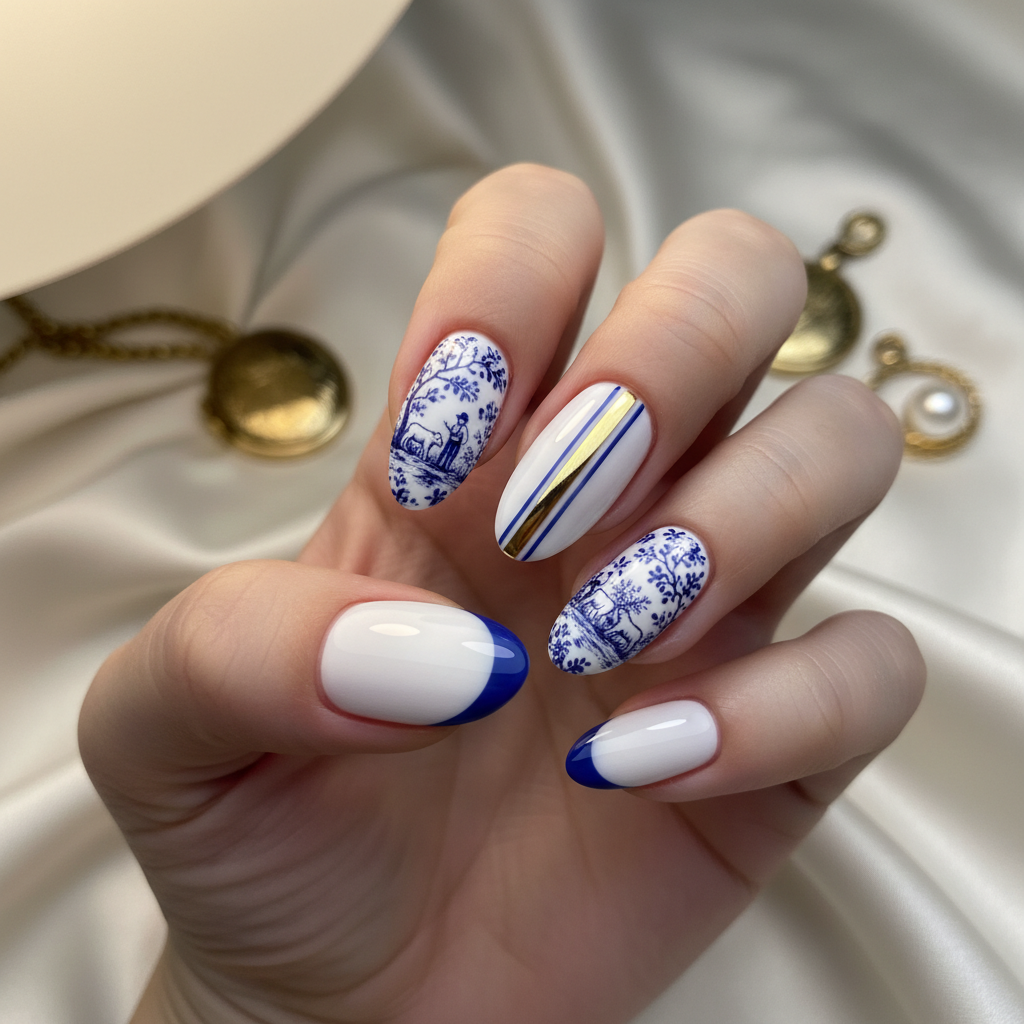
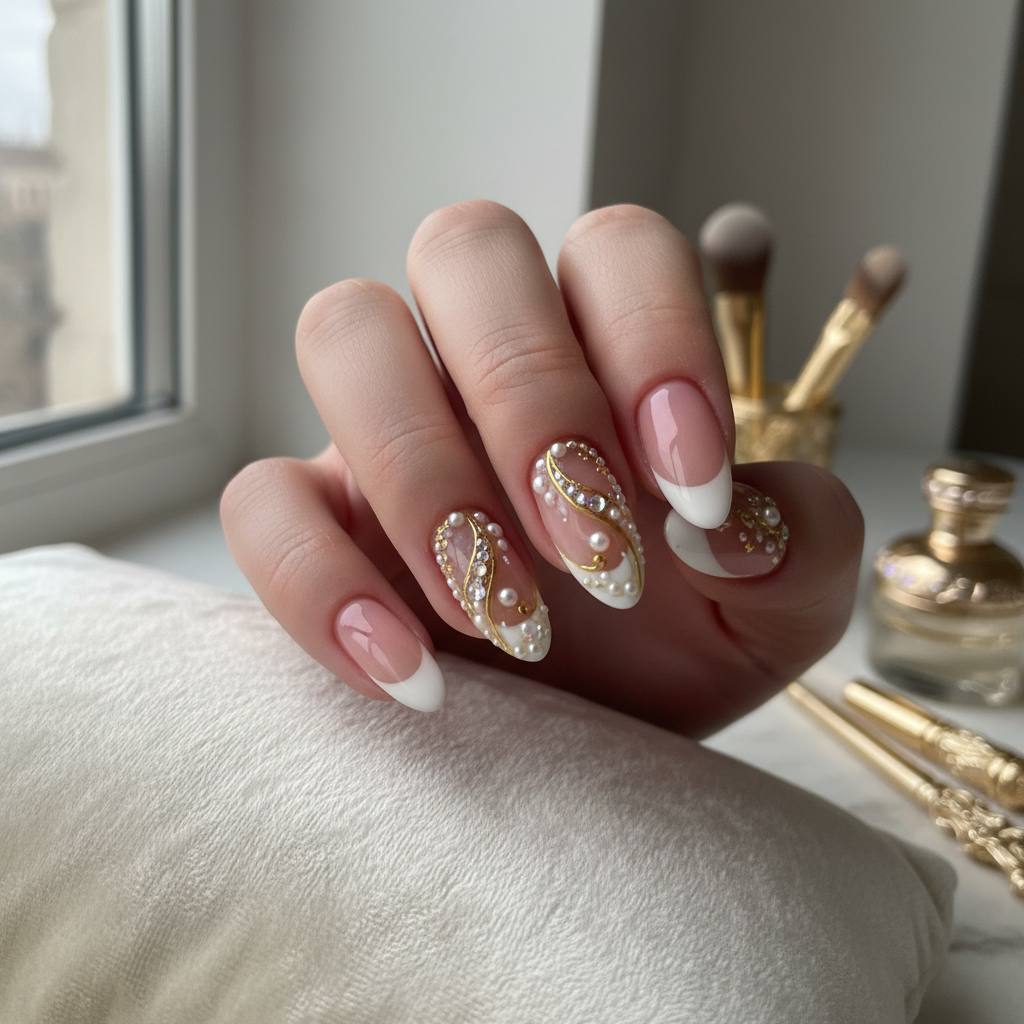
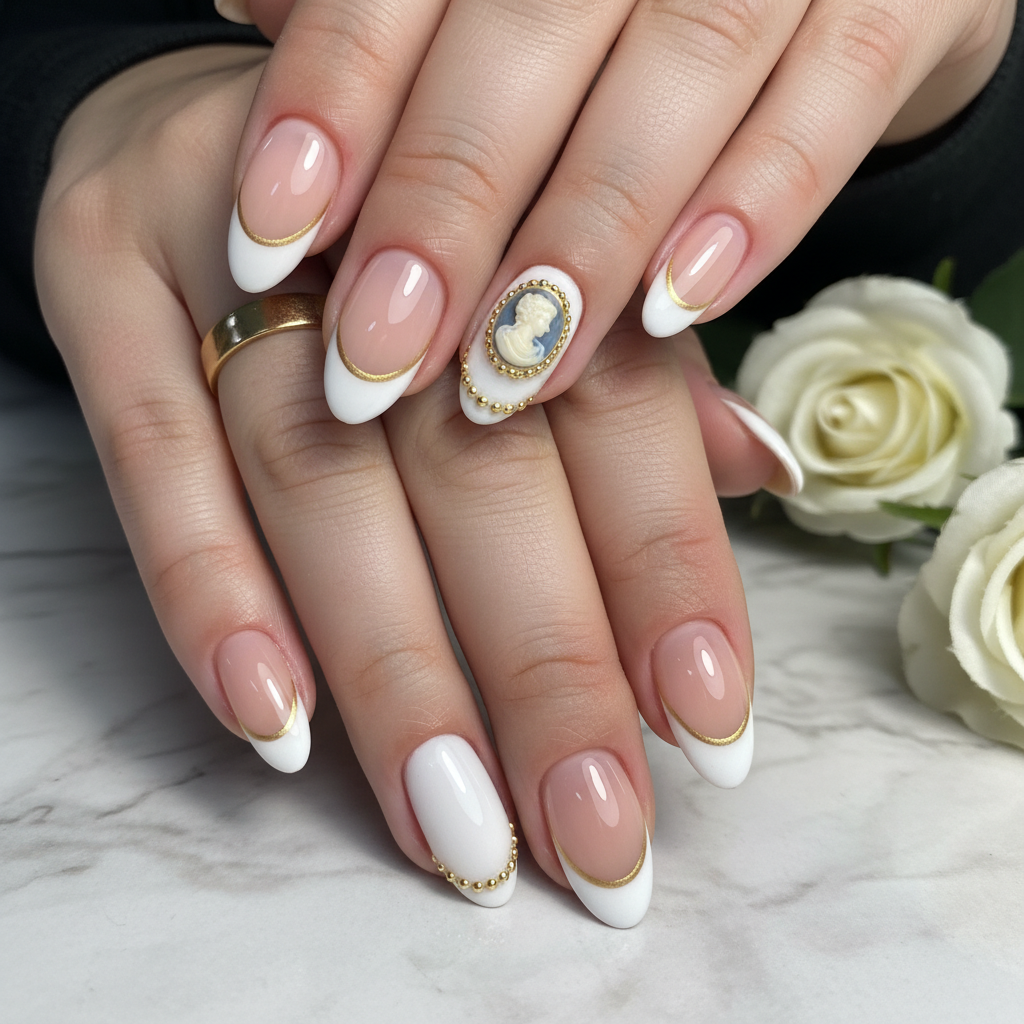
Photo-real Salon Classic Nails
Classic inspired nail art with clean, photo-real finish and professional salon quality
Created: October 5, 2025 at 12:50 PM
More Classic Designs
More Designs
Salon Classic Nails: Timeless Photo-Real Nail Art
Achieve a flawless, photo-real manicure with this classic-inspired nail art design. This look embodies timeless elegance and professional salon quality, making it perfect for any occasion.
Supplies You'll Need
- Base Coat
- High-Quality Nail Polish (Classic Color)
- Top Coat (Glossy)
- Nail File
- Cuticle Pusher
- Cleanup Brush
How To Recreate It
- Shape and prep nails: File to desired shape and push back cuticles.
- Apply a thin base coat to protect the nails.
- Apply 2-3 thin, even coats of your chosen classic nail polish color, allowing each coat to dry completely.
- Clean up any mistakes around the cuticle area with a cleanup brush dipped in acetone.
- Apply a glossy top coat for shine and longevity.
- Allow nails to fully dry and cure.
Expert Tip
Use a thin brush dipped in acetone to refine the cuticle line for a crisp, professional finish. Applying thin coats of polish is key to avoiding streaks and bubbles.
Try These Variations
- →French Manicure: Classic nude base with white tips for a timeless look.
- →Ombre Nails: Subtle gradient using complementary neutral shades.
- →Accent Nail: Add a touch of sparkle or a minimal geometric design on one nail.
Aftercare Tips
- ✓Moisturize hands and nails regularly.
- ✓Avoid harsh chemicals that can dry out nails.
- ✓Consider a nail strengthener between manicures to promote healthy nail growth.
Safe Removal
- 1.Soak cotton pads in acetone-based nail polish remover.
- 2.Place the soaked pads on nails and secure with foil for 10-15 minutes.
- 3.Gently remove the polish and moisturize hands.
Quick Facts
Why It's Trending
The return of understated elegance and demand for professional-looking at-home manicures fuels this design's popularity.
Seasonal Styling
Perfect for all seasons, but especially popular in fall/winter for a refined, elegant look and spring/summer to embody fresh and clean beauty.
Color Variations
Perfect For
Why People Love It
Instagram and Pinterest are flooded with examples of professional nail artists showcasing their clean, classic designs.
Daily Maintenance
- 💅Apply cuticle oil daily to keep nails hydrated.
- 💅Wear gloves when doing housework or gardening.
- 💅Apply a fresh coat of top coat every 2-3 days to extend the manicure's lifespan.
Common Issues & Fixes
- ⚠Streaky polish application?Apply thinner coats and allow each coat to dry completely before applying the next.
- ⚠Bubbles in the polish?Avoid shaking the polish bottle vigorously. Roll it gently between your hands instead.
- ⚠Chipping?Ensure proper nail prep and apply a quality top coat. Reapply top coat every few days.
Design Inspiration
Inspired by the timeless elegance of old Hollywood glamour and the desire for a universally flattering, sophisticated manicure.
Explore Similar Designs
Colors in this Design
Techniques Used
Perfect For
Nail Shapes
More Categories to Explore
Popular Colors
Popular Techniques
Perfect Occasions
FAQs
What is the best nail shape for this design?
Oval, squoval, and almond shapes tend to complement this design beautifully.
How do I achieve a photo-real finish?
Focus on smooth polish application, a high-shine top coat, and meticulous cleanup.
Can I do this design on short nails?
Yes, classic manicures work well on short nails, as the focus is on the quality of the polish and clean lines.
What makes this design 'classic'?
The use of timeless colors, simple techniques, and elegant shapes that have been popular for decades.
How can I prevent my polish from chipping?
Proper nail preparation, a good base coat, a quality top coat, and avoiding harsh chemicals are key.
Is this design suitable for beginners?
While the concept is simple, achieving a truly professional look requires some practice and attention to detail.