Photo-real Salon Birthday Nails
Birthday inspired nail art with clean, photo-real finish and professional salon quality
Created: October 5, 2025 at 12:12 PM
More Birthday Designs
More Designs
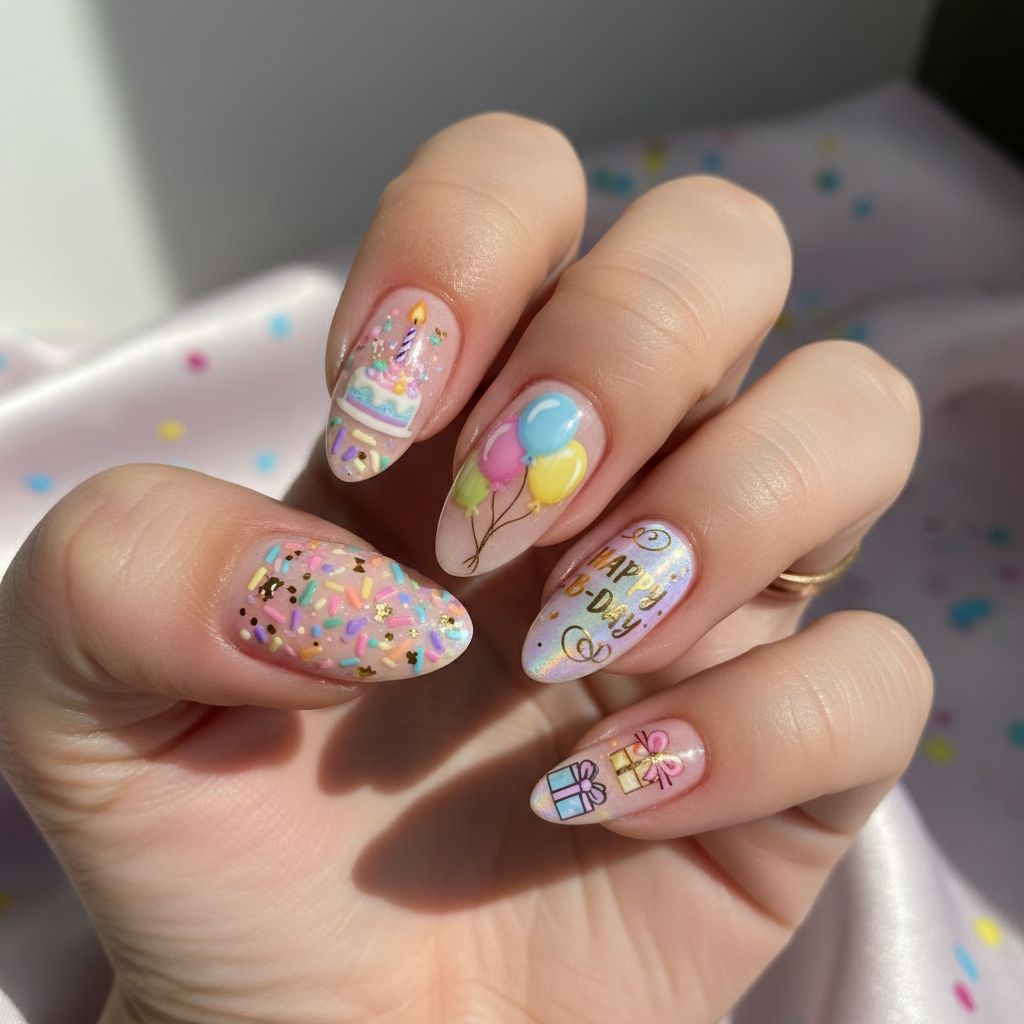
Birthday Cake Nails: Photo-Real Salon Birthday Design
Celebrate your special day with these stunning photo-real birthday cake nails! This design captures the essence of a delicious birthday cake, complete with frosting swirls, sprinkles, and a touch of sparkle, all with a professional salon finish.
Supplies You'll Need
- Gel polish in pastel colors (pink, white, blue, yellow)
- Fine detail nail art brushes
- Acrylic paints (optional, for fine details)
- Top coat (glossy)
- Nail art sponges
- Rainbow sprinkles (nail art)
How To Recreate It
- Apply a base coat and cure under UV/LED lamp.
- Apply pastel colors as the base for each nail; cure.
- Using fine detail brushes and acrylic paint or gel polish, paint the cake frosting swirls and details.
- Carefully apply rainbow sprinkles to the frosting areas.
- Apply a thick, glossy top coat to seal the design and cure under UV/LED lamp.
- Clean up any excess polish around the nails.
Expert Tip
Use a very fine detail brush and steady hand to create the photo-real frosting effect. Practice your cake design on paper first to perfect your technique.
Try These Variations
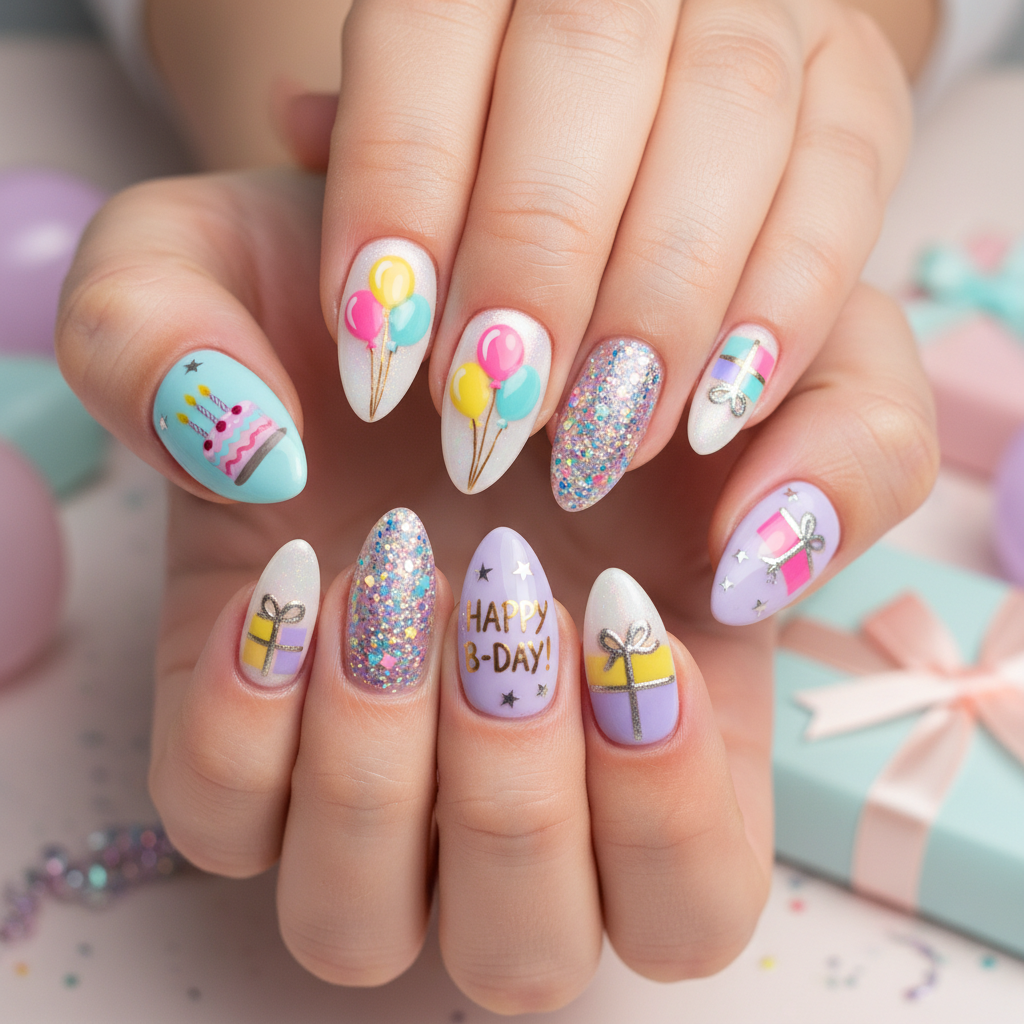
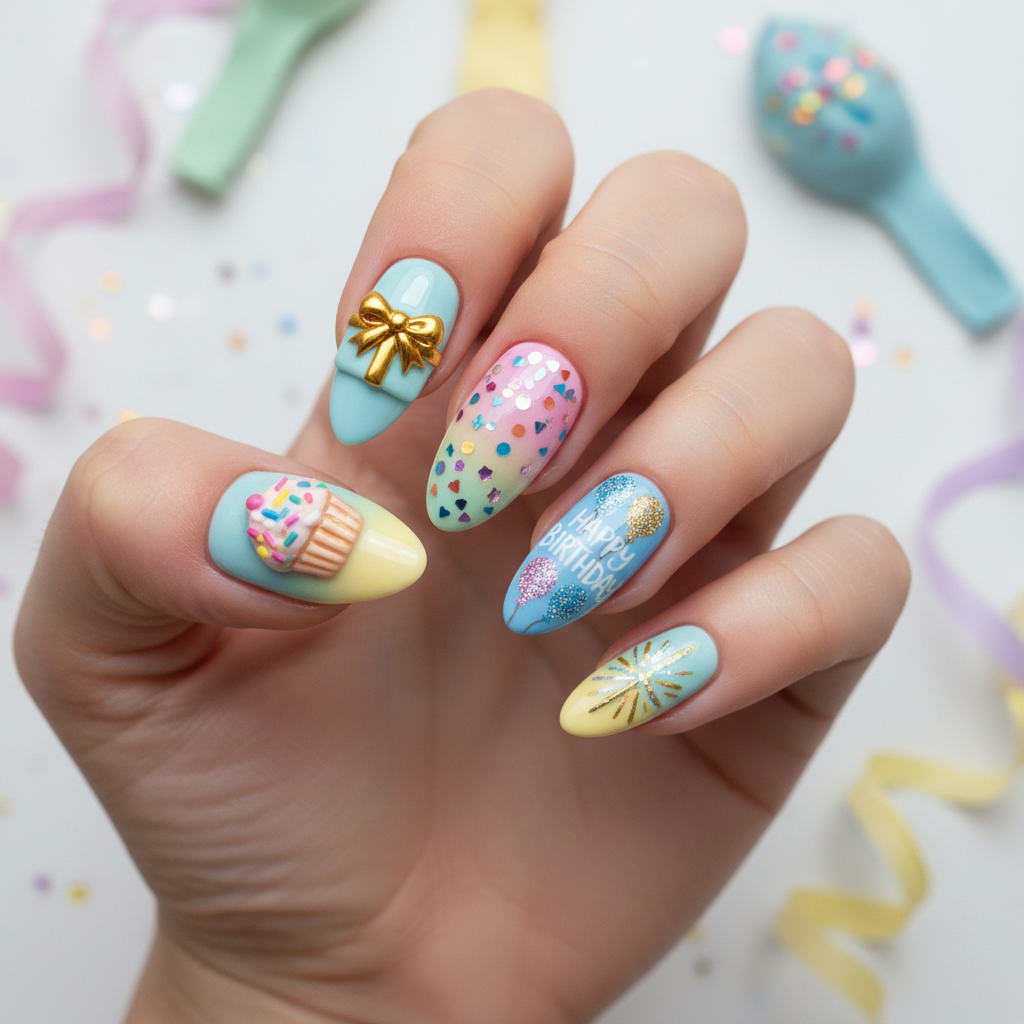
- →Cupcake Nails: Opt for a cupcake design on each nail instead of a full cake.
- →Candle Flame Accent: Add tiny candle flames to a few nails for an extra celebratory touch.
- →Glitter Accents: Incorporate glitter polish for added sparkle and dimension.
Aftercare Tips
- ✓Moisturize hands and nails regularly.
- ✓Avoid picking or peeling at the design.
- ✓Schedule a professional removal to avoid damage.
Safe Removal
- 1.Gently file off the top layer of the gel polish.
- 2.Soak cotton balls in acetone and apply to each nail, wrapping with foil.
- 3.After 10-15 minutes, gently push off the softened gel polish.
Quick Facts
Why It's Trending
Birthday nails are always popular, and this photo-real cake design offers a unique and celebratory twist that stands out on social media.
Seasonal Styling
Perfect for any birthday celebration year-round, but especially fitting for summer or spring birthdays with vibrant colors.
Color Variations
Perfect For
Why People Love It
These nails are gaining popularity on Instagram and TikTok for their incredible detail and realistic appearance, making them a coveted birthday look.
Daily Maintenance
- 💅Avoid harsh chemicals that can dull the finish.
- 💅Wear gloves when doing household chores.
- 💅Apply cuticle oil daily to keep nails hydrated.
Common Issues & Fixes
- ⚠Smudging: Work in thin layers and cure each layer completely.
- ⚠Uneven Sprinkles: Use a toothpick or wax pencil to precisely place the sprinkles.
- ⚠Bubbles in Top Coat: Apply the top coat in a smooth, even layer; avoid shaking the bottle vigorously.
- ⚠Design Fading: Ensure you use a high-quality top coat and reapply every few days for extra protection.
Design Inspiration
Inspired by the joy and celebration of birthdays, and the desire to create a truly unique and memorable nail art experience. The design aims to replicate the intricate details and deliciousness of a real birthday cake.
Explore Similar Designs
Colors in this Design
Techniques Used
Perfect For
Nail Shapes
More Categories to Explore
Popular Colors
Popular Techniques
Perfect Occasions
FAQs
How long will this design last?
With proper care, this design can last up to 2-3 weeks.
Can I do this design myself at home?
While possible, it requires significant skill and practice to achieve a photo-real finish. Consider visiting a professional nail artist for the best results.
What if I don't have acrylic paints?
You can use gel polish and very fine detail brushes as an alternative to acrylic paints.
Are the sprinkles real?
No, the sprinkles are nail art sprinkles specifically designed for use on nails. Real sprinkles are not suitable.
How do I prevent the sprinkles from falling off?
Encapsulate the sprinkles with a thick layer of top coat to ensure they are securely adhered to the nail.
What's the best shape for these nails?
Almond or square shapes work well, providing ample space for the cake design.