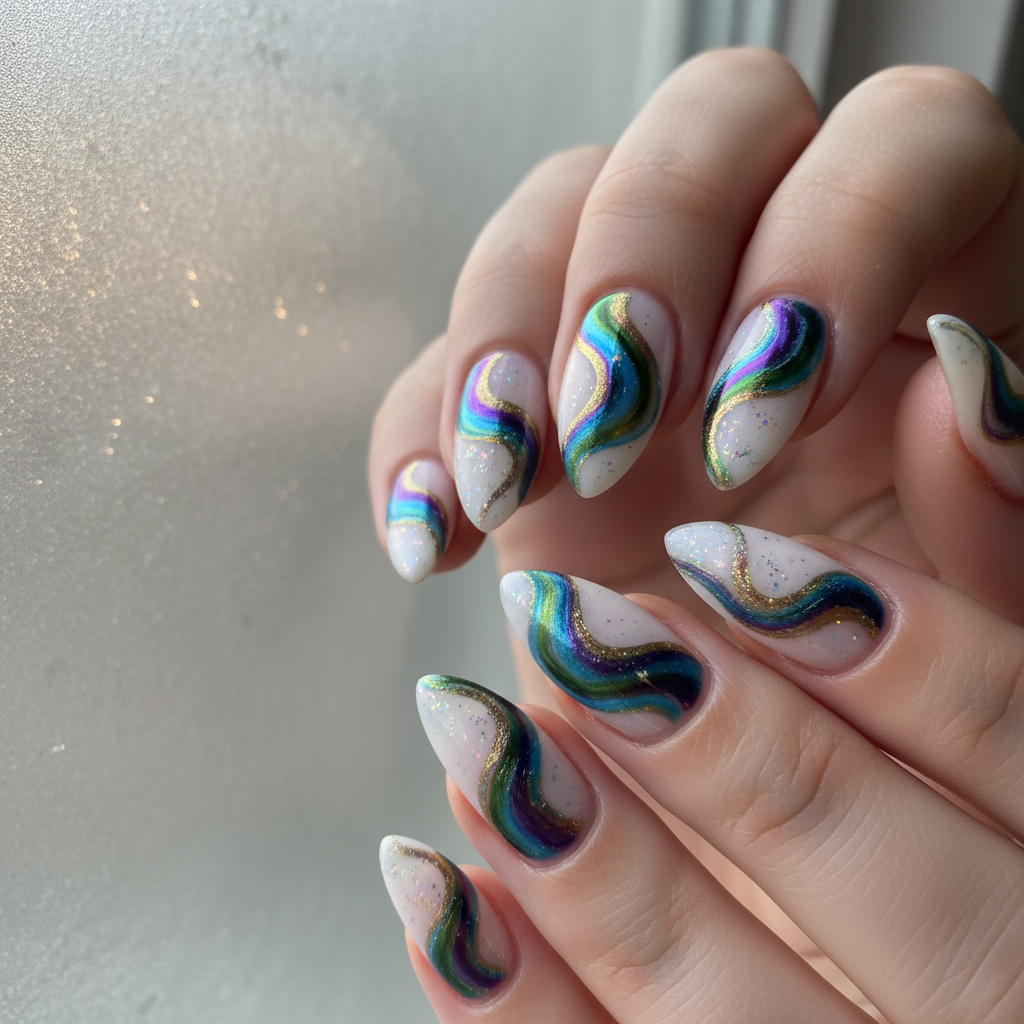
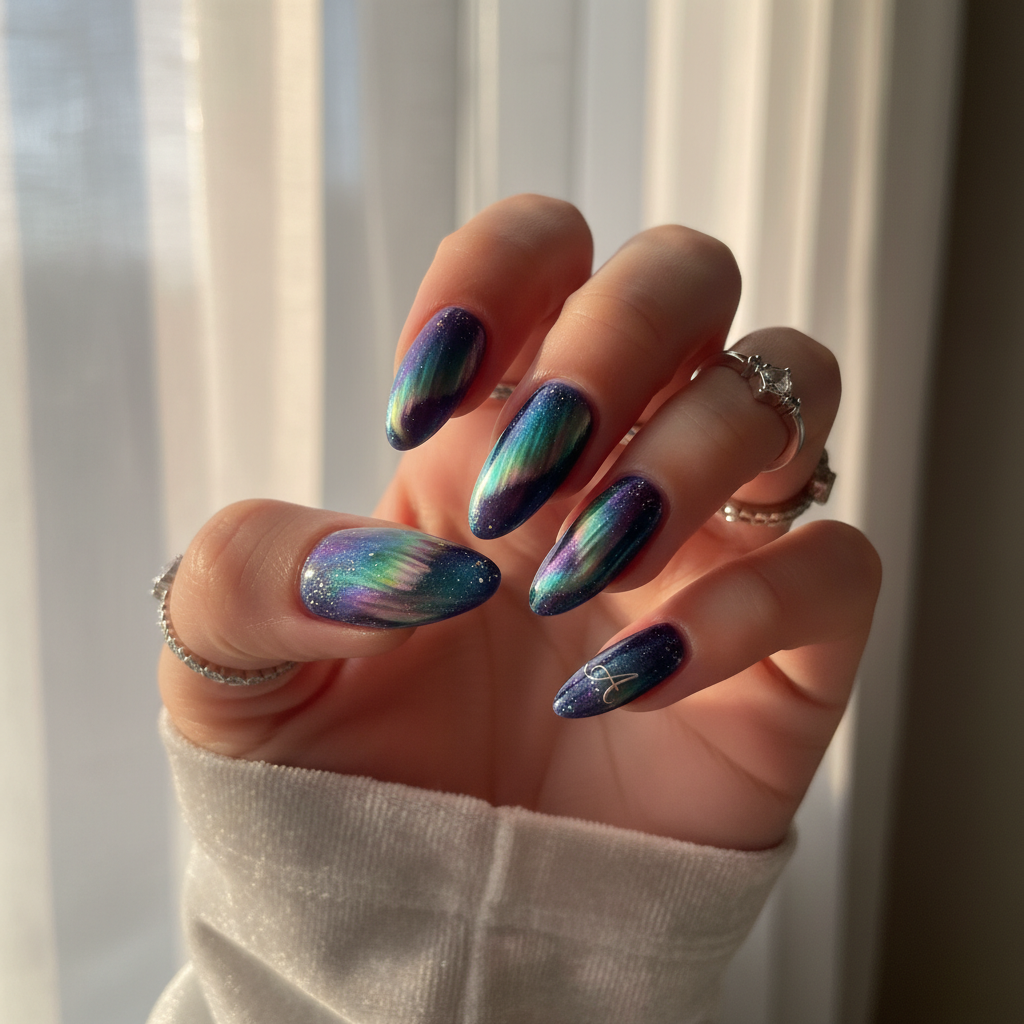
Photo-real Salon Aurora Nails
Aurora inspired nail art with clean, photo-real finish and professional salon quality
Created: October 5, 2025 at 12:07 PM
More Aurora Designs

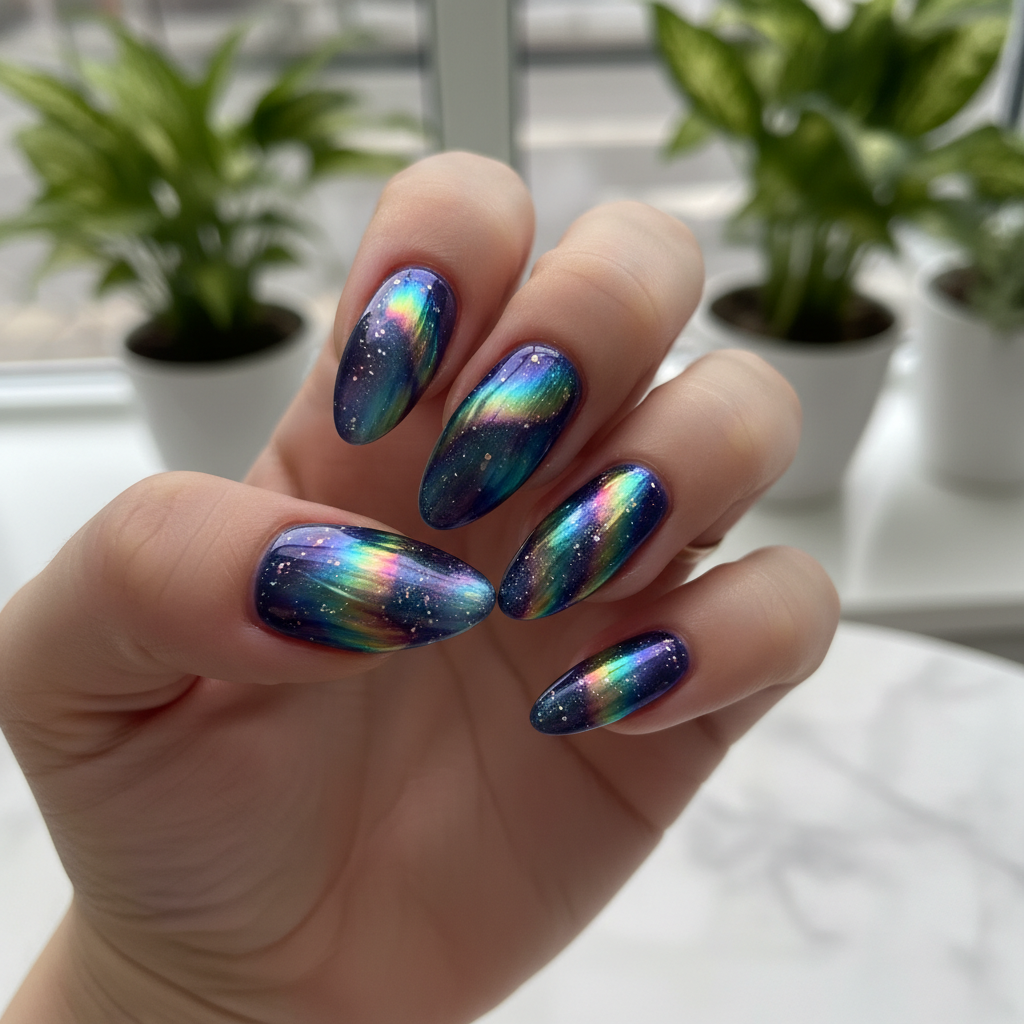
Beautiful Photo-real Salon Aurora Nails
Aurora inspired nail art with beautiful, photo-real finish and professional salon quality
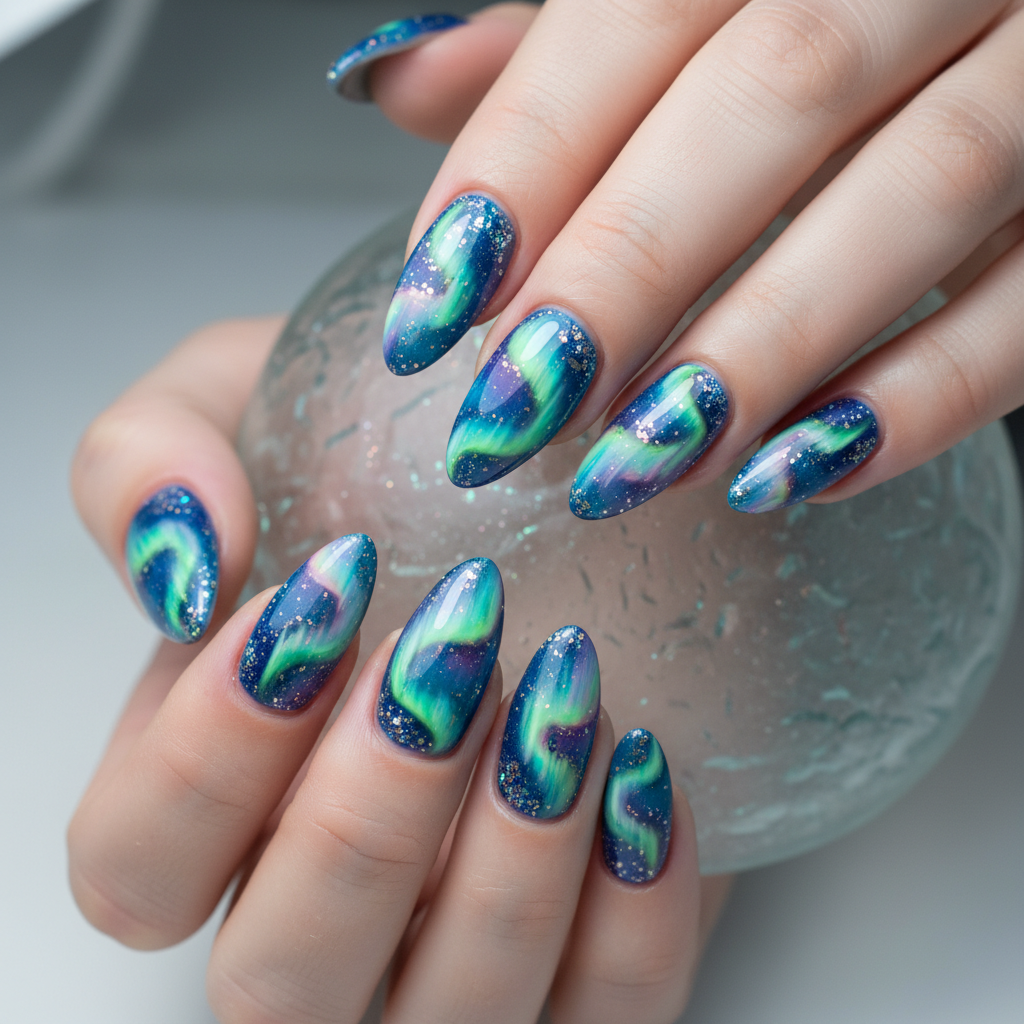
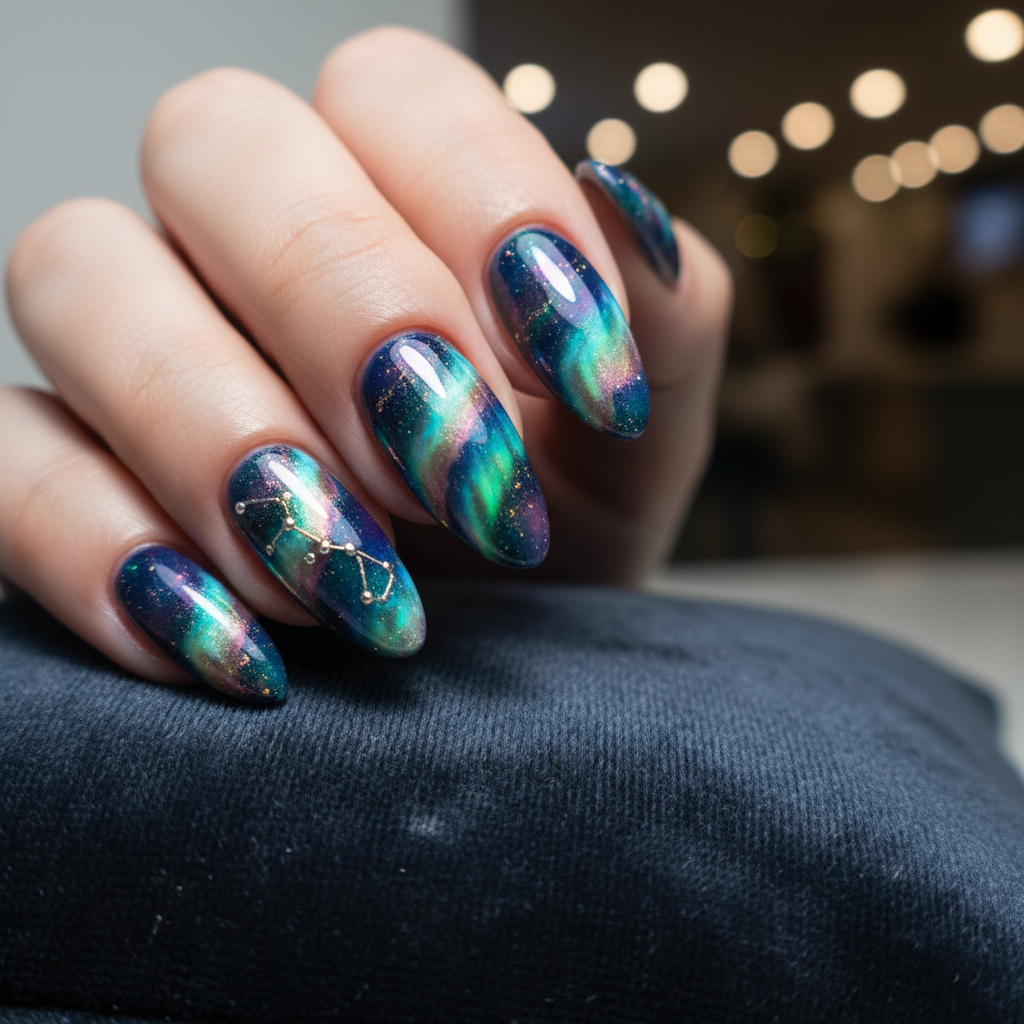
Gorgeous Photo-real Salon Aurora Nails
Aurora inspired nail art with gorgeous, photo-real finish and professional salon quality

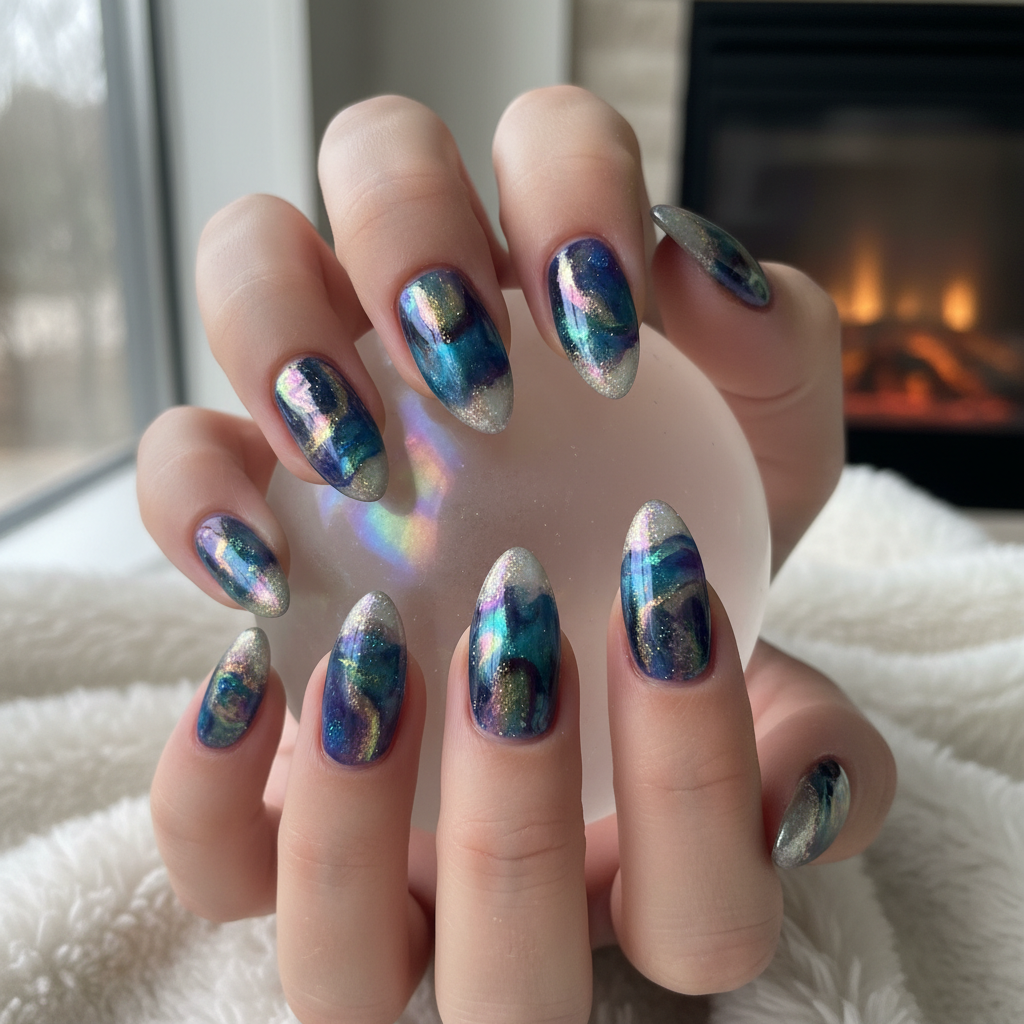
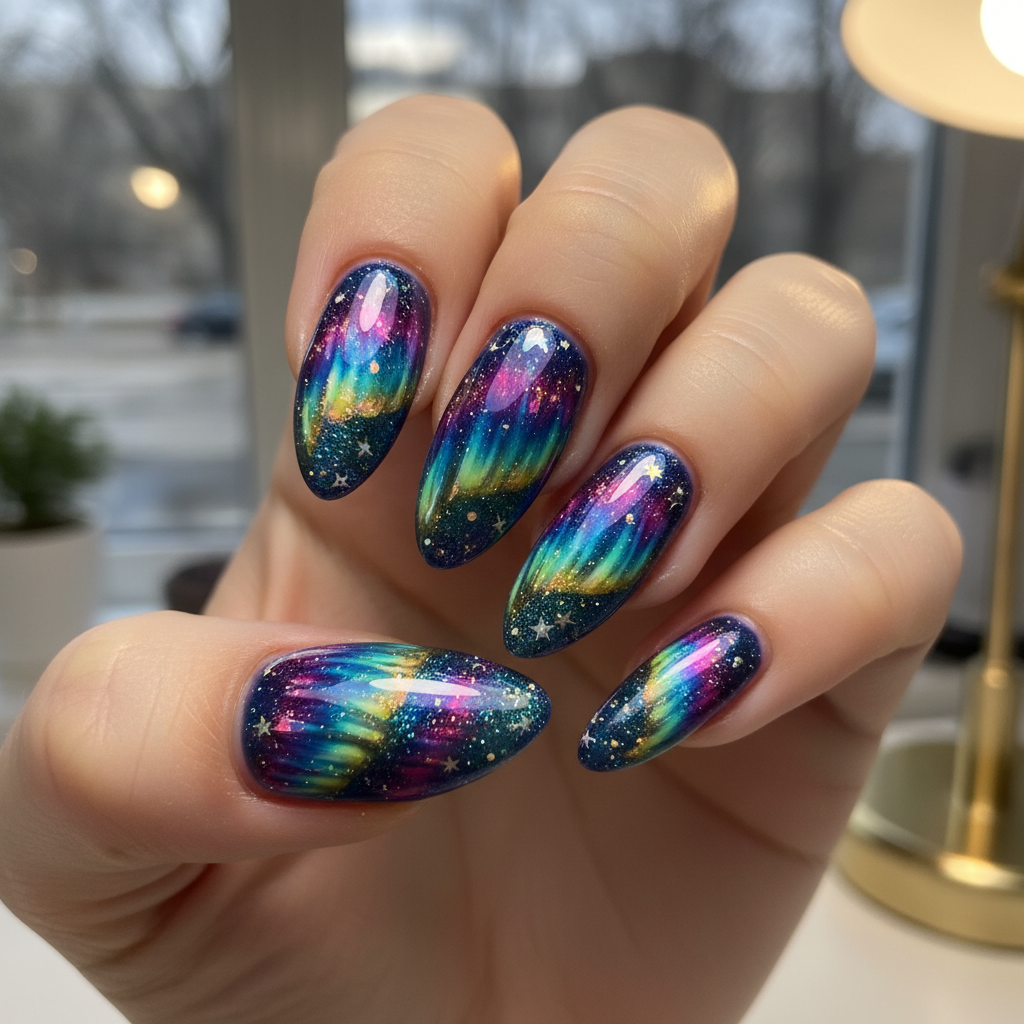
Stunning Photo-real Salon Aurora Nails
Aurora inspired nail art with stunning, photo-real finish and professional salon quality
Beautiful Photo-real Salon Aurora Nails
Aurora inspired nail art with beautiful, photo-real finish and professional salon quality
Sophisticated Photo-real Salon Aurora Nails
Aurora inspired nail art with sophisticated, photo-real finish and professional salon quality
Gorgeous Photo-real Salon Aurora Nails
Aurora inspired nail art with gorgeous, photo-real finish and professional salon quality
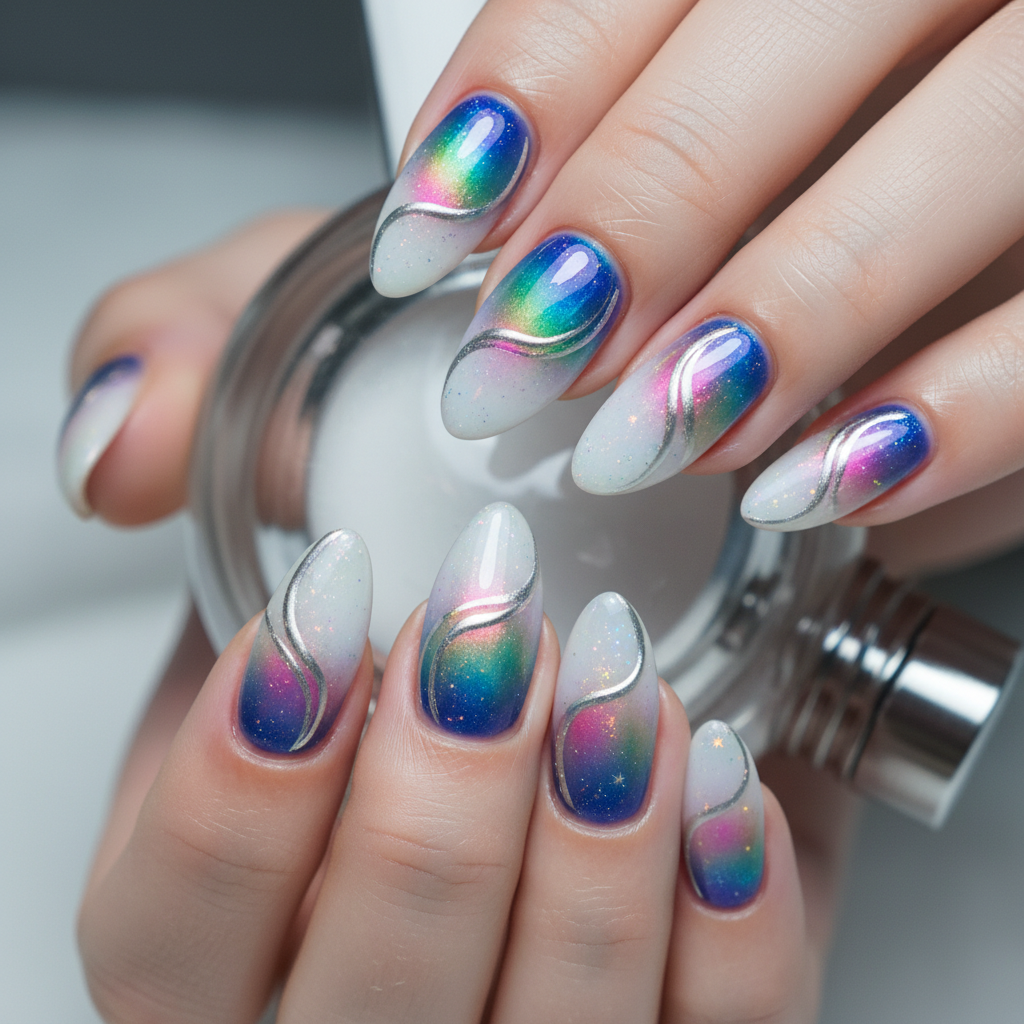
Photo-real Salon Aurora Nails
Aurora inspired nail art with elegant, photo-real finish and professional salon quality
Stunning Photo-real Salon Aurora Nails
Aurora inspired nail art with stunning, photo-real finish and professional salon quality
Beautiful Photo-real Salon Aurora Nails
Aurora inspired nail art with beautiful, photo-real finish and professional salon quality
Sophisticated Photo-real Salon Aurora Nails
Aurora inspired nail art with sophisticated, photo-real finish and professional salon quality
More Designs
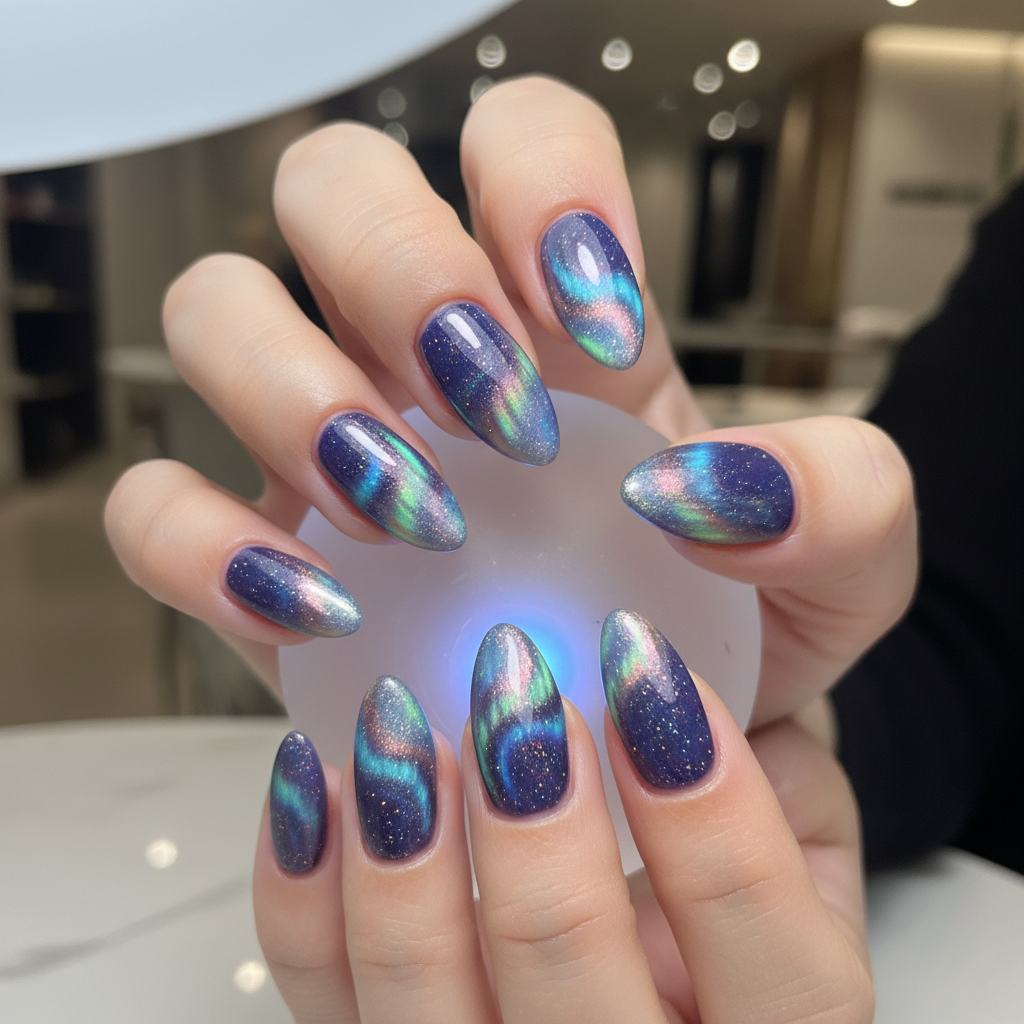
Salon Aurora Nails: Photo-Real & Dreamy Nail Design
Achieve stunning, salon-quality Aurora nails with this photo-real design. Capture the ethereal beauty of the Northern Lights on your fingertips with expertly blended colors and a flawless finish.
Supplies You'll Need
- Gel base coat
- Gel polish in blue, green, purple, pink
- Iridescent chrome powder or pigment
- Gel top coat
- Nail art brushes
- UV/LED lamp
How To Recreate It
- Apply a gel base coat and cure under a UV/LED lamp.
- Apply thin layers of gel polish in blue, green, purple, and pink, blending each layer to create a seamless gradient effect. Cure after each layer.
- Gently apply iridescent chrome powder or pigment over the entire nail surface using a sponge applicator.
- Dust off excess powder and apply a gel top coat to seal the design. Cure thoroughly under the lamp.
- Cleanse the nail surface with alcohol to remove any sticky residue.
- Apply cuticle oil for hydration.
Expert Tip
Use a very soft brush or sponge for applying the chrome powder to avoid scratching the base color. Build up the color slowly in thin layers for a smoother, more even finish.
Try These Variations
- →Add subtle glitter accents for extra sparkle.
- →Incorporate tiny silver or gold foil flakes for a more textured look.
- →Create a reverse Aurora effect with darker shades at the base fading into lighter tips.
Aftercare Tips
- ✓Moisturize hands regularly to prevent dryness.
- ✓Avoid picking or biting your nails.
- ✓Schedule regular maintenance appointments to keep your nails healthy.
Safe Removal
- 1.Gently file the top layer of the gel polish.
- 2.Soak cotton balls in acetone, place them on the nails, and wrap with foil.
- 3.After 10-15 minutes, gently remove the softened gel polish with a cuticle pusher.
Quick Facts
Why It's Trending
Aurora-inspired nail art is trending due to its mesmerizing, otherworldly beauty and ability to create a unique statement.
Seasonal Styling
Perfect for winter and holiday seasons, Aurora nails add a touch of magic to any festive outfit. Also great for spring, mimicking the ethereal beauty of blooming flowers with iridescent accents.
Color Variations
Perfect For
Why People Love It
This design is popular on Instagram and Pinterest, with users showcasing their stunning recreations and inspiring others to try the look.
Daily Maintenance
- 💅Apply cuticle oil daily to keep nails hydrated.
- 💅Wear gloves when doing household chores to protect the design.
- 💅Avoid using harsh chemicals or abrasive cleaners on your nails.
Common Issues & Fixes
- ⚠Uneven gradientBlend colors more thoroughly by using a small brush or sponge applicator. Apply thin layers and blend before curing.
- ⚠Chrome powder not adheringEnsure the gel polish layer is not over-cured. The surface should be slightly tacky for the powder to adhere properly.
- ⚠Bubbles in the top coatApply the top coat in a thin, even layer and avoid shaking the bottle vigorously before application.
Design Inspiration
Inspired by the natural phenomenon of the Aurora Borealis, also known as the Northern Lights, capturing its mesmerizing dance of light and color.
Explore Similar Designs
Colors in this Design
Techniques Used
Perfect For
Nail Shapes
More Categories to Explore
Popular Colors
Popular Techniques
Perfect Occasions
FAQs
Can I achieve this design with regular nail polish?
While possible, it's harder to achieve the seamless gradient and photo-real finish with regular polish. Gel polish allows for more blending time and easier pigment application.
What if I don't have iridescent chrome powder?
You can use iridescent flakes or a shimmering top coat as an alternative, but the effect may be less intense.
How can I make the design last longer?
Proper nail preparation, using high-quality products, and following the maintenance tips will help extend the life of your Aurora nails.
Can I add nail art on top of the aurora base?
Yes, you can add simple nail art like stars or geometric shapes using a fine-tipped brush and gel polish for a customized design.
Is airbrushing necessary for this design?
No, airbrushing is optional but it helps to achieve a very smooth gradient. You can get a similar effect with careful blending using nail art brushes and sponges.
What nail shape is best for this design?
Almond or oval shapes tend to complement the flowing, ethereal nature of the Aurora design, but you can adapt it to your preferred nail shape.