Brown Orange Pumpkins Gold Autumn Leaves Fall Nails
Fall nail art with brown base, orange pumpkins, and gold autumn leaves
Colors
Occasions
Created: October 5, 2025 at 12:23 PM
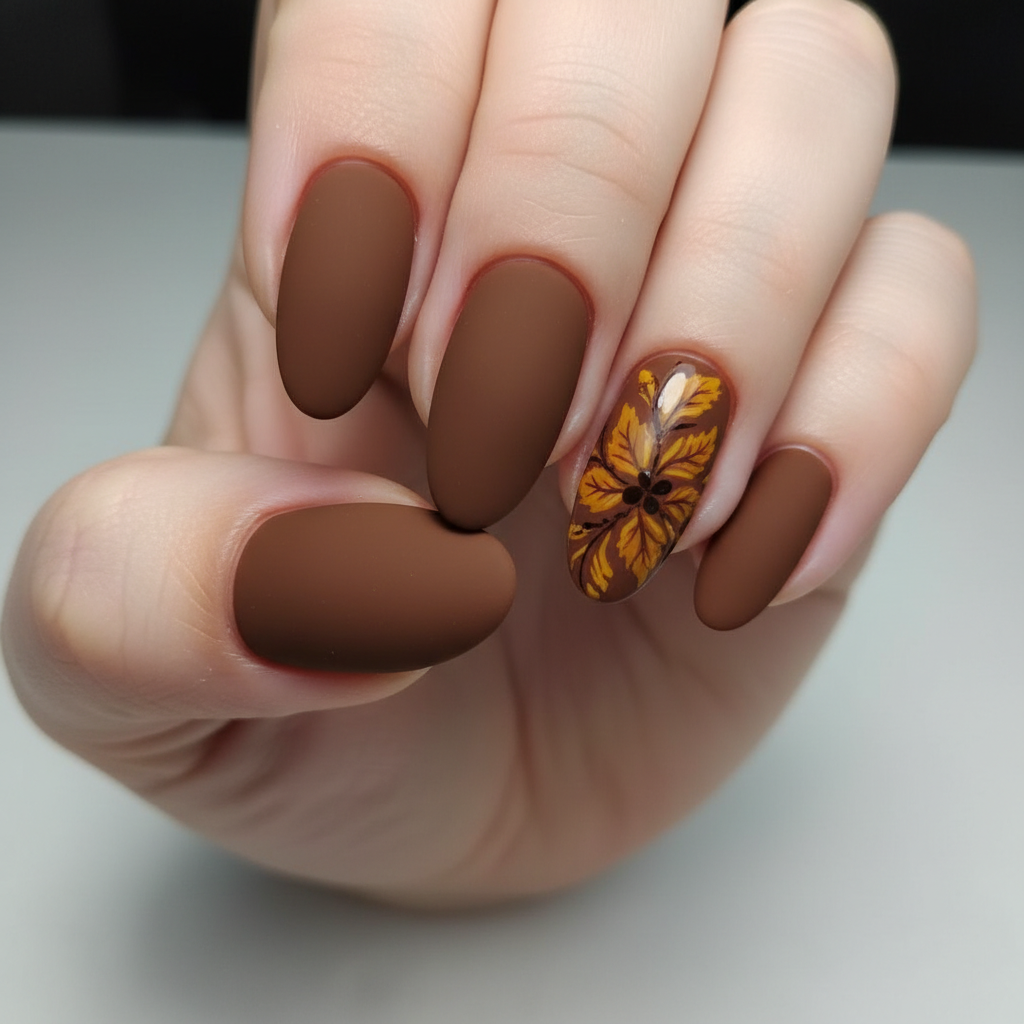
More Fall Designs
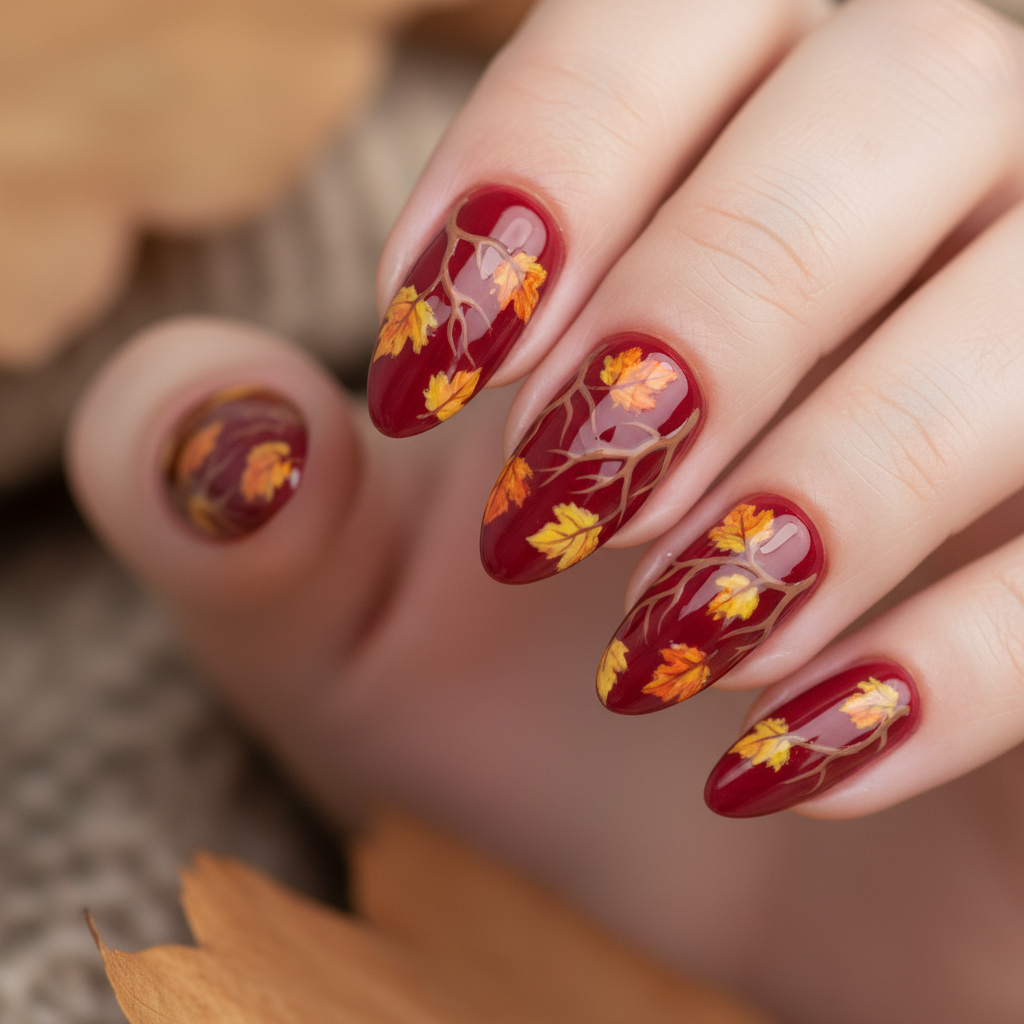
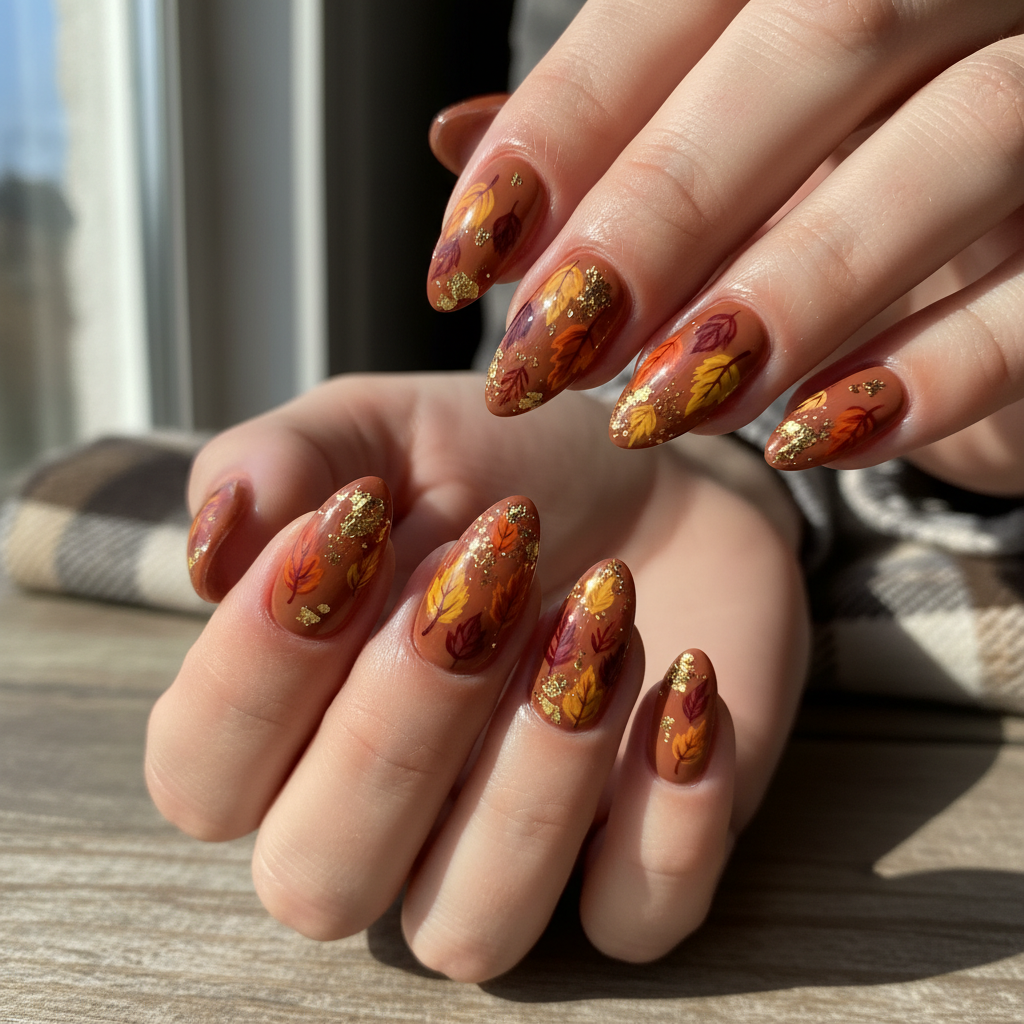
More Designs
Pumpkin Patch Nails: Brown, Orange & Gold Fall Design
Embrace the autumn season with these charming pumpkin patch nails. Featuring a rich brown base, playful orange pumpkins, and delicate gold autumn leaves, this nails design perfectly captures the cozy spirit of fall. It is a charming simple nail art that is bound to turn heads.
Supplies You'll Need
- Brown nail polish
- Orange nail polish
- Gold leaf flakes
- Fine-tipped nail art brush
- Top coat
- Base Coat
How To Recreate It
- Apply a base coat to protect your nails and let dry.
- Apply two coats of brown nail polish as a base color, allowing each coat to dry completely.
- Using a fine-tipped brush and orange polish, paint small pumpkins on a few nails. You can simplify this with pumpkin stickers.
- Carefully apply gold leaf flakes around the pumpkins and on other nails for an elegant touch.
- Seal the design with a glossy top coat to protect the artwork and add shine.
- Clean up any edges for a polished look.
Expert Tip
Use a dotting tool to create the pumpkin shape if you're not confident with freehand painting. Apply gold leaf sparingly for a more sophisticated look.
Try These Variations
- →Add a glittery gold top coat over the brown base for extra sparkle.
- →Use different shades of orange for the pumpkins, like burnt orange or terracotta.
- →Incorporate other fall elements like acorns or maple leaves alongside the pumpkins.
Aftercare Tips
- ✓Keep your hands moisturized to prevent dryness and cracking.
- ✓Avoid harsh chemicals that can damage the polish.
- ✓Use a gentle nail polish remover when it's time to remove the design.
Safe Removal
- 1.Soak cotton balls in nail polish remover and place them on your nails.
- 2.Wrap each nail in foil and let it sit for 5-10 minutes.
- 3.Gently remove the foil and cotton balls, wiping away the polish residue.
Quick Facts
Why It's Trending
Pumpkin-themed nail art is incredibly popular during fall, especially paired with warm, earthy tones and metallic accents.
Seasonal Styling
Perfect for the entire fall season, from September through Thanksgiving. Coordinate with your fall wardrobe for a cohesive look.
Color Variations
Perfect For
Why People Love It
This design is trending on Instagram and Pinterest, with nail enthusiasts loving the warm color palette and festive pumpkin details.
Daily Maintenance
- 💅Apply cuticle oil daily to keep your nails hydrated.
- 💅Wear gloves when doing household chores to protect your nail art.
- 💅Avoid using your nails as tools to prevent chipping.
- 💅Touch up any chips with matching polish and top coat.
Common Issues & Fixes
- ⚠Gold leaf not sticking?Apply a thin layer of clear polish before applying the gold leaf.
- ⚠Pumpkins smudging?Allow ample drying time between applying the base coat and painting the pumpkins. Seal with topcoat.
- ⚠Chipping after a few days?Ensure your base coat and top coat are applied evenly and thoroughly. Reapply topcoat every other day.
Design Inspiration
Inspired by cozy autumn days spent at pumpkin patches and the warm glow of fall foliage.
Explore Similar Designs
Colors in this Design
Techniques Used
Perfect For
Nail Shapes
More Categories to Explore
Popular Colors
Popular Techniques
Perfect Occasions
FAQs
Can I use nail stickers instead of painting the pumpkins?
Yes, nail stickers are a great alternative for achieving the pumpkin design if you're not comfortable with freehand painting.
What type of top coat is best for this design?
A glossy top coat will enhance the shine of the gold leaf and protect the painted pumpkins.
How do I prevent the gold leaf from flaking off?
Apply a generous layer of top coat and press the gold leaf gently into the wet polish.
Can I use gel polish for this design?
Yes, you can use gel polish for this design. Just ensure you have a UV/LED lamp to cure each layer.
Are there any specific brands that are better for fall nail designs?
Brands like OPI, Essie, and China Glaze offer a wide range of autumn-themed colors perfect for this design.
What are some tools to apply gold leaf effectively?
A pair of tweezers or a small brush works well to apply the gold leaf, and a silicone tool can help press it into place.